08 Apr
smart home

 smart home.jpg "Athom Homey Pro (2023) smart home")
Specifications
The list above covers the physical specifications, but much of the magic is naturally hidden in the software, which is tied to the hardware and we will look at that later.
A tour around Homey Pro
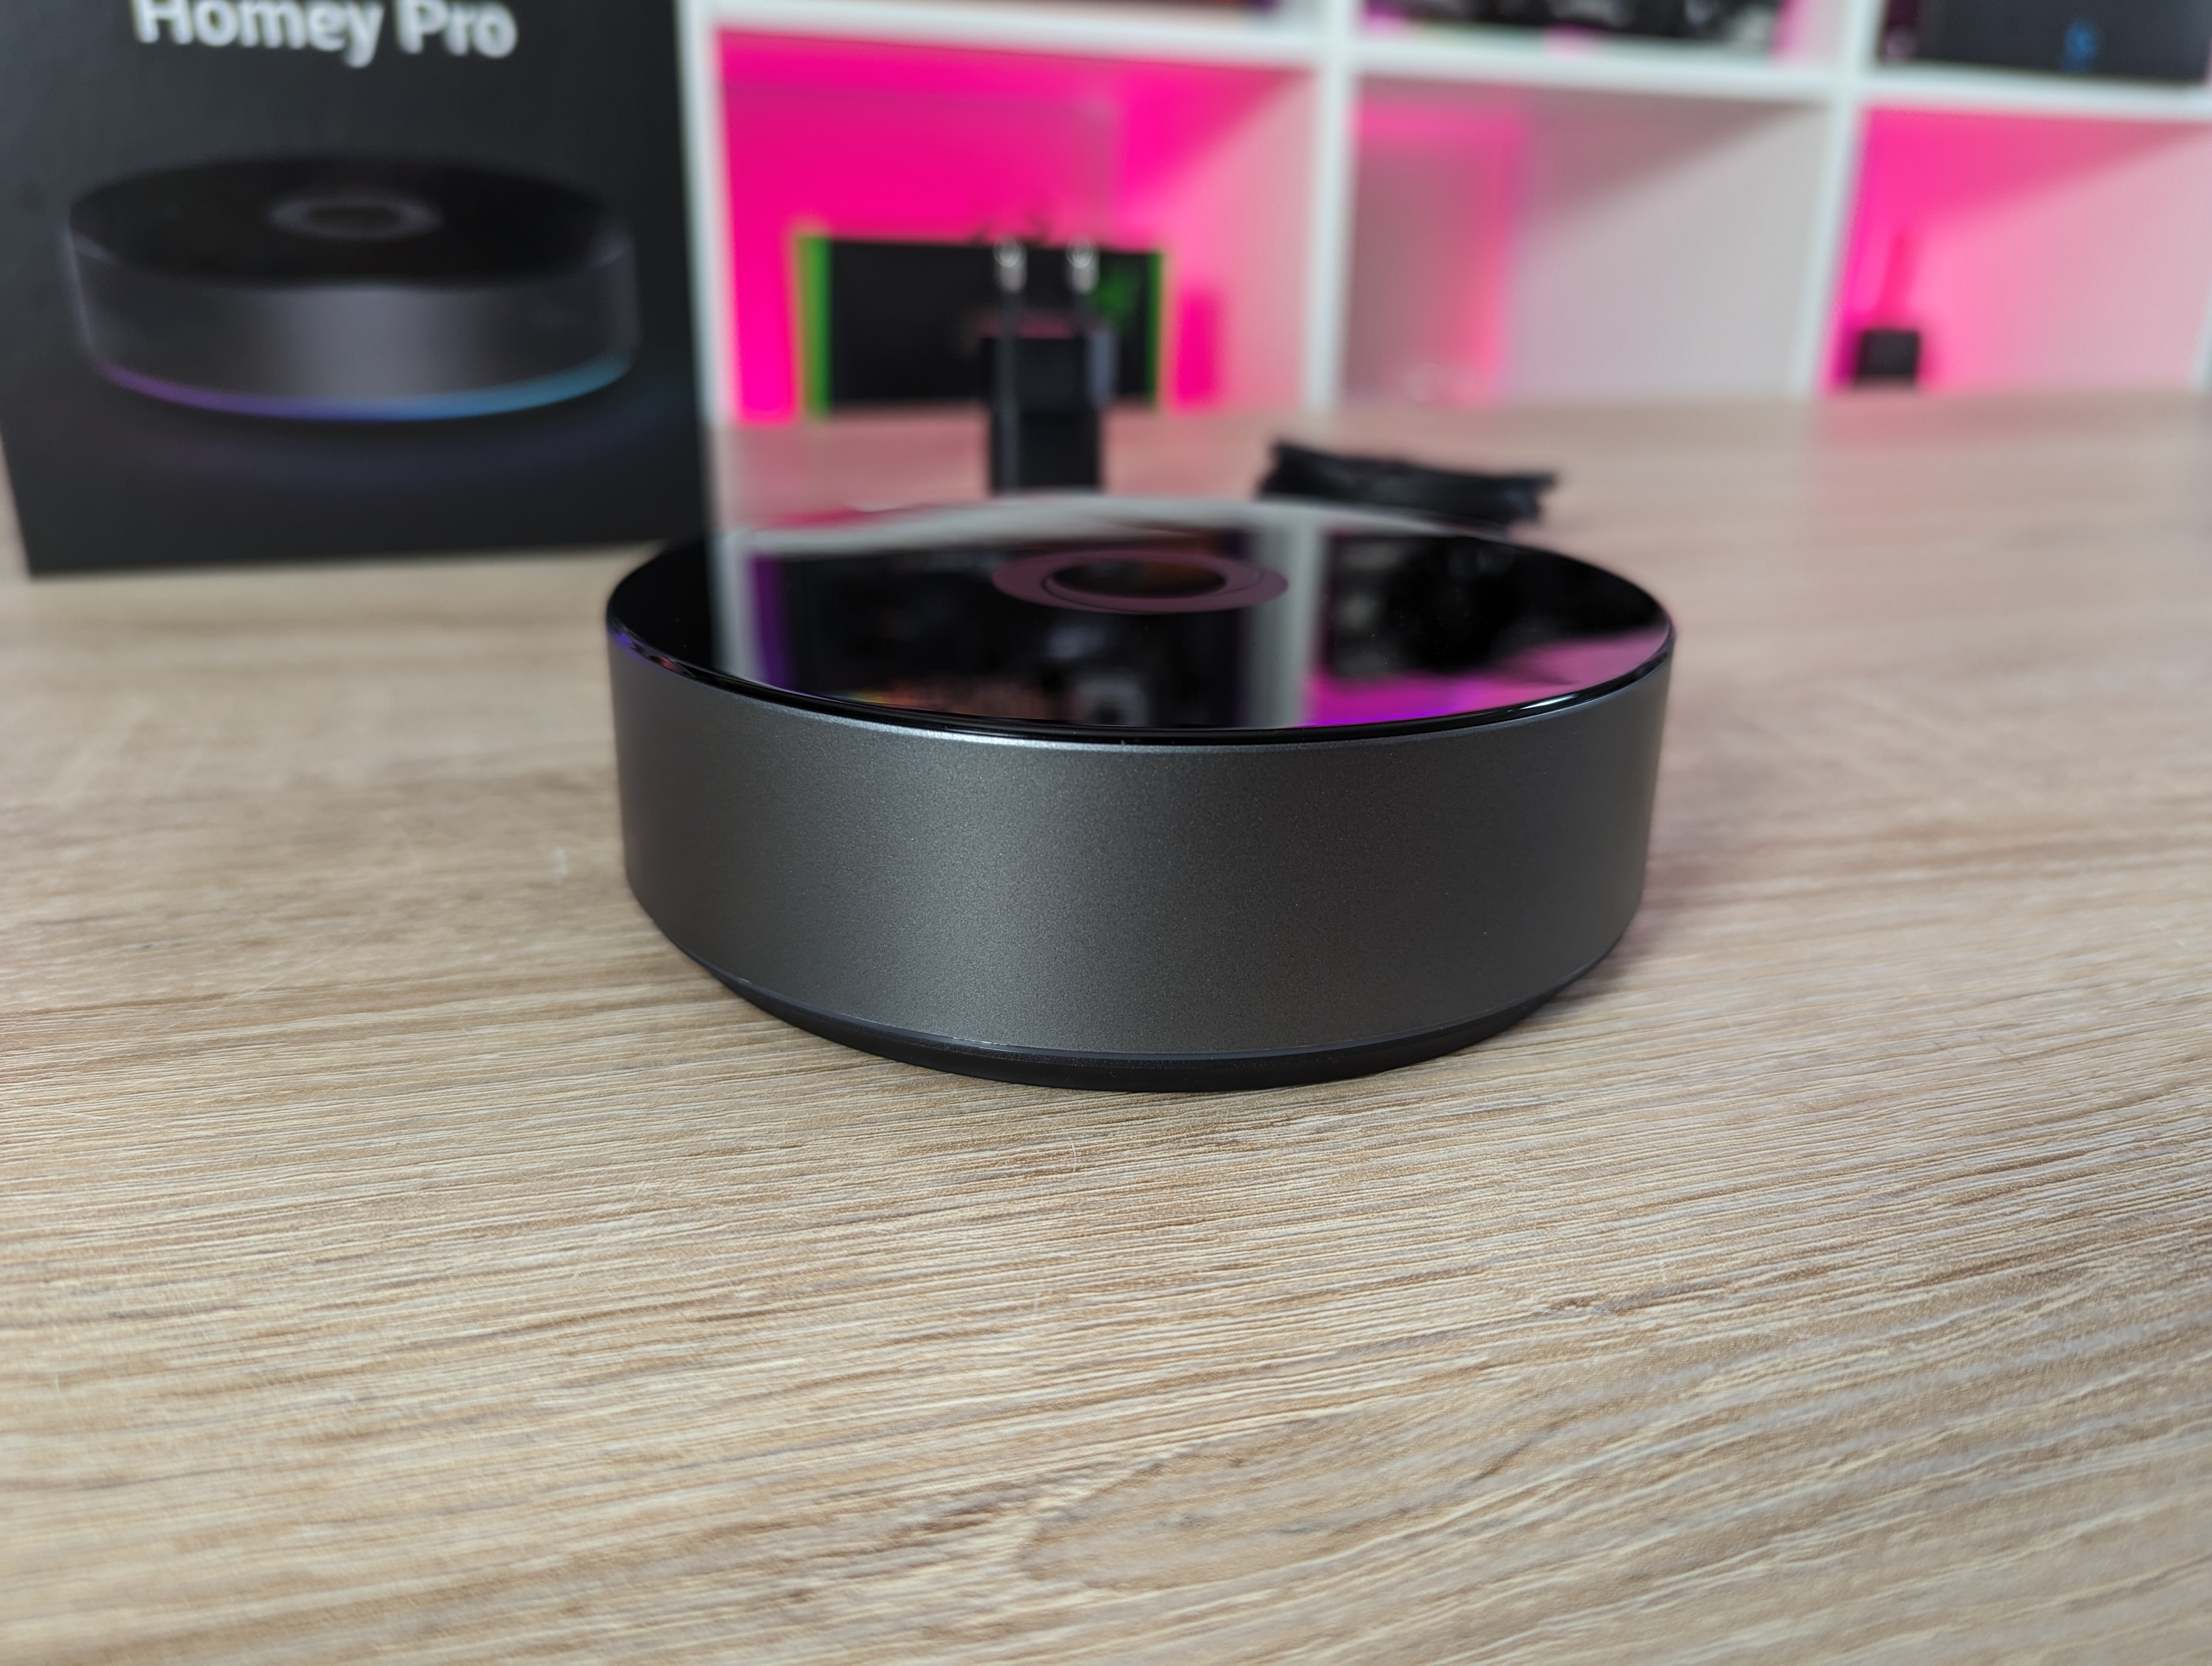
Homey Pro doesn't make much of a difference at first, and looks like an enlarged hockey puck in a nice matte black finish. There is a Homey Logo on the top and an RGB light ring around the bottom.
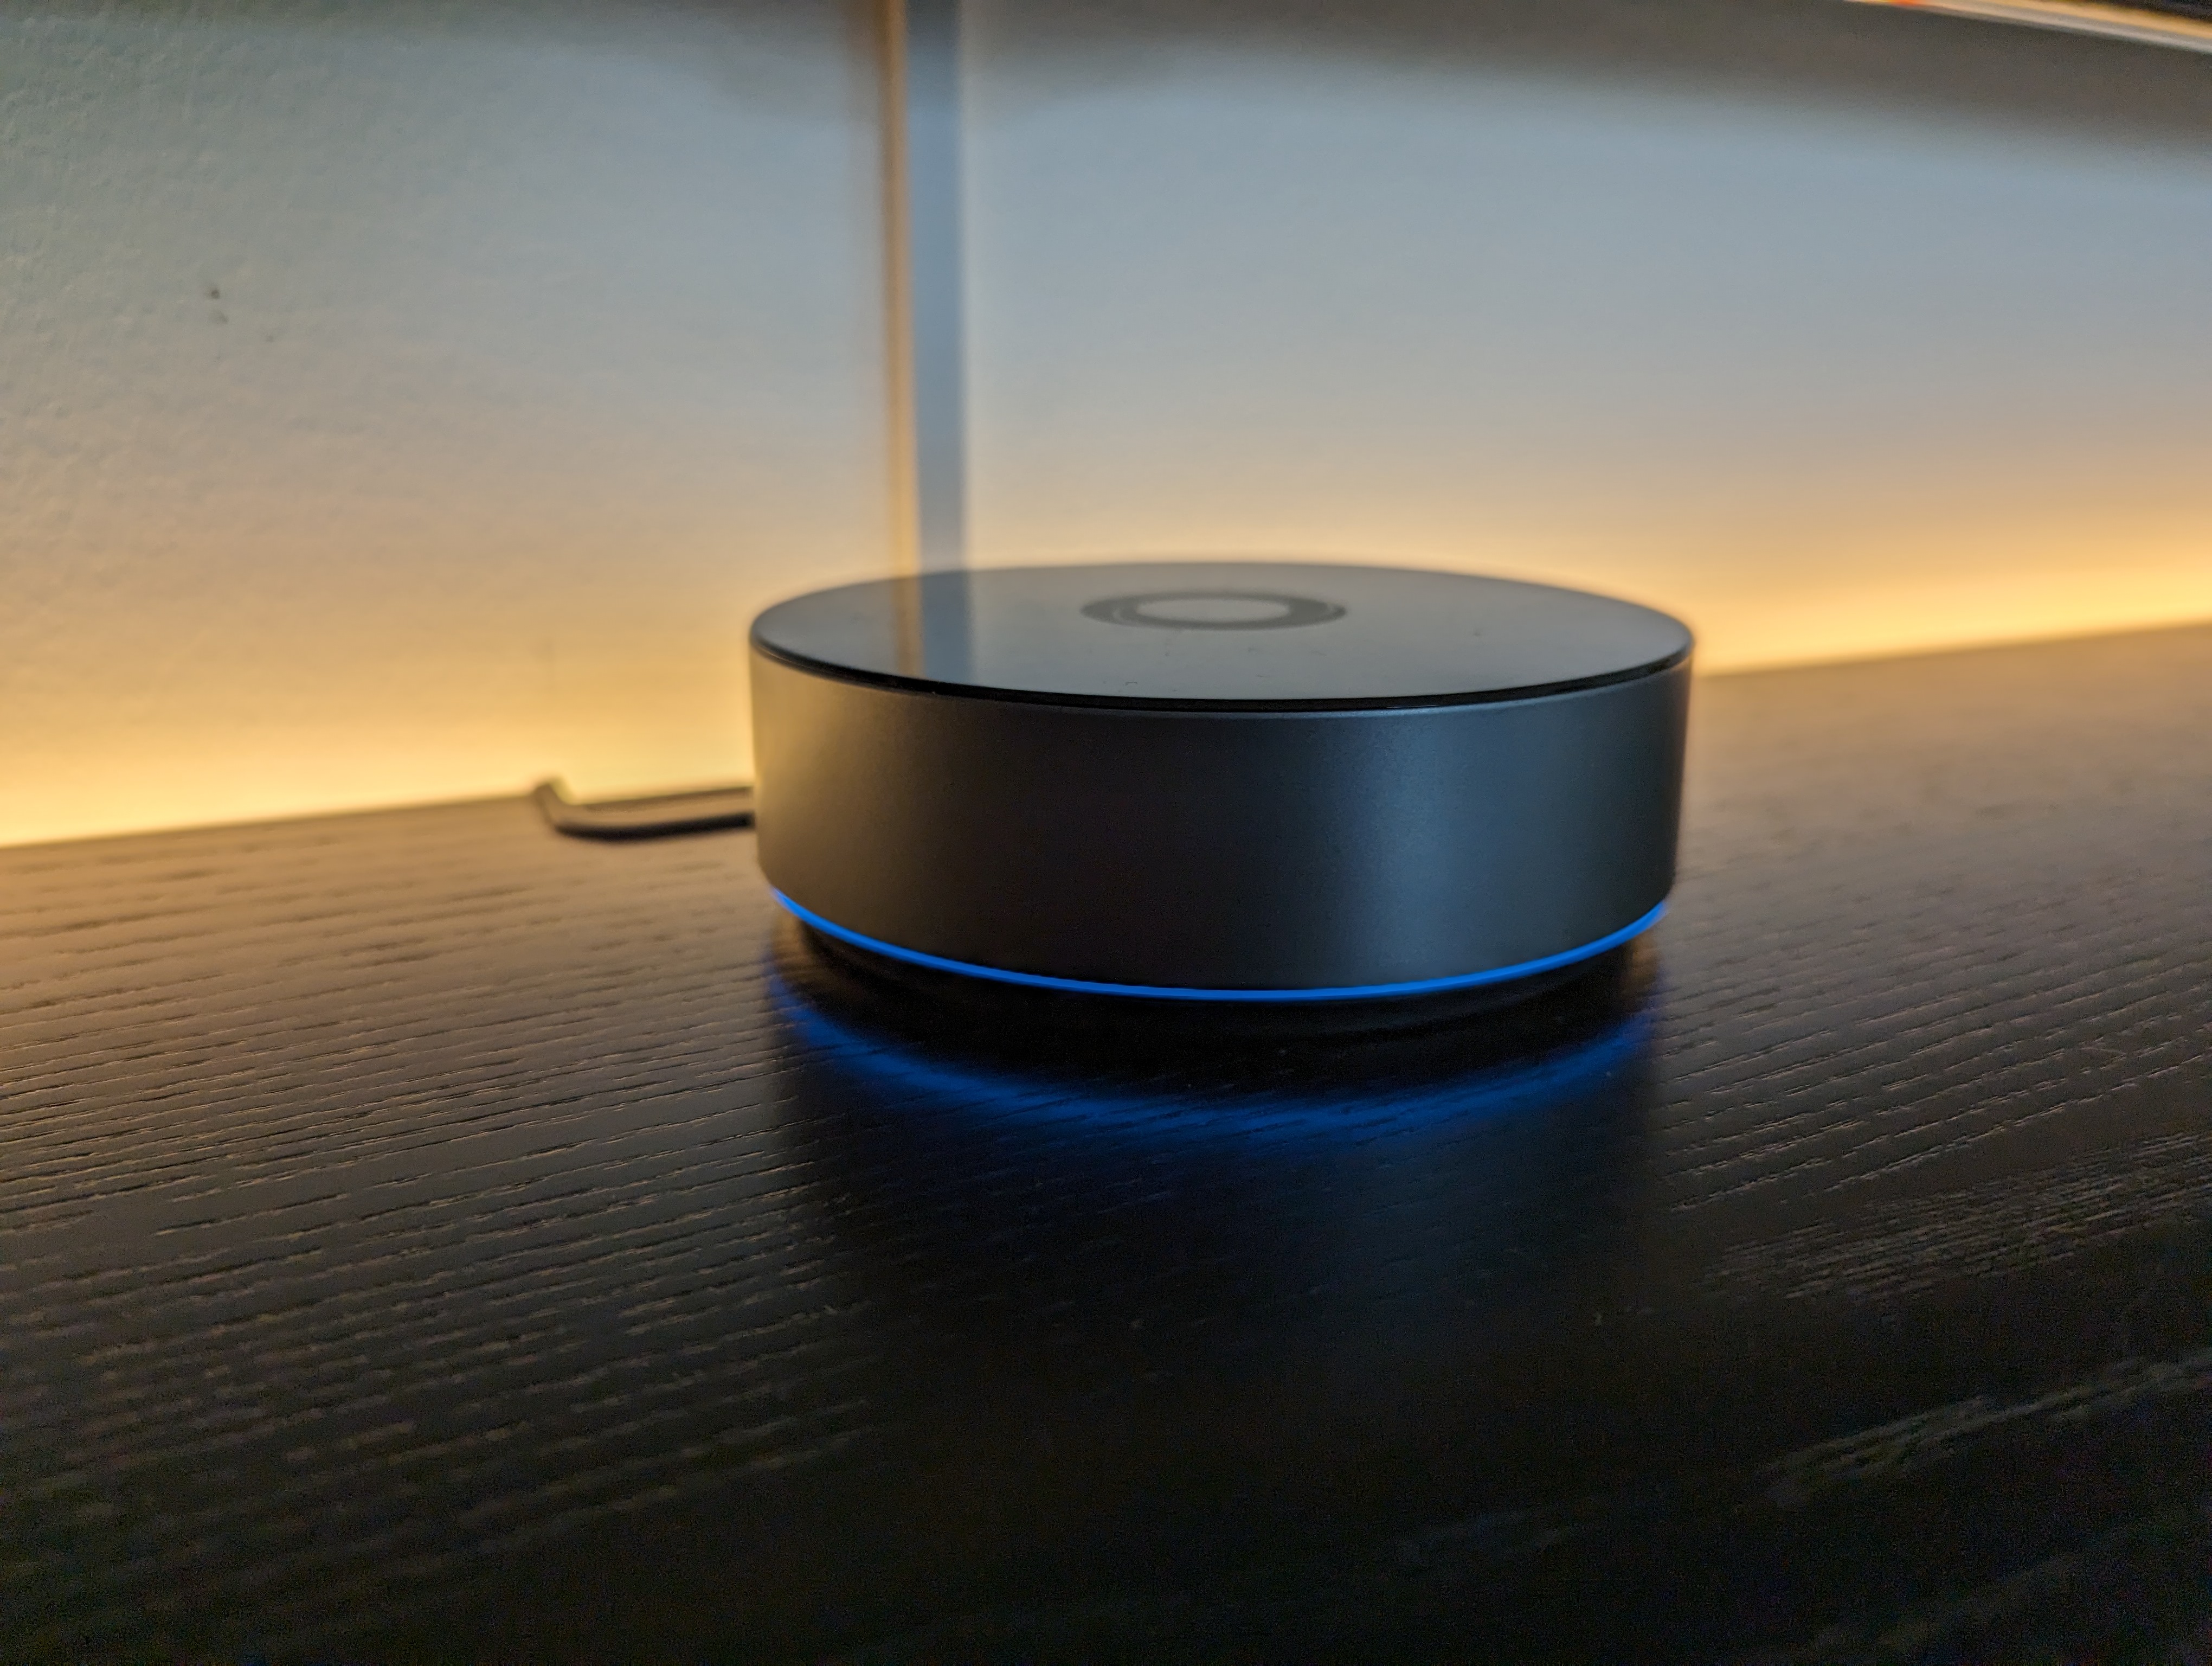
It can be used as an ordinary decorative element, but is used as a status indicator both for Homey itself and possibly for the Flows you set up yourself.

On the back we find a USB C connector, which is used for power and otherwise there are no connections, as everything else is handled wirelessly.
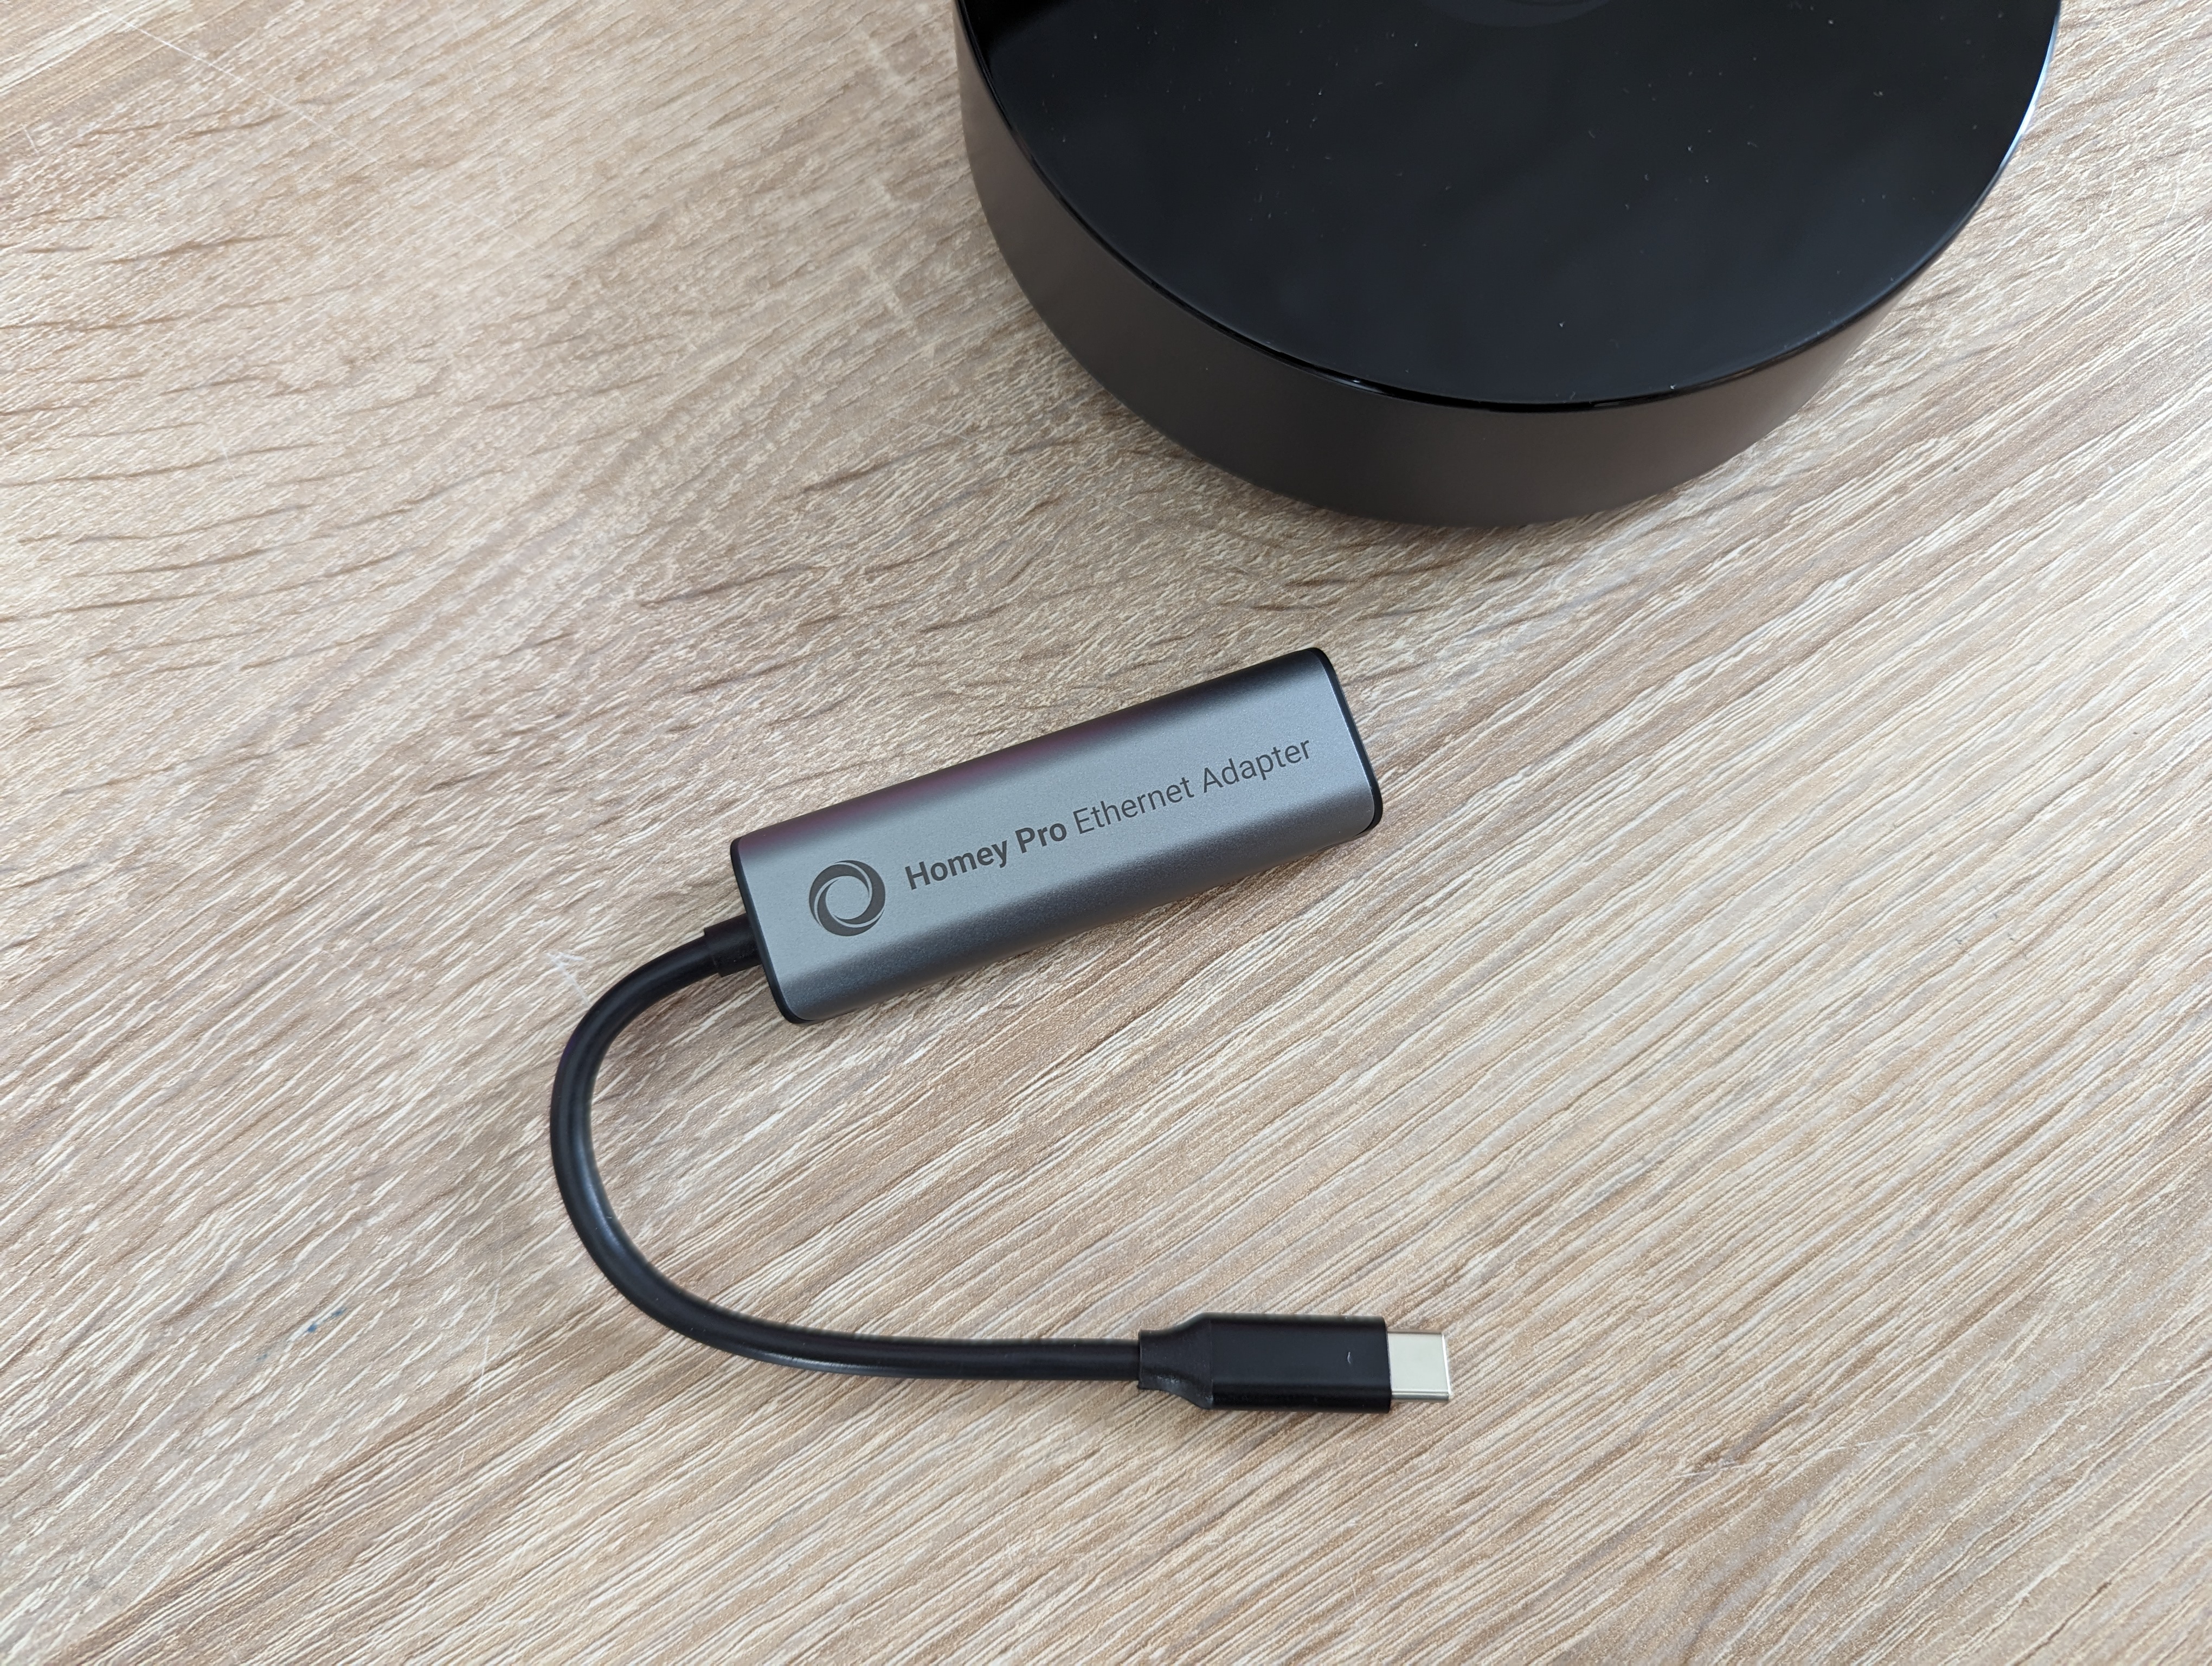
However, there is an option for network connection via a Homey Pro Ethernet Adapter. However, it connects to the same USB C port on the back, and simultaneously functions as a power passthrough for power.
Athom also sells a Homey Bridge that can be used on its own, but without quite as many features as the Homey Pro. Alternatively, it can be used as an extender for your Homey Pro, so you can reach all corners of the home with coverage.
Setup
Like so many other Smart Home devices, all setup is of course done via your smartphone and the Homey app.
It is recommended to place the Homey Pro centrally in your home to ensure the best coverage. If it is a problem, you can use a Homey Bridge in Satellite Mode to extend coverage.
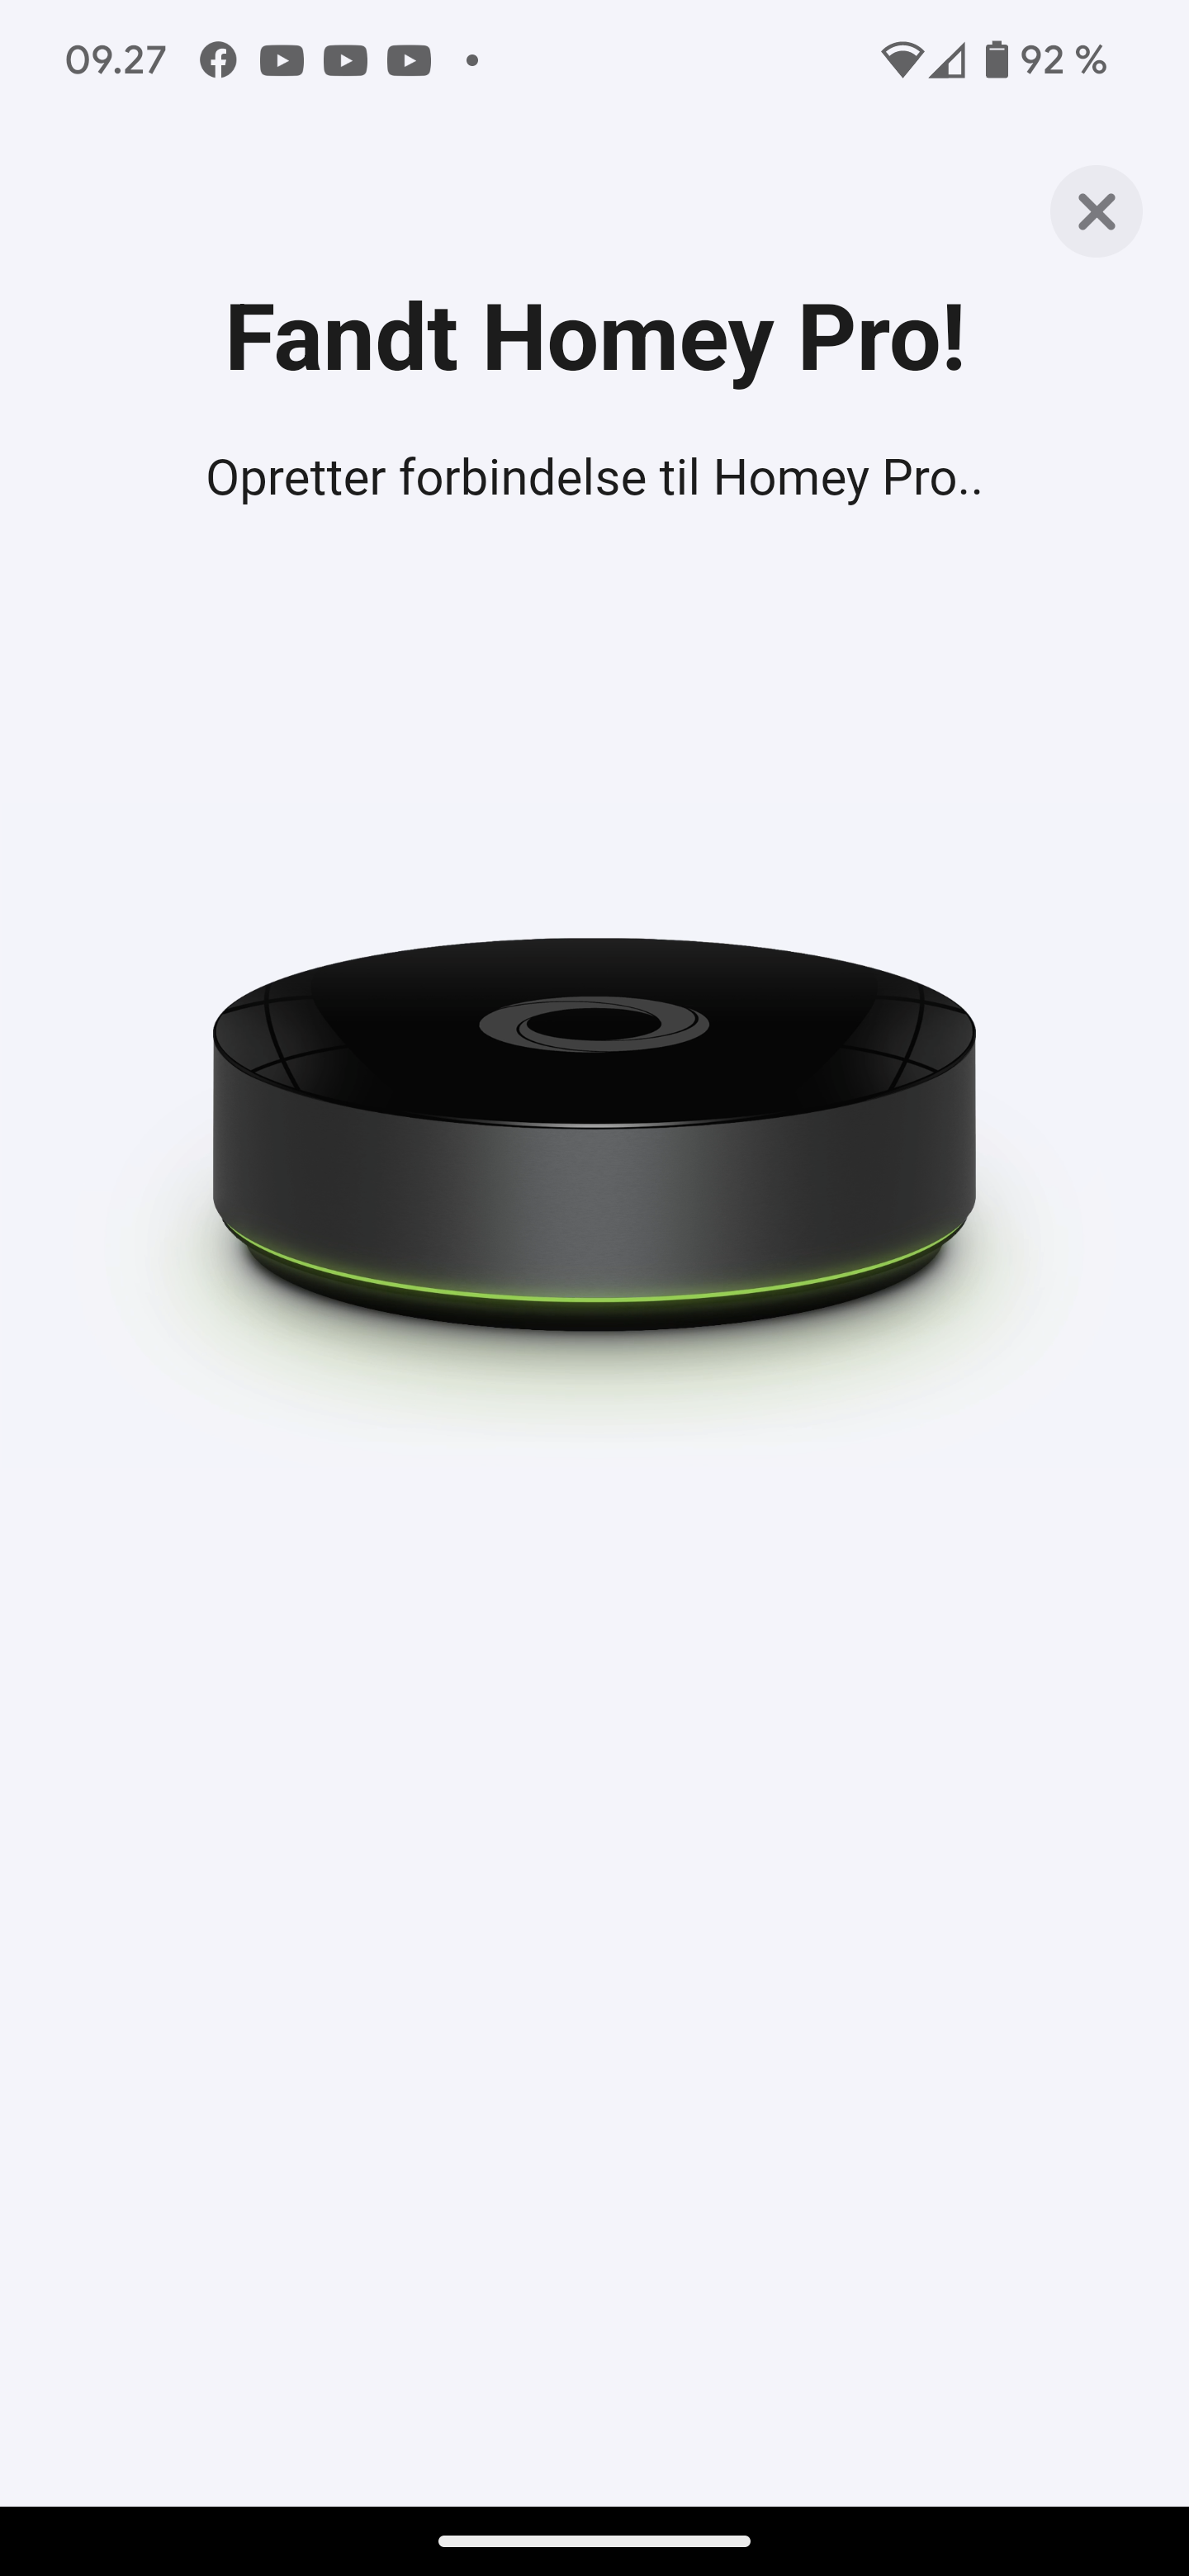
After that, just follow the step-by-step guide that comes in the app in relation to setting up the Homey Pro unit itself.
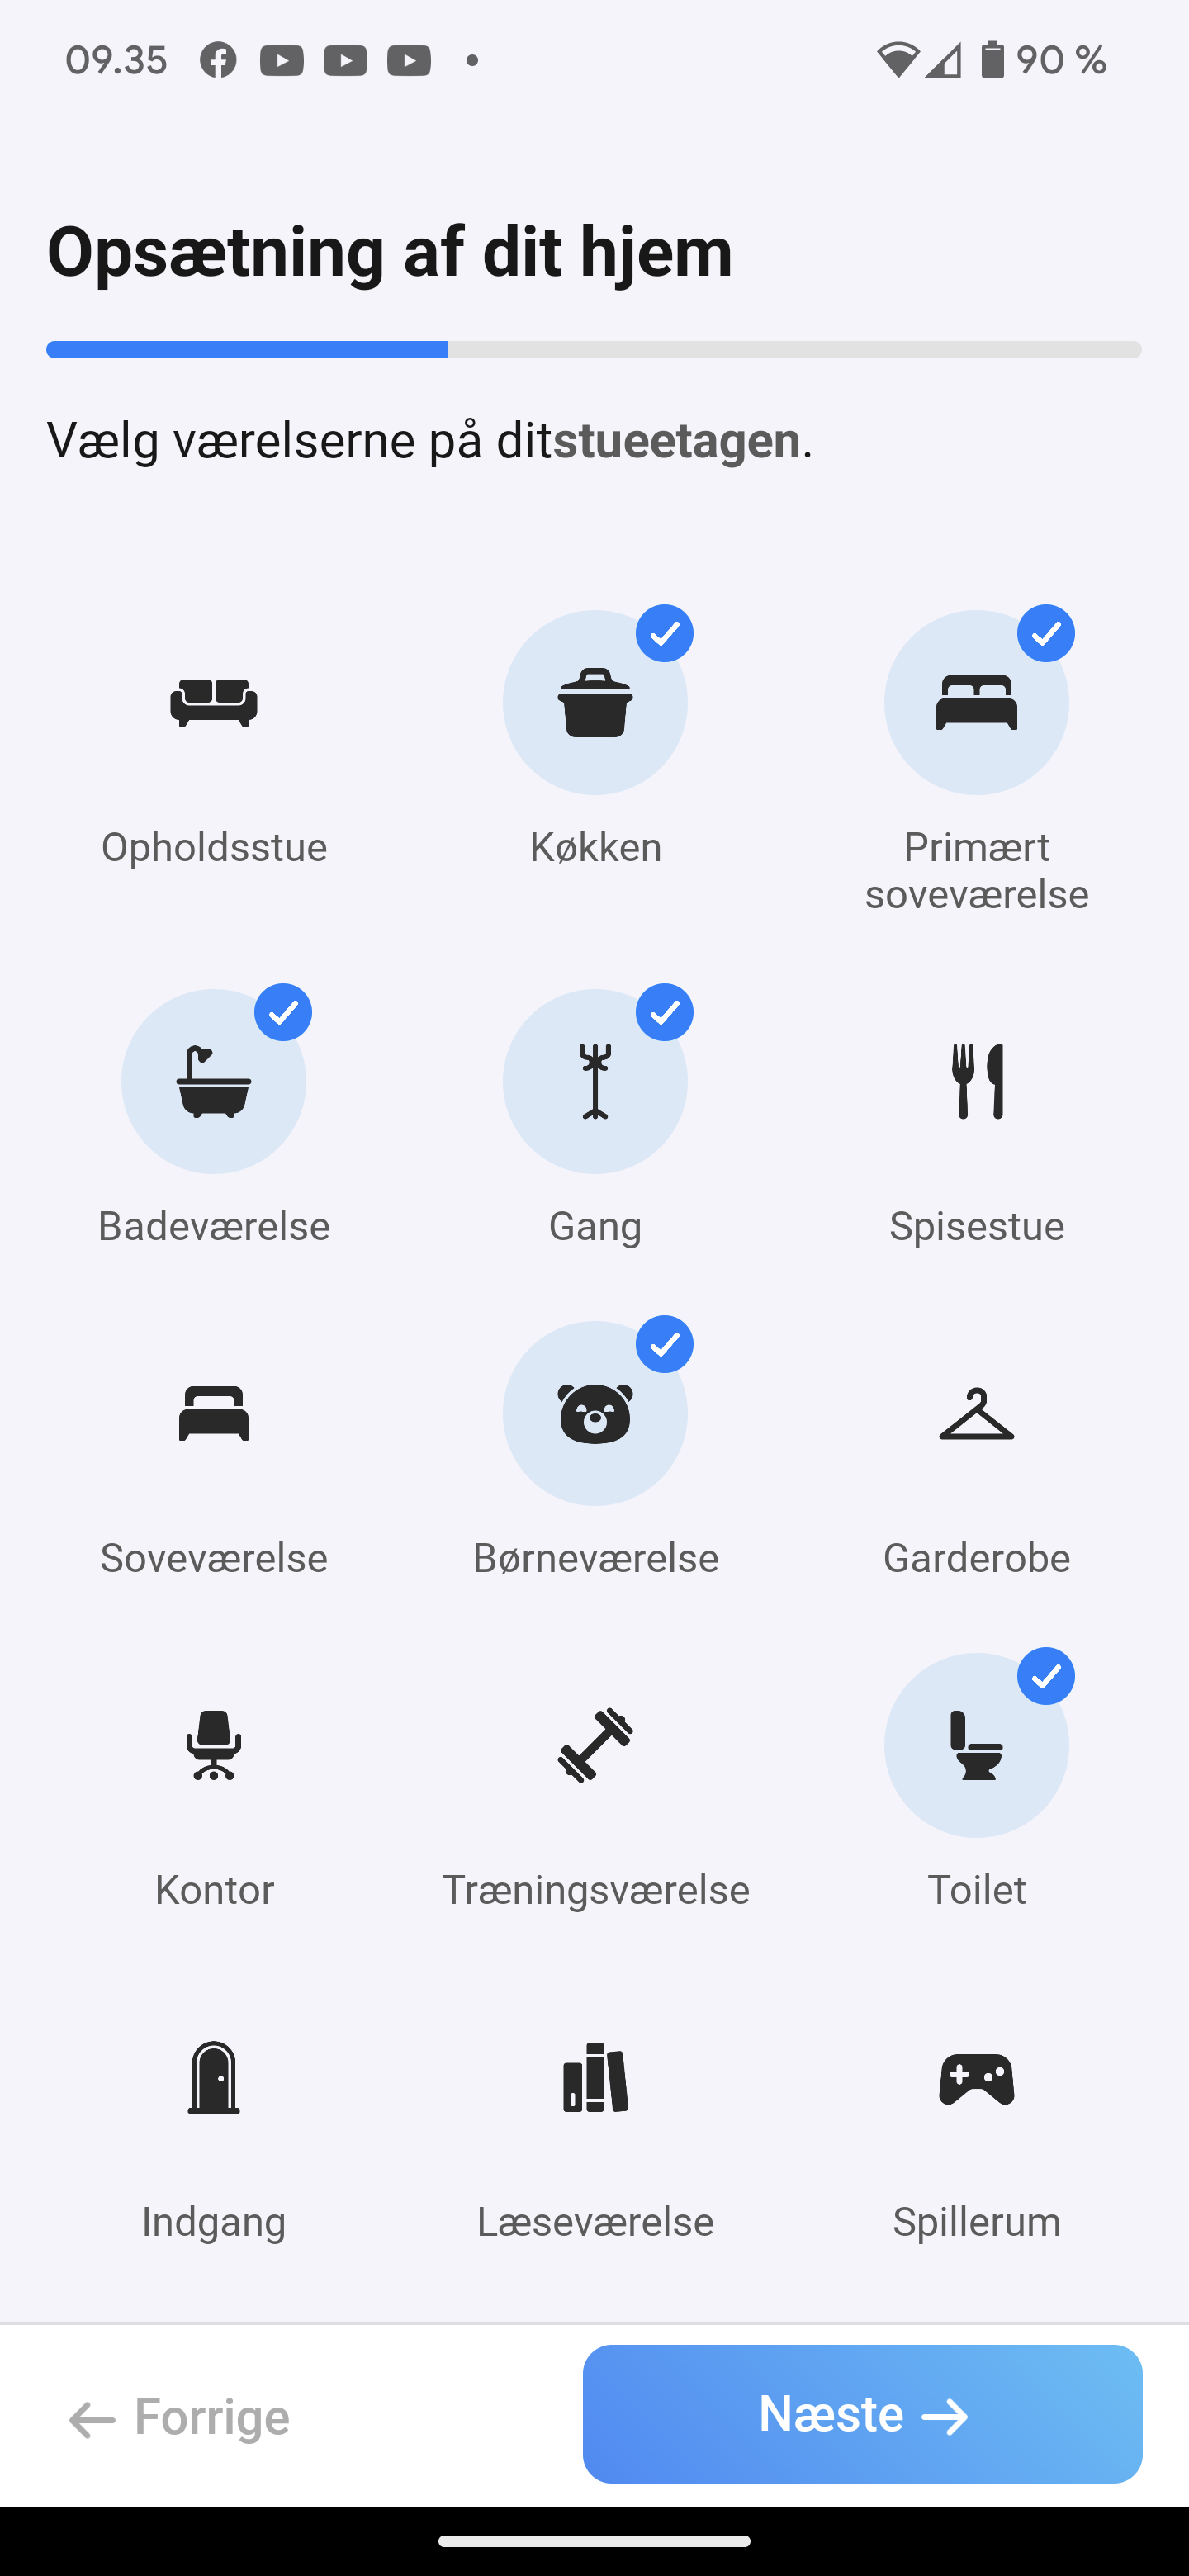
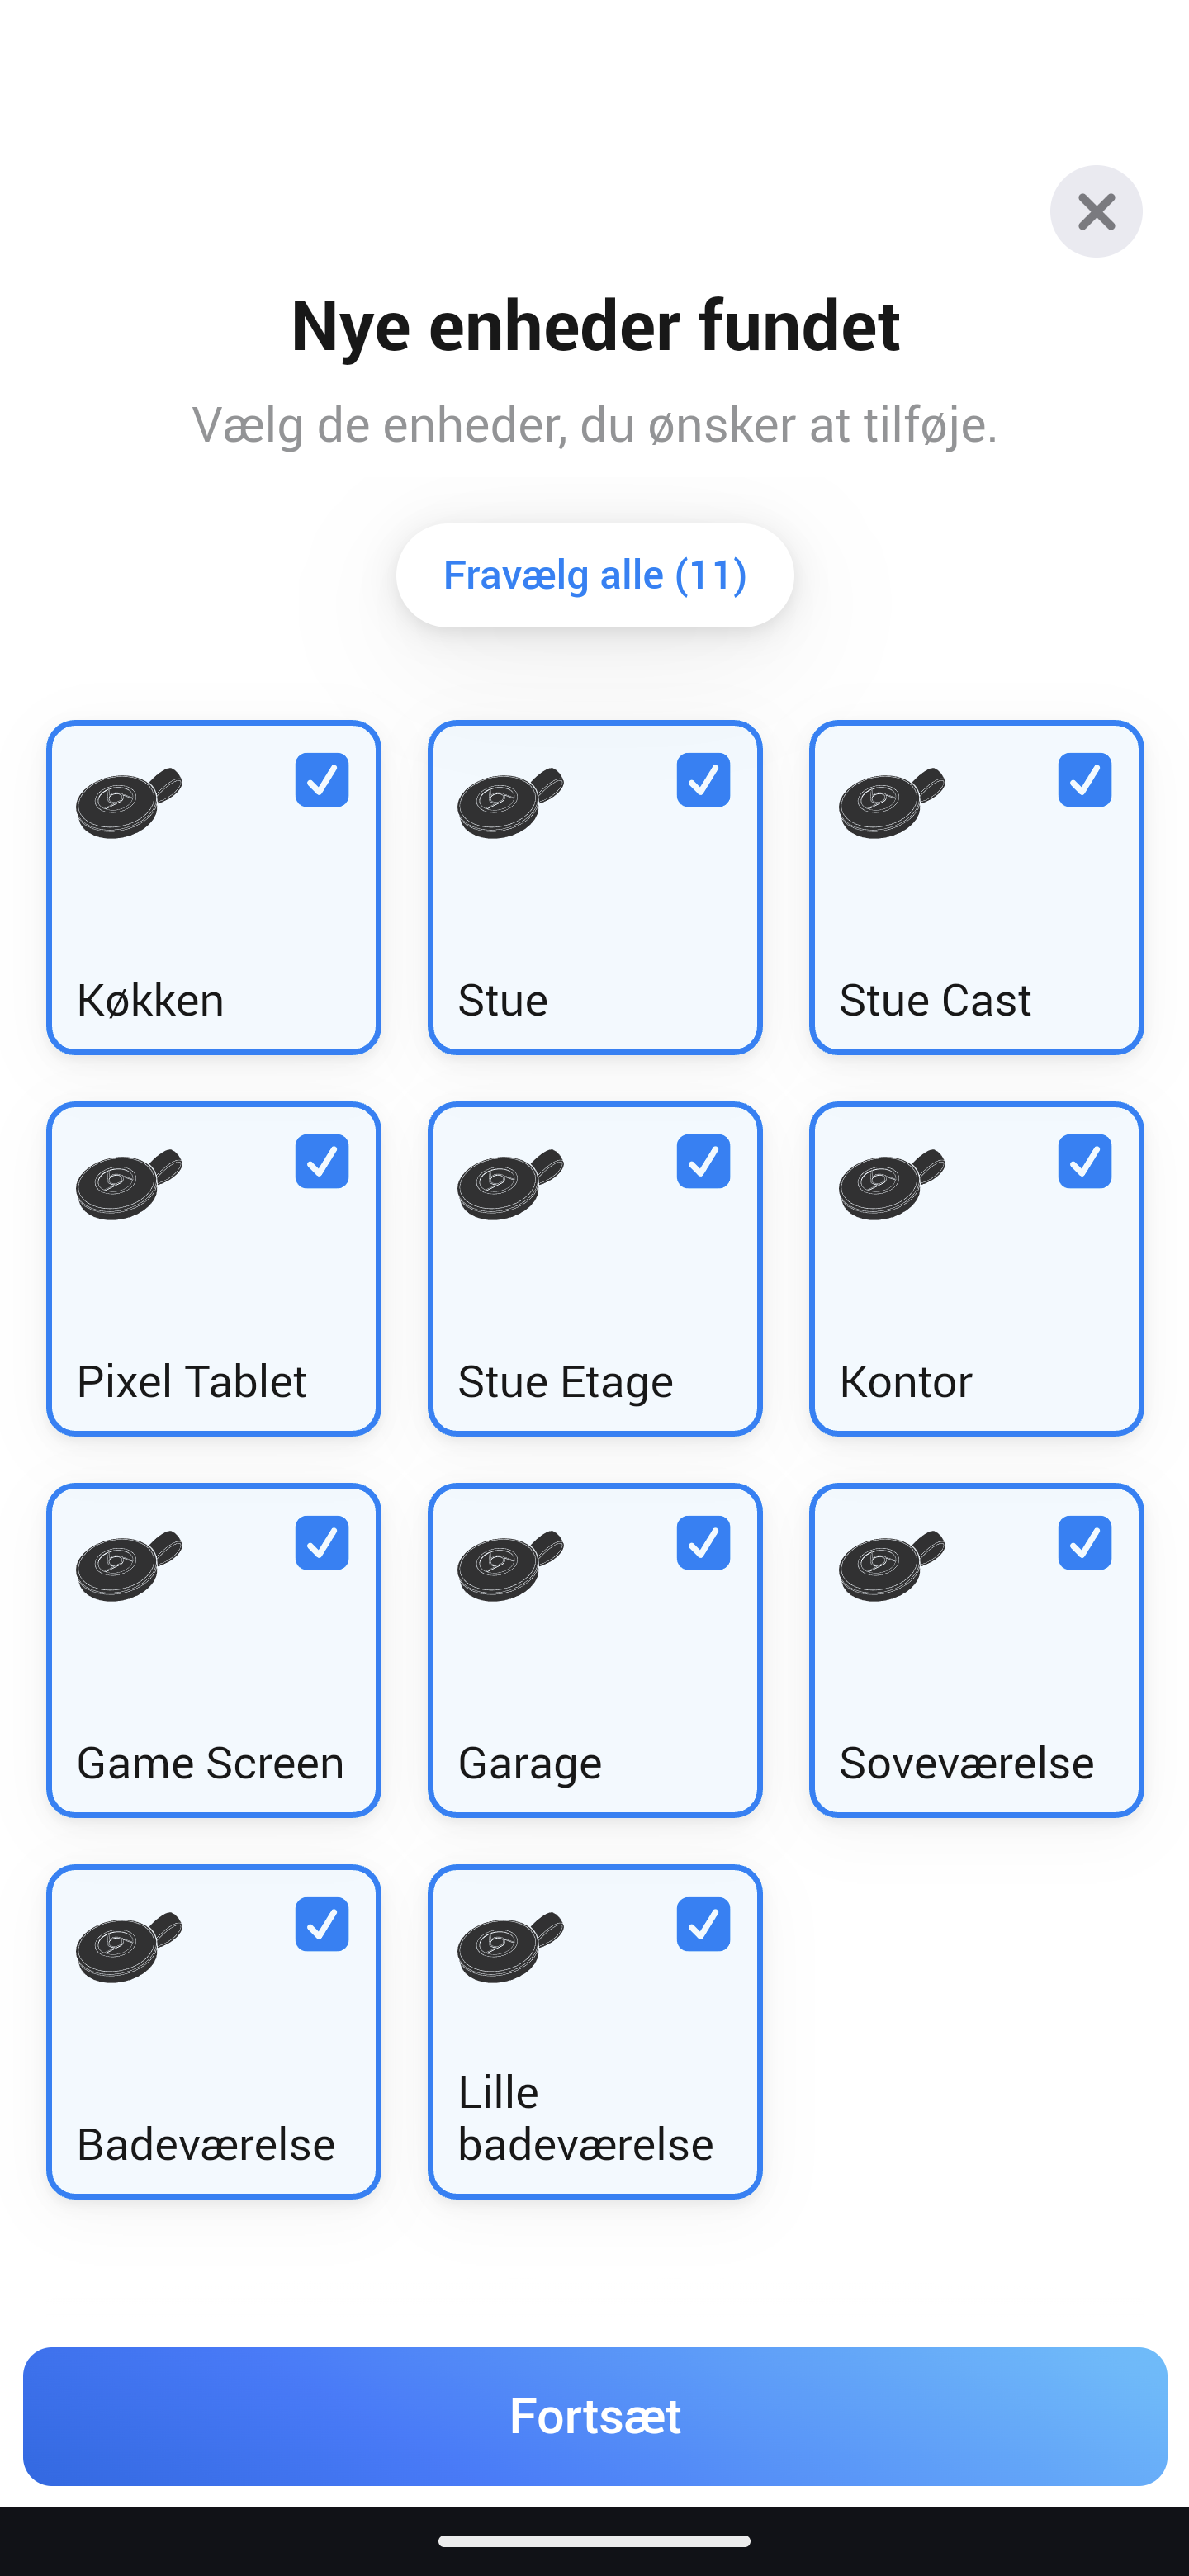
In connection with the setup, you must also set up your home. This is done by specifying which rooms or areas are to be part of the home. This is done so that you can subsequently control the various rooms and the smart home devices in them.
If you want to make use of the Geo Fencing options, you must also specify your location during setup. By doing so, you can subsequently set up automations that start based on your or other family members' smartphone location.
When the home is in place, you go through the first round of setup and then you have to add the smart home devices that you have in the home. It can be, for example, your devices from e.g. Philips Hue, Ikea or one of the many other manufacturers that use one of the supported protocols.
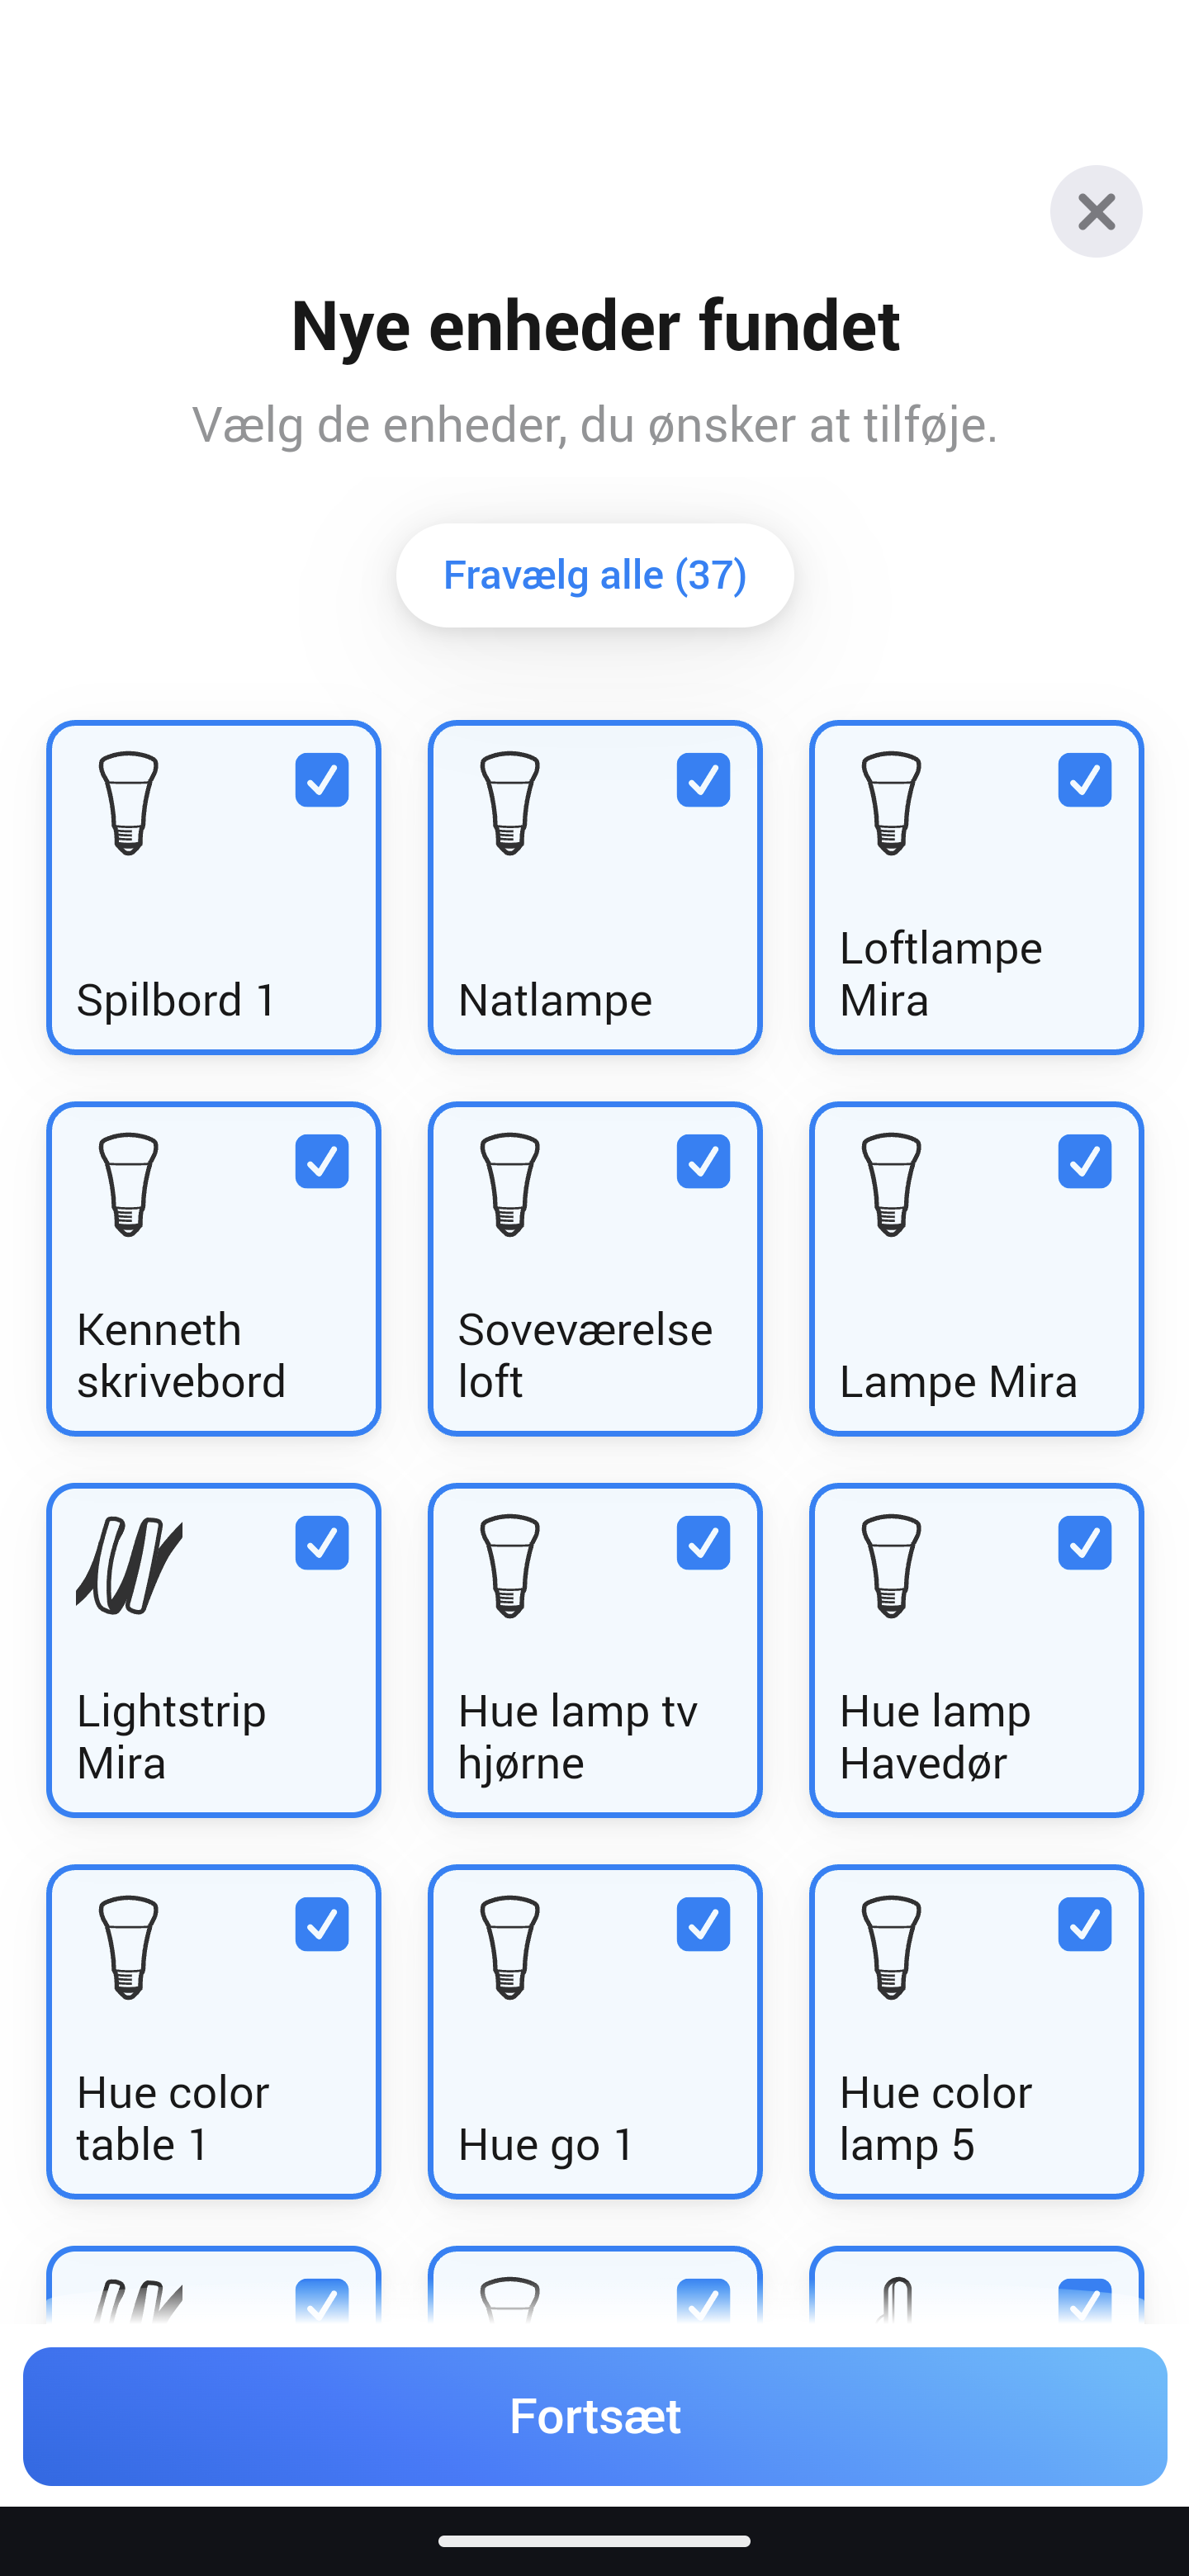
Depending on how many devices you have in your home, it can be a quick or a slow task. In my case, it was a Philips Hue setup with a lot of light switches and plugs, a few IKEA units and then various Google units and more individual Smart Home units.
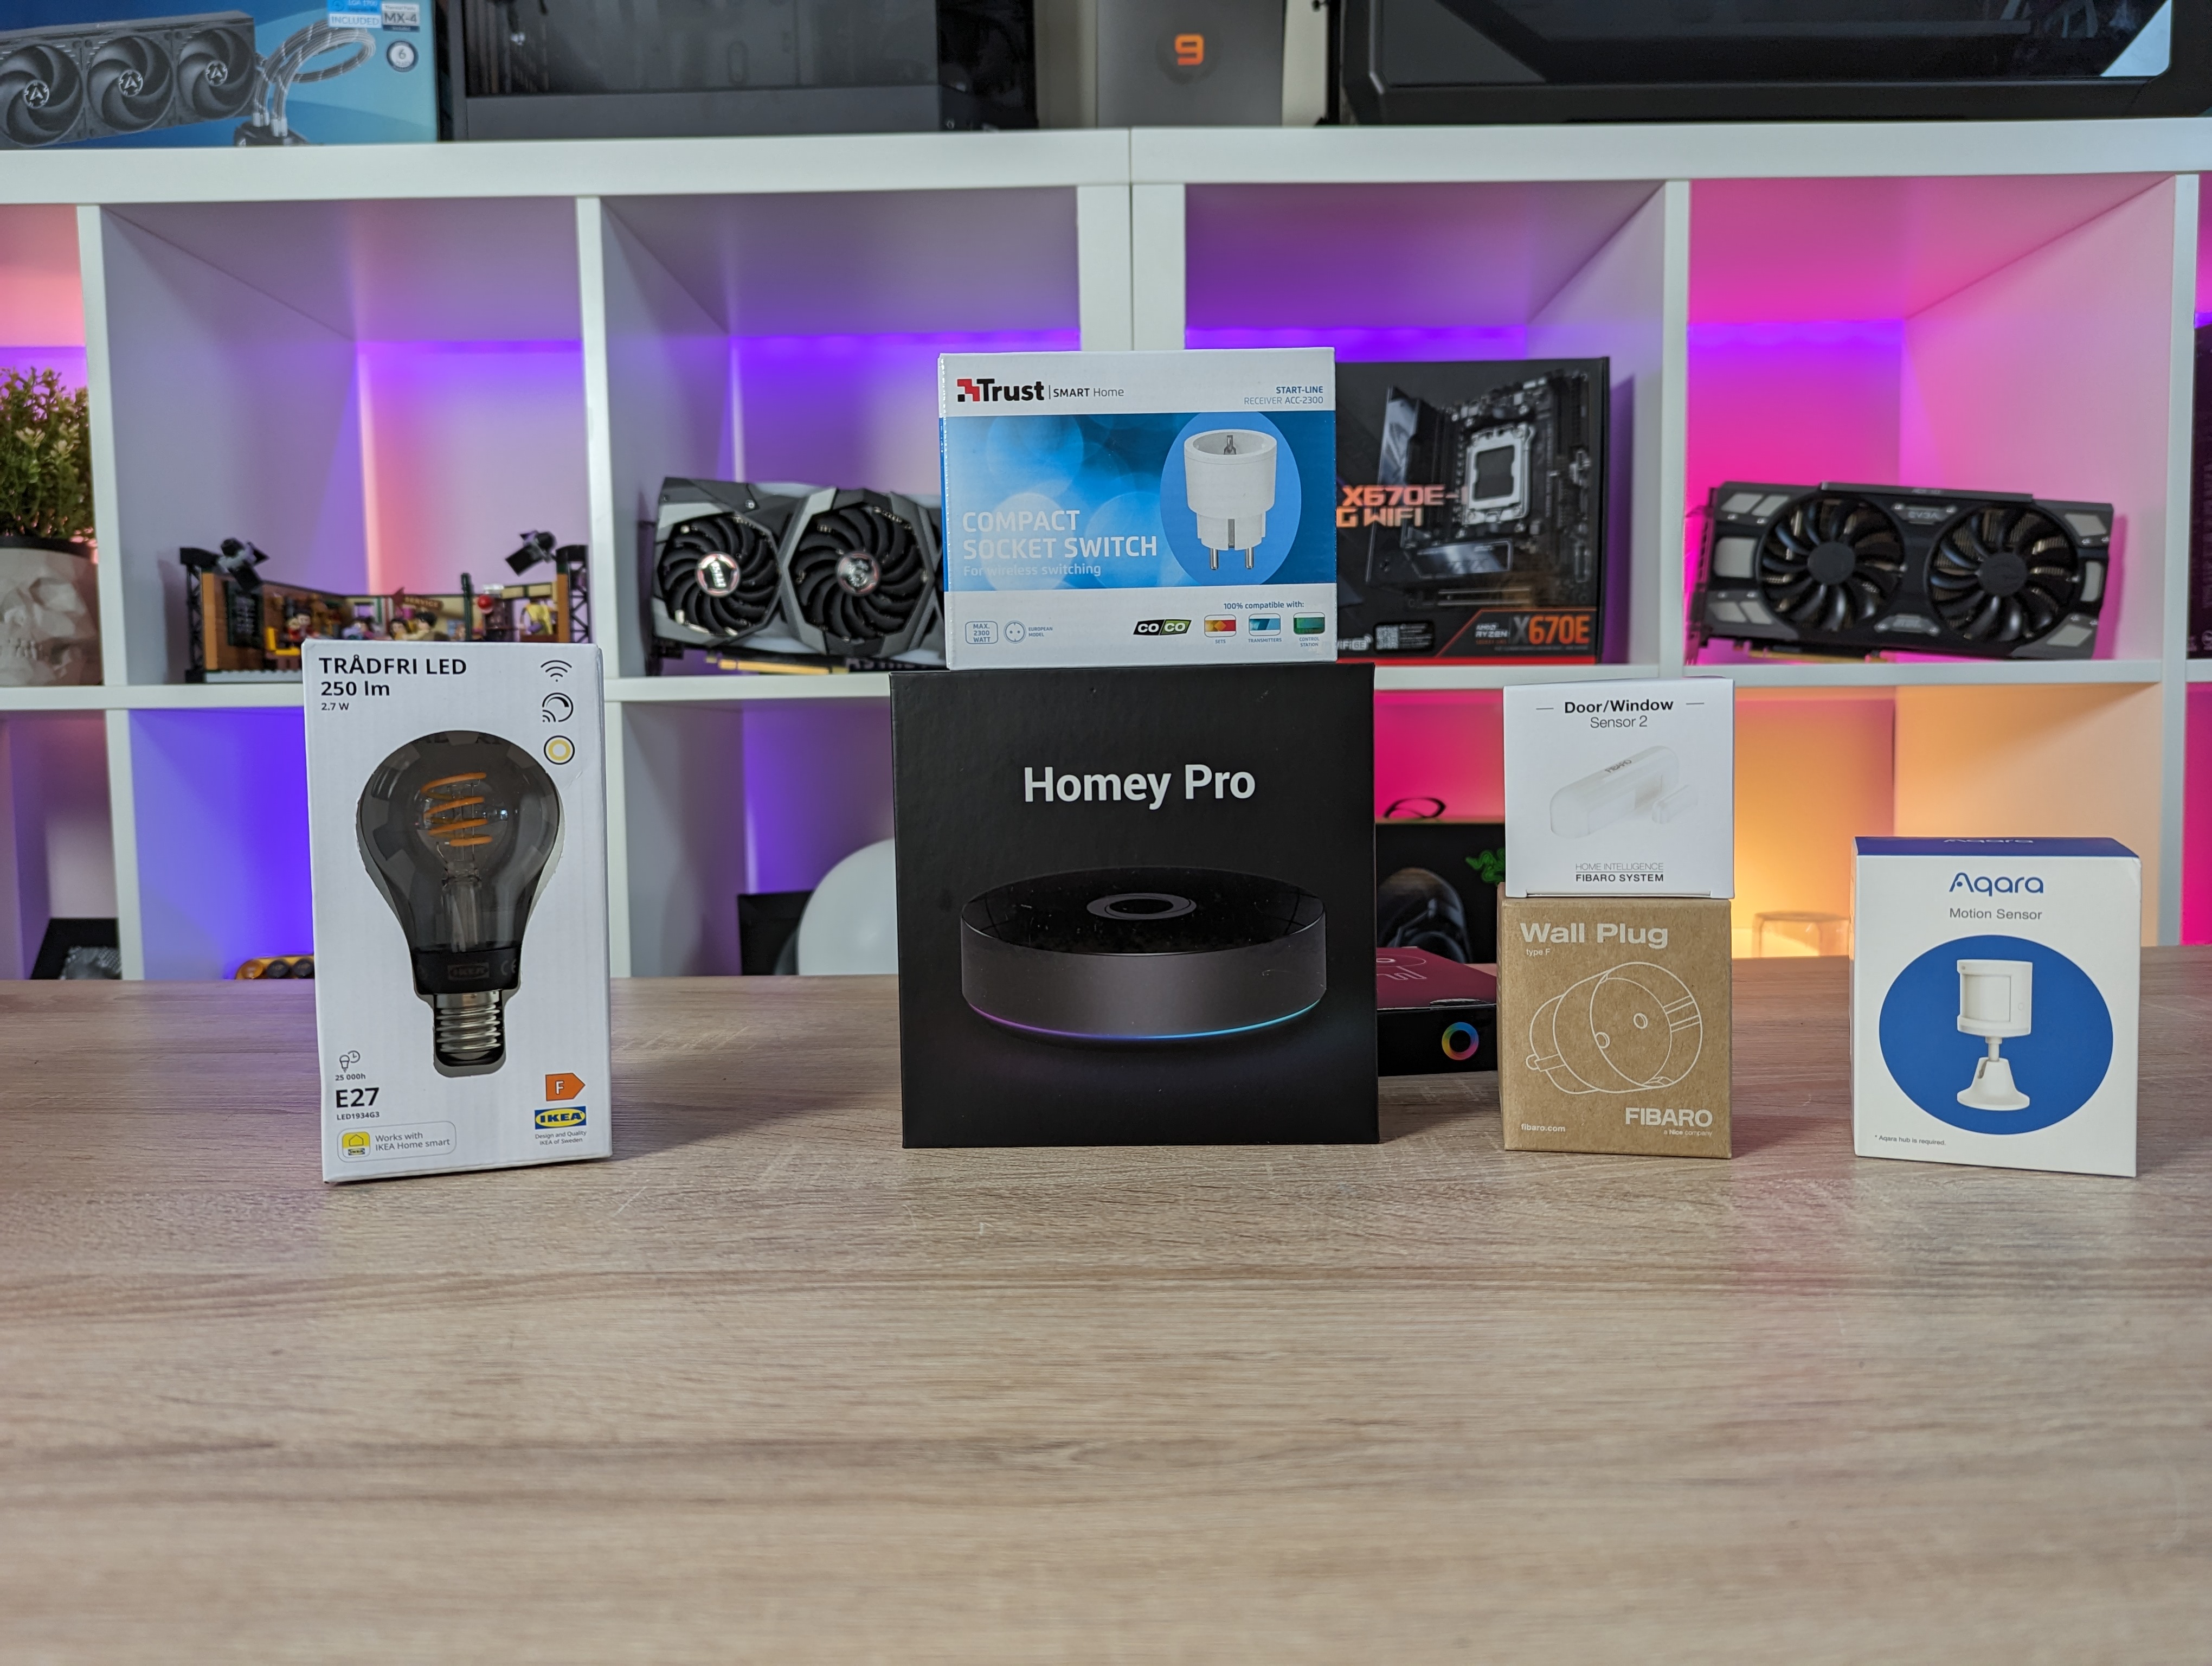
Included in our test kit was also a selection of different devices, such as bulbs, plugs and sensors. They can be added to a system partly to control lights or other connected devices, but the sensors can also be used in Flows as a trigger. It can, for example, be the door/window sensor, which can be used to start a Flow when, for example, a window or door is opened.
Overall, it took me about an hour and a half to get through the entire setup and adding all the individual devices. The units also had to be distributed between the different rooms that were created during the set-up.
It might not exactly be the funnest part of the process, but personally I think it can be very nice to set this up.
When all devices have been added, you are ready to set up the control of the devices. This is done via Flows, which can be created either via the Homey app or via a Web interface.
Free access to all the tools comes with Homey Pro. If you have one of the smaller devices, like the Homey Bridge, then it requires an ongoing subscription for certain functions.
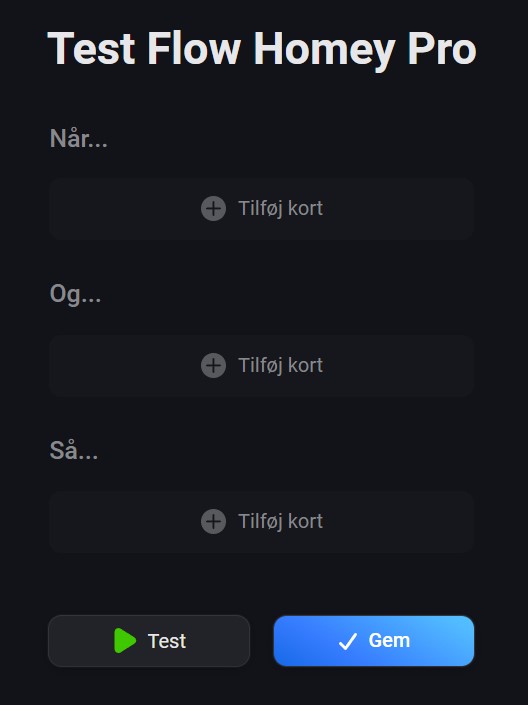
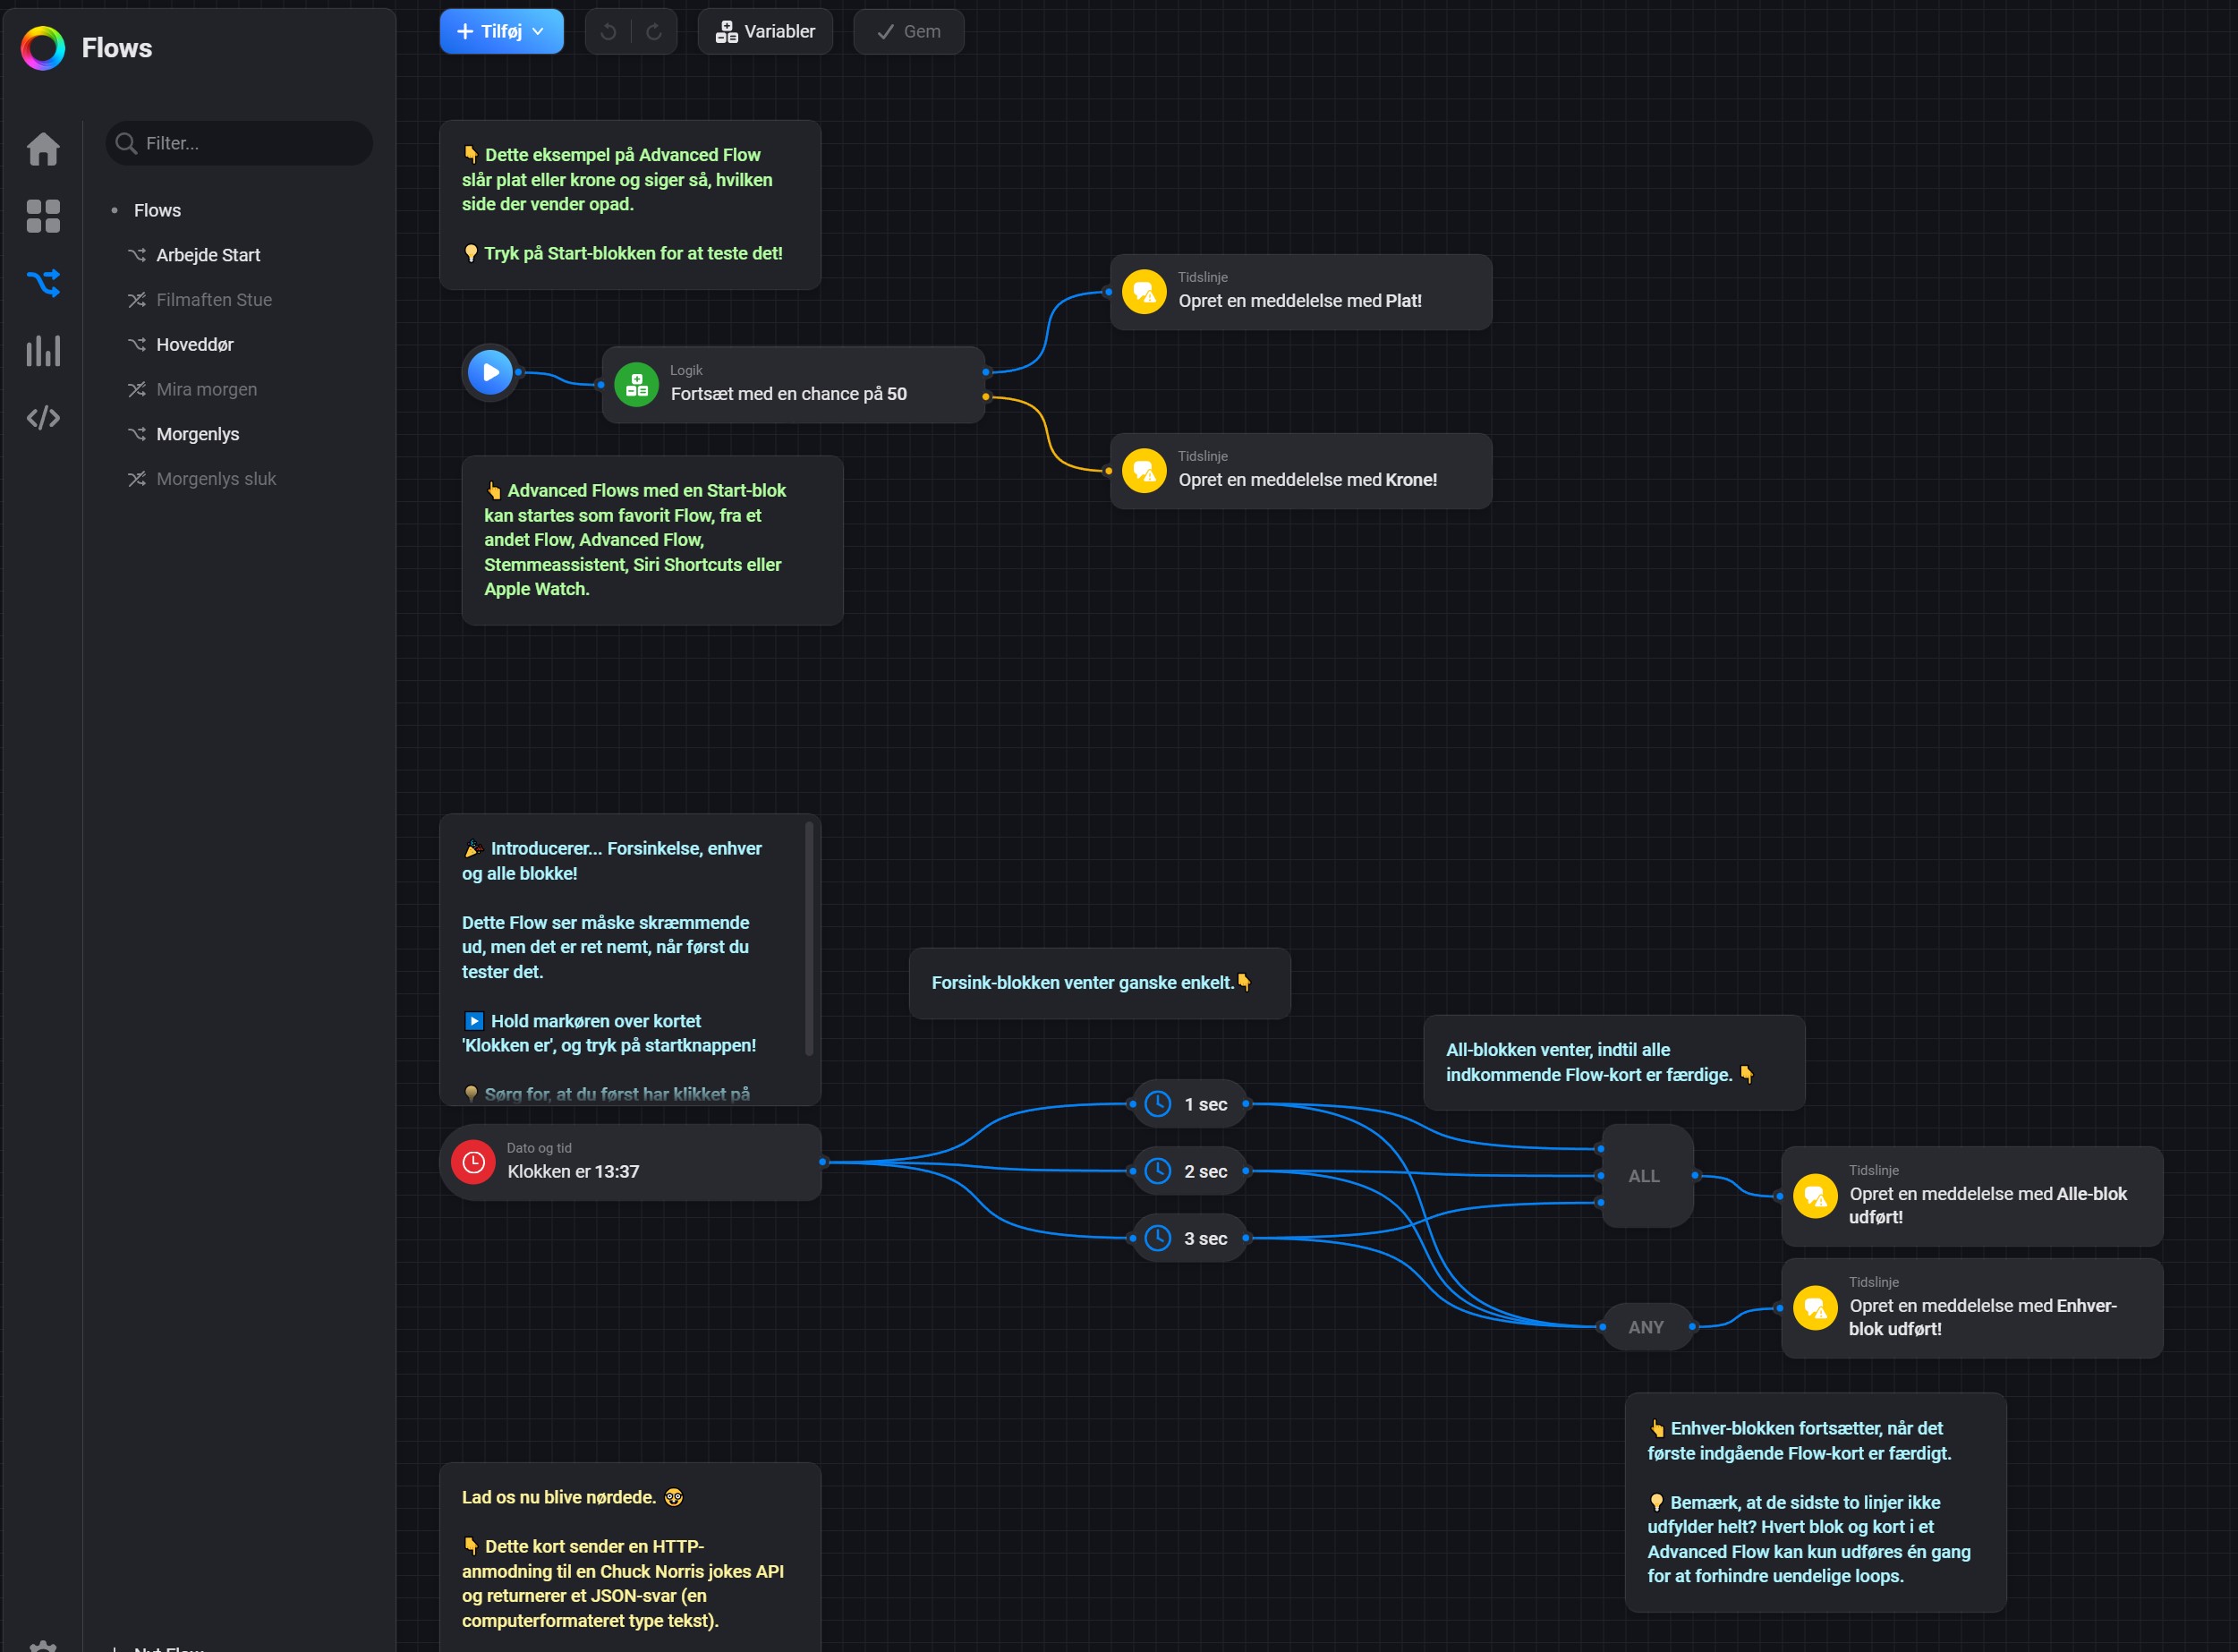
A flow can be created as a Standard Flow, with more limited, yet comprehensive options, or an Advanced Flow, which provides much deeper and advanced options right down to the code level.
In relation to the test here, I have mainly stuck to the Standard Flow part, which has been plenty for my needs.
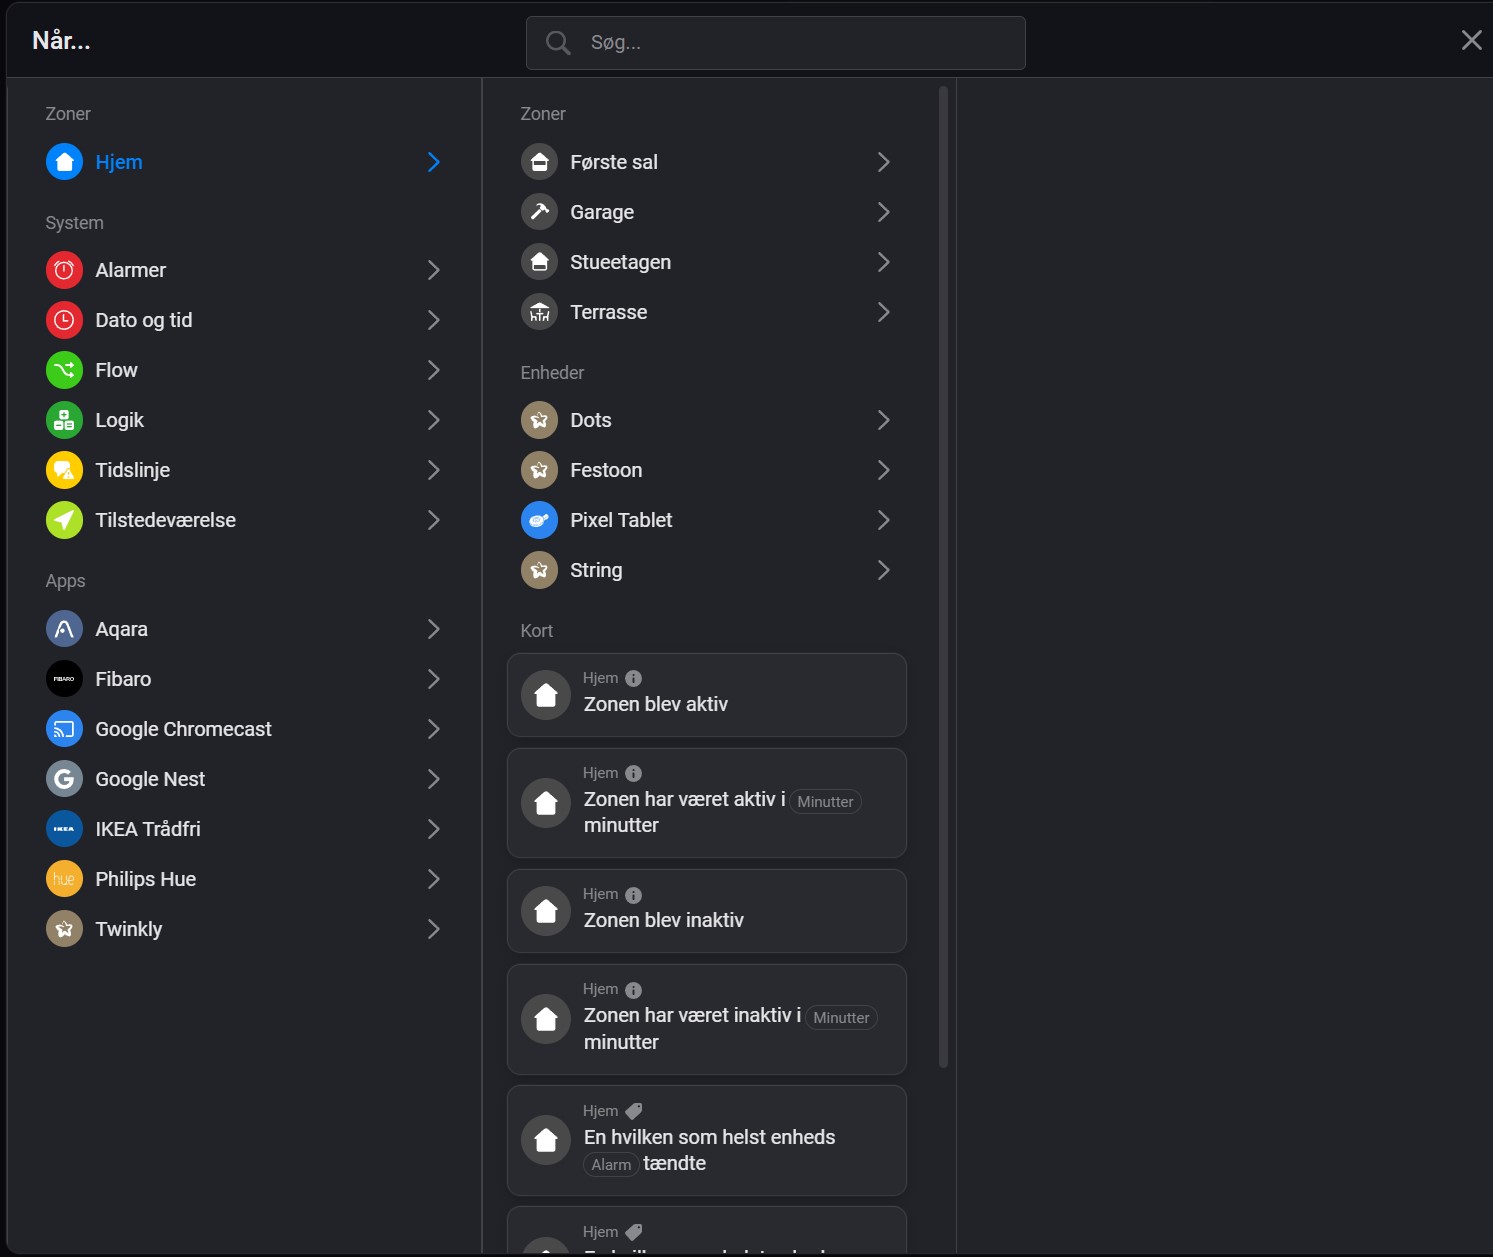
A Flow consists of a "When → (And) → Then" process, which can be set up in a multitude of different ways. A simple Flow could be one that turns on the light in the bedroom at a certain time on weekdays.
So When: The time is 06:00 And: Today is a weekday Then: Activate Philips Hue Scene
With that structure, it is possible to set up everything from fairly simple Flows, like the one we have just seen, where the light in my bedroom is automatically turned on at 06.00 on weekdays when I have to get up.
However, it is also possible to set up more specific and advanced Flows. Your Flow can be made dependent on a multitude of different factors, such as date, time, other flows, your presence, input from connected sensors, or any number of other things or a combination of things.
Which devices should be connected to a flow and how they should react and behave can also be customized in a multitude of ways.
If the regular Flows are not enough, then there is also the option of Advanced Flows, where the possibilities are even greater. Here, with the right skills, you can create very advanced Flows, which can be used, for example, to retrieve information from the web and use it as input, or a host of other things. In order to make the best possible use of the functions here, it is a great advantage to have knowledge of Java Script. The Homey Pro operating system runs a customized version of Linux based on Debian.
All in all, the possibilities with Homey Pro are far too advanced and far-reaching for me to be able to get through them in a test like this. A large part of the functions are also beyond my abilities, as I only have very limited code knowledge.
Testing
With the limitations in mind that I have just touched on, I have now had the Homey Pro set up as part of my home for about a month. I have quite a few different Smart Home devices connected, which are spread over a multitude of Philips Hue devices, IKEA Wireless, Google Home devices and then the Twinkly light that we tested not so long ago.
All the devices can be assembled easily and simply in Homey Pro, and controlled from here via Flows in one place. There is the possibility of controlling and automating the various devices in their various apps in advance, but the advantage of collecting it in one place is that they can be connected much more easily.
Some of the things could already be collected in, for example, the Google Home app, but compared to the options that you get in Homey Pro, the Google Home options are a thin cup of juice in comparison.
Previously, I could, for example, set lights etc. to turn on and off at certain times. However, the options with Homey Pro now mean that I can set up Flows, which have much more functionality than I could before in individual apps or via Google Home, for example.
On the simple front, I have set my light in the house to automatically turn on in the morning when the day is to be started. This means that the light in our bedroom comes on gently around the same time as the alarm clock rings, the light in our daughter's bedroom does the same a little later along with the light in the kitchen and living room. To round off the morning routine, the light in my office is switched on together with power for the PC etc when it is time for the working day to begin.
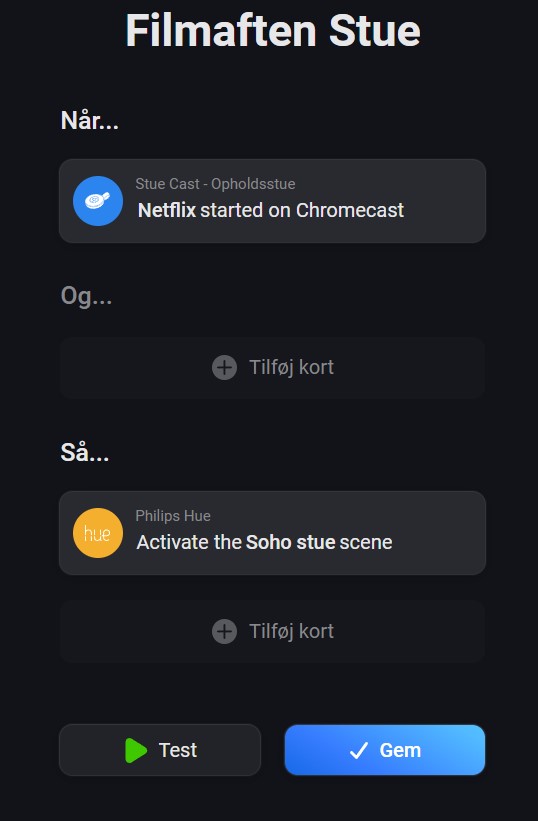
However, I have also set up a Flow that starts a certain light scene in the living room when I start the Netflix app on our Google TV. Then you are automatically ready for an atmospheric movie night. This kind of linking was, for example, not possible previously.
It is even possible to make it contingent on a whole range of other factors. It could be, for example, that it was only in the evening after 20, only at the weekend, only when I was alone at home, that it should switch to the movie light. Or I could set up a special light scene for certain times or dates. The options are much wider than is possible via other options such as Google Home or the like.
Setting up Standard Flows is fairly straightforward and can be done without much trouble. There is a bit of a learning curve to start with. This is primarily because there are as many options as there are, which requires some time to get used to.
Once you get the hang of things, however, the possibilities open up quite quickly and it is miles easier to work with the Homey interface and create Flows than other Smart Home integrations, such as applets via IFTTT or the like.
There have been a few episodes where I couldn't quite get things to work the way I wanted. For example, the above movie night example does not work if I set it to run on the Disney+ app instead of Netflix. Where the error lies, I should not be able to say.
Overall, however, I would say that I have not experienced major problems with Homey Pro and the integration with the various Smart Home devices that I have tried to connect to the system.
Homey Pro has received all the devices I've used across different manufacturers and wireless standards.
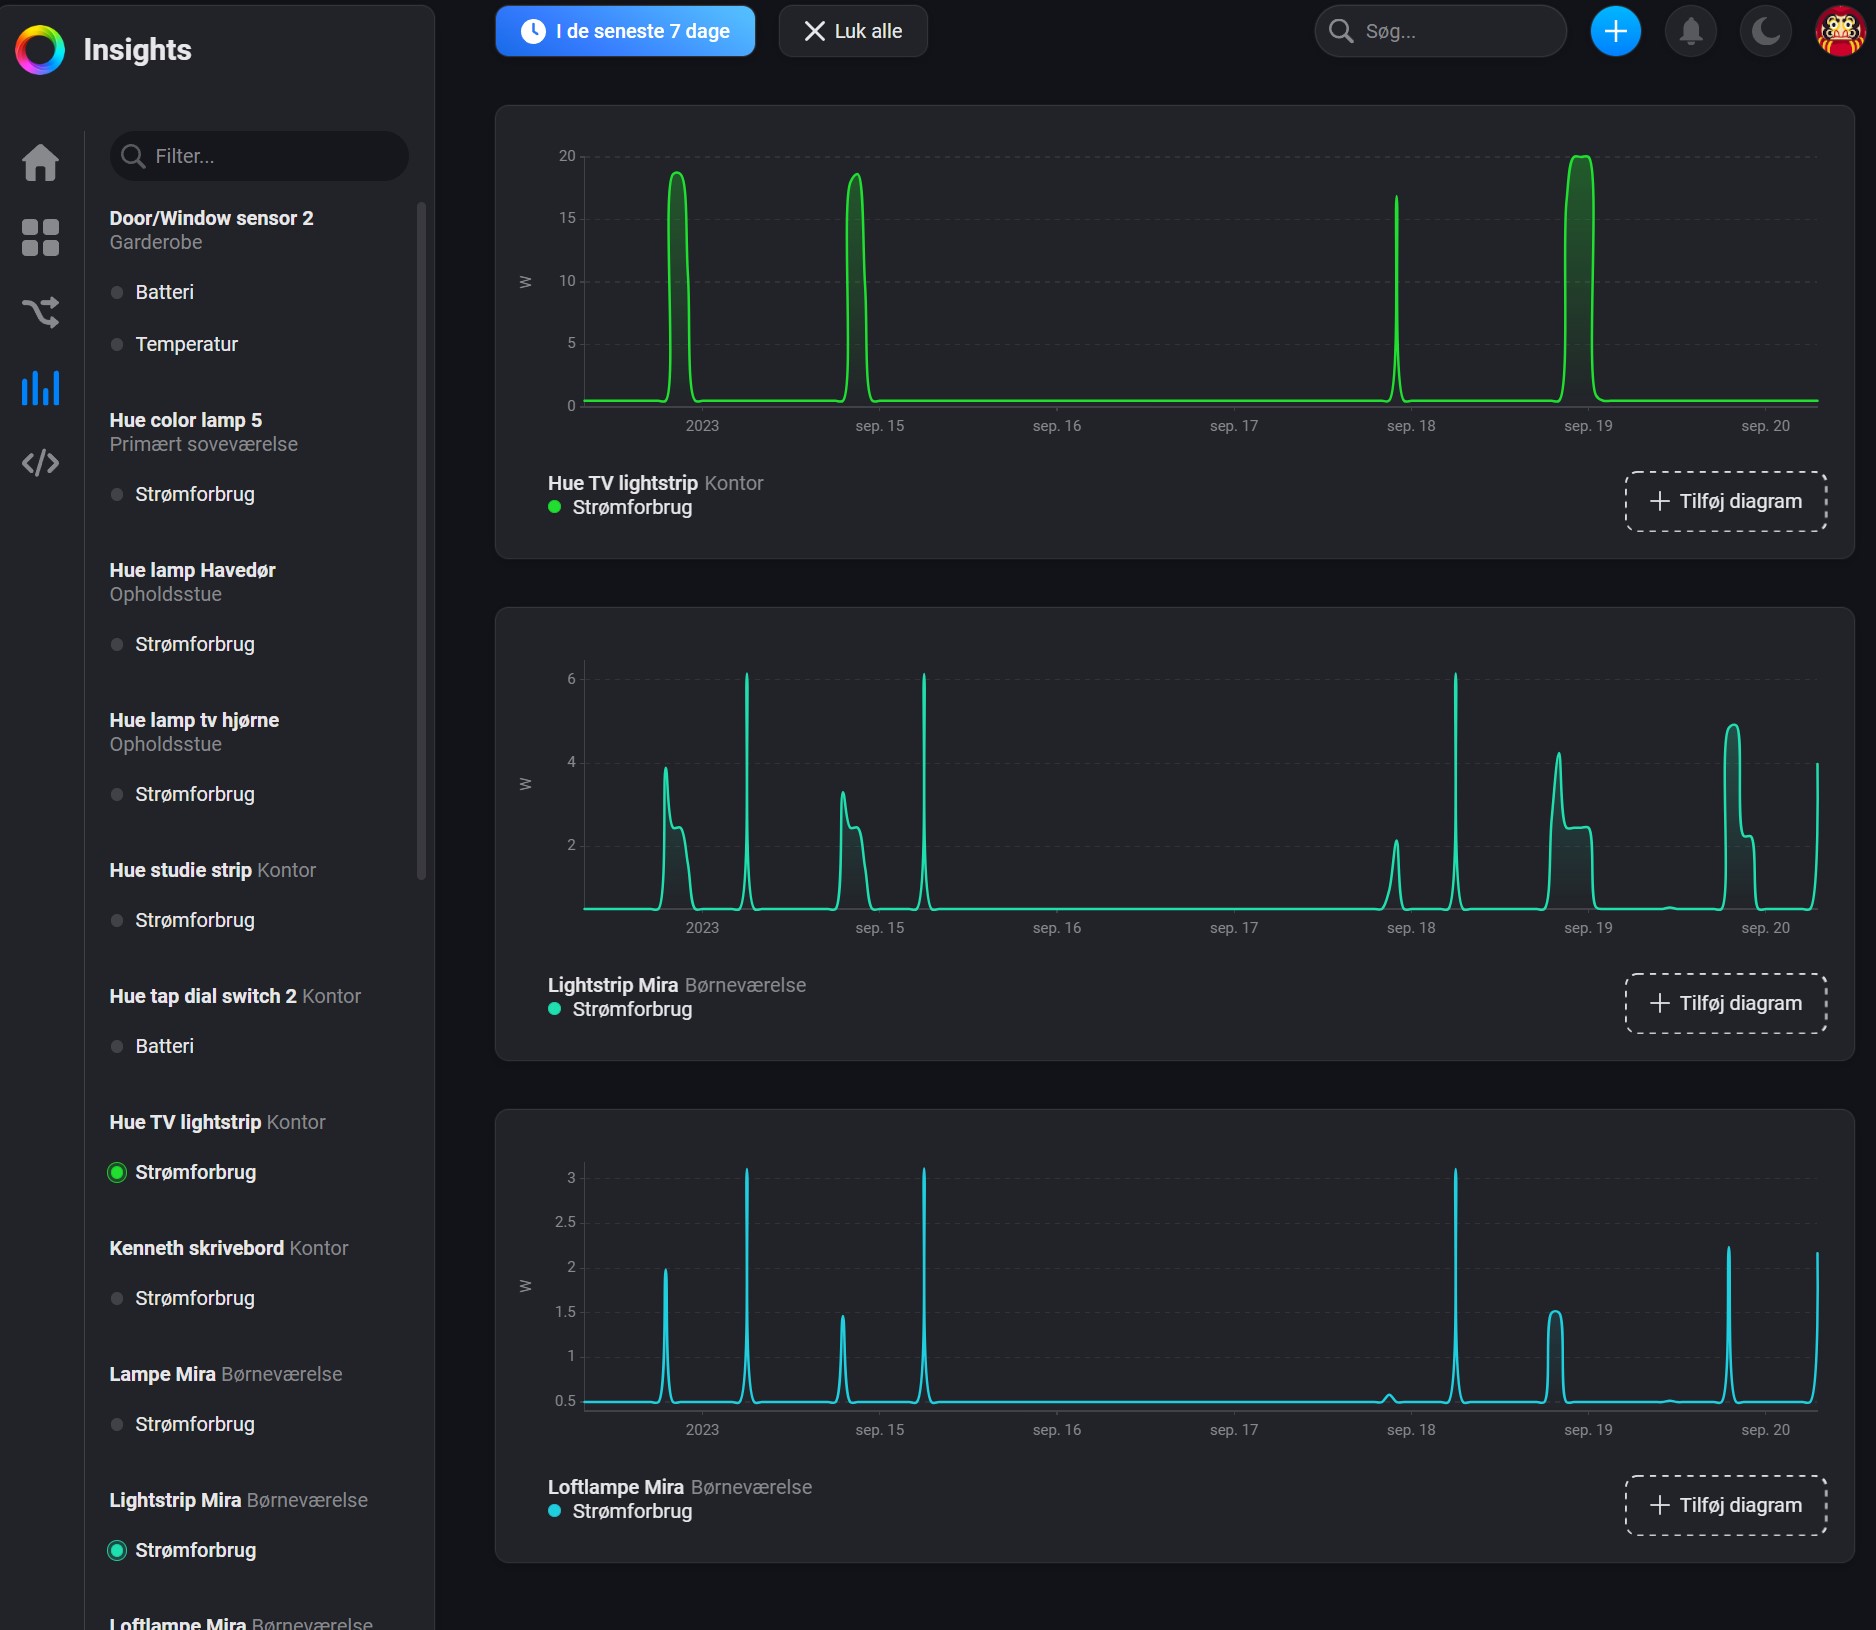
As a really good feature, the Homey Pro system can also provide an overview of your energy consumption via their App or Web interface. However, it requires that you have units that report your energy consumption, which is certainly not all. It is also possible to keep an eye on the battery status of the devices that report that information back. All that information can also be used as inputs in Flows so that you can, for example, receive notifications when devices exceed a certain energy consumption or the battery needs to be changed.
Although I have messed with the system quite a lot over the month that I have had it in the house, I really feel that I have only scratched the surface of the possibilities.
You cannot completely drop all other Smart Home apps, as there are things that cannot be fully customized via Homey Pro and the Homey App. An example of this is e.g. Philips Hue lights, where you only have fairly limited options to adapt or change the colors of the light, etc. Instead, you have to pull already set scenes and settings from your Hue setup.
So you have to switch back and forth a bit to get the best out of the system.
Price
At the time of writing, Homey Pro can be found with an online price of just under 450$. However, it also includes free access to all functions in the Homey ecosystem.
The "smaller" Homey Bridge can be had for around 100$, but requires an ongoing subscription of 4$ kroner a month if you want to connect more than five devices. At the same time, there is not support for all things, so you have to do without Thread and Matter, for example.
Conclusion
With Homey Pro, Athom has created a delicious and complete product, which to such an extent manages to gather a multitude of Smart Home devices under one umbrella.
The options for setting up and controlling the many devices, across brands and protocols, means that you have incredibly large opportunities to create automations regardless of which wireless protocol the manufacturers have chosen to use.
It can be overwhelming at first as there are SO many options. If you spend a little time getting to know things, then, all else being equal, it is a fairly accessible way to create Flows.
The possibilities are even greater if you have a flair for coding and can utilize the options available for advanced Flows.
The price is on the heavy side, but if you want to take your Smart Home game to the next level, Homey Pro is a solid addition to the home.
We end up with a final grade of 9 and an Enthusiast Only award, for a complete product with lots of options for both beginners and super experienced Smart Home fans. However, it is a product aimed at super fans of Smart Home, and people who want something more than just having fun with it.
Pros:
Cons:


