24 Sep
smart home


**Sponsored content.
Video surveillance can be a strong asset in the fight against burglars, which is why we have teamed up with NETGEAR to showcase three different types of cameras from their Arlo-series. We’re going to take a closer look at NETGEAR Arlo Q, Arlo Q Plus and the Arlo Pro.
We’ve received three different cameras, all of which provide different functionality and match different needs and budgets.
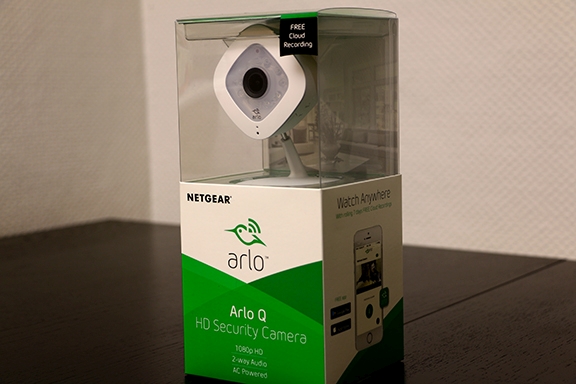
Kicking it off with the Arlo Q series, which is a Full HD camera with no less than eight LEDs in the front. This allows for nighttime recording. Arlo Q is driven by a standard 5 volt 2.0amp MicroUSB cable. These specifications are also true for the Arlo Q Plus, but this model is also delivered with free cloud sync, PoE power and SD card functionality.
Arlo Q is a sweet little thing that contains a Full HD camera in the middle, surrounded by eight LEDs that can light up the surrounding area in the dark. Arlo Q must be connected to a power source via included MicroUSB and 5-volt 2Amp converter.
On the rear of the Arlo Q is where we find the MicroUSB in, for power. Furthermore, you’ll find a sync button, which is used to connect the Arlo Q camera to a nearby Wi-Fi network. Should you run into issues with the camera, there is also the possibility of resetting it with a pointy object, in the slight indentation, aptly named reset – at least 10 seconds is required.
Arlo Q Plus looks a lot like its little brother. The difference lies in the Arlo Q Plus can pull power from the network via PoE (Power over Ethernet) protocol. The included PoE adapter can be found in the box, should you prefer to send data via Wi-Fi. Arlo Q Plus also supports SD cards, should you wish to store your data locally.
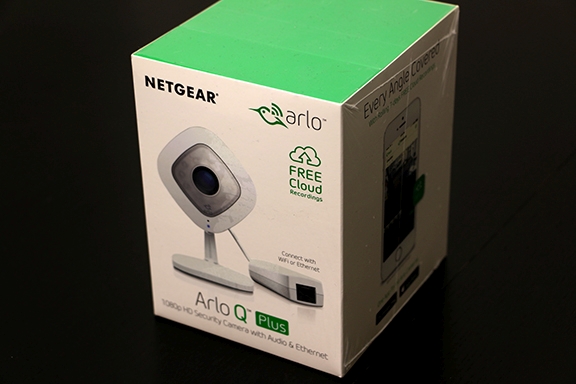
Arlo Q Plus has the same functionality as the Arlo Q on the rear panel, but you’ll also notice a slot for microSD. Should you wish to use the microSD, it’s important to notice that you will need a Class 10 card, in order to meet the requirements for FullHD streaming.
There’s a 240V to 5V adapter included as well as a wall mount bracket – allowing you to hang the cameras. Along with the bracket there are raw plugs, screws and double-sided tape.
Arlo Pro on the other hand is 100% wireless and only require you to charge the batteries once they are nearing depletion. Contrary to Arlo Q, the Arlo Pro “only” records in 1280 x 720 pixels. Arlo Pro is, as the only camera in this bundle, IP65 certified, which means that the cameras are dustproof as IP Class 6x has a higher particle protection. IP Class x5 means waterproofing at hosing from all sides – such as rain and snow.
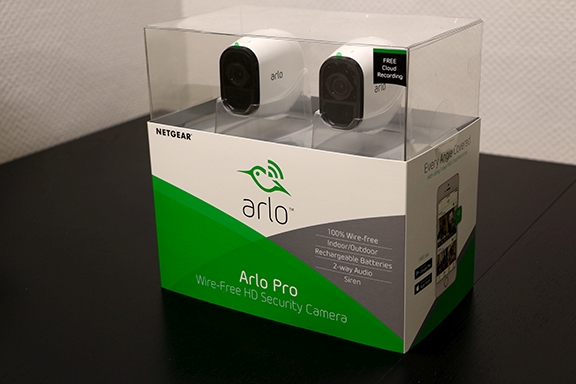
Arlo Pro also comes equipped with 2-way sound. This enables you to both hear what is happening around the camera and speak to a potential burglar.
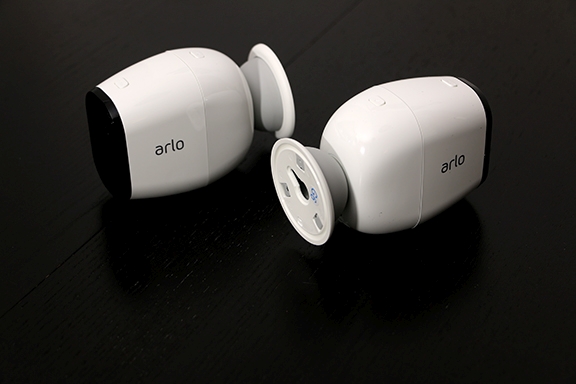
Arlo Pro is a completely different size than the Arlo Q cameras. The Camera itself is encapsulated in a plastic frame, which serves to protect the sensitive hardware inside.
The cameras are kept company by two rechargable batteries. You can easily open the Arlo cameras with one push, and you can slide the battery in place, powering up the camera.

With the Arlo Pro comes two large magnets with pre-drilled holes for mounting on the rear. The magnets can be attached to any surface and the camera attached after. The magnets are quite strong and there should be no danger of the camera coming loose in the event of bad weather. If they need charging, you will receive a push notification on your phone, and it’s quite easy to take down the cameras and bring them inside for charging.
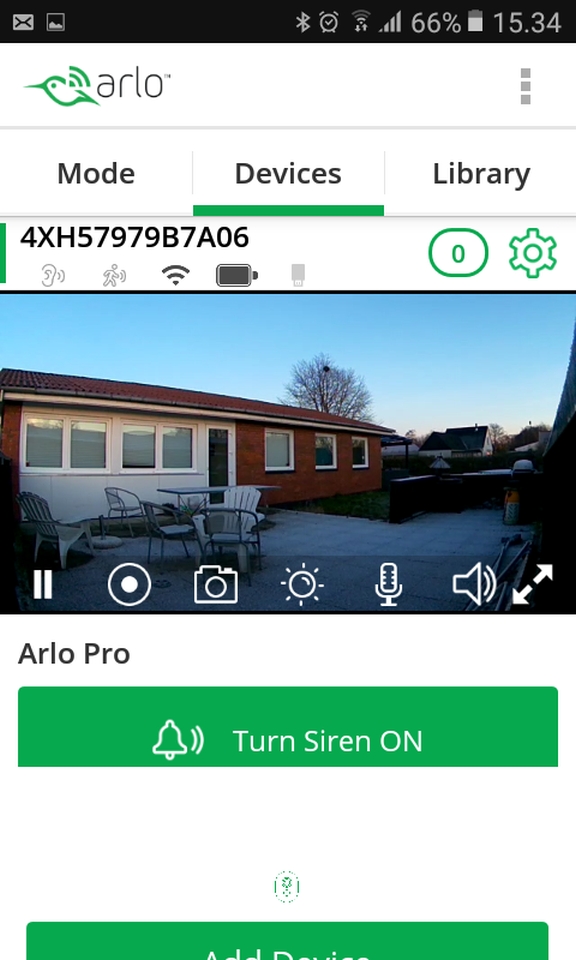
Arlo Pro has a hub included, which should be connected to your home network inside the house. The hub has a built-in siren, at 100+ dB – according to NETGEAR. For obvious reasons I have not explored this, as I wouldn’t want to distress the neighbors.
There will be two different installations to look at in this test. We have the Arlo Pro wireless cameras and the Arlo Q and Arlo Q Plus. The latter two has the same mounting and used, therefor they will be reviewed as one, to avoid tiresome reading.
First step on your way to make NETGEAR Arlo cameras functional is to install NETGEAR’s Arlo app from your preferred Appstore. In our case it is Google Play, but naturally you’ll find it on other platforms as well.
Seeing as we’re dealing with a new Arlo installation in this house, we’ll be making a new Arlo account to get started. You should press “New to Arlo?”, which helps us get started.
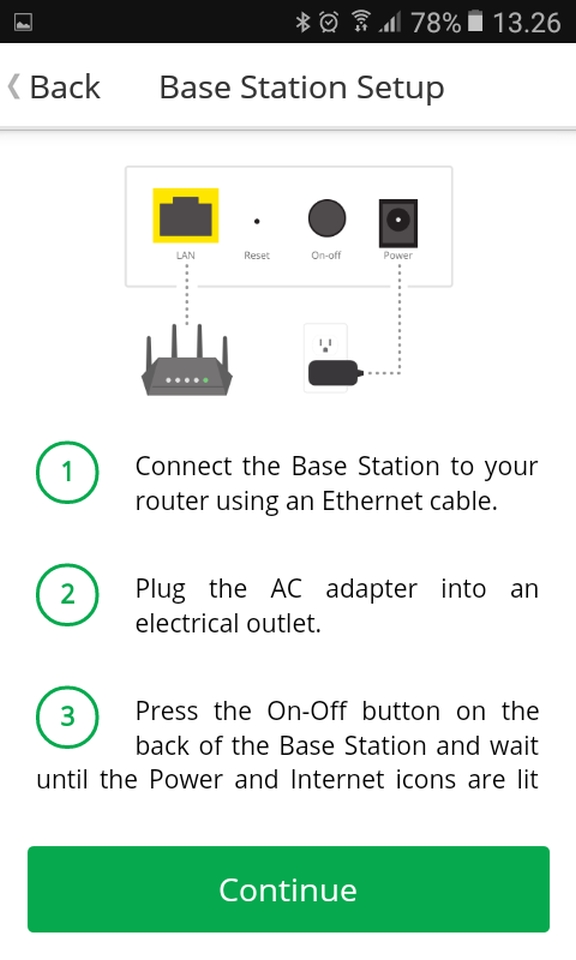
Before setting up your account, the app wants to know what kind of camera you are going to be setting up. We select the Base Station on the list, as it is the first step in the installation of the Arlo Pro system. The app clearly guides you through the process of setting up your system – there’s hardly anything that can go wrong.
After setting up the Base Station, time has come to type in your personal information, allowing you to get cracking with your new Arlo system. After setting up your user, you’ll receive an email with a confirmation link. Once you’ve confirmed you are the owner the account is ready for use. The entire process is simple and straightforward.
NETGEAR offers different plans according to your need. We’ve decided to go with the free version, which can save up to seven days of recording. The recording starts when the system is activated and recording movement in the field of view. You can also invest in the Premium solution, priced at [INSERT UK PRICE] a year. With this plan you’ll be able to save a month’s worth of recordings and supports up to 10 cameras. Finally, there’s ELITE, which costs [UK PRICE] and offers 60 days of stored recording and support for as many as 15 cameras at once.
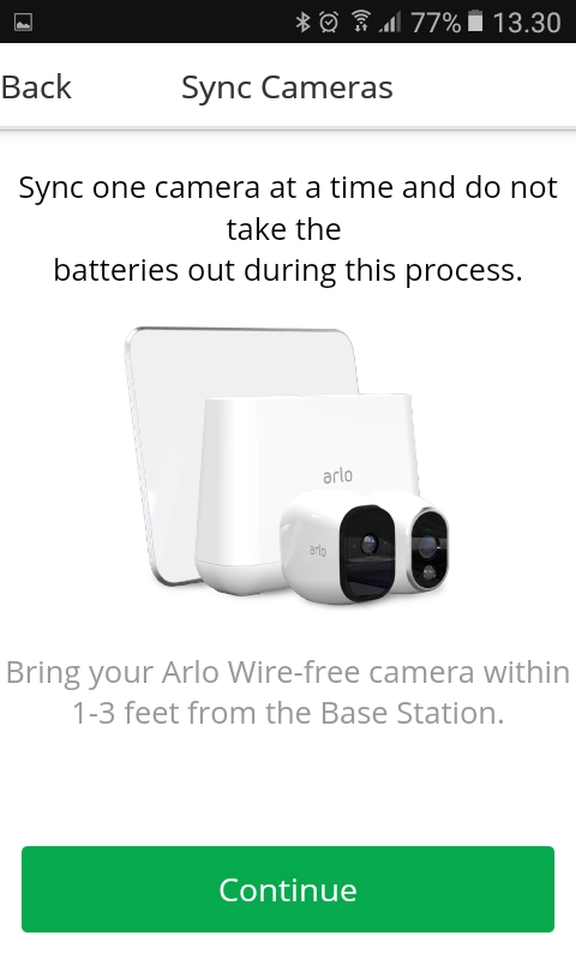
Now it’s time to sync the cameras with the Arlo Pro box. There are quite easy to follow instructions on-screen. Sadly, we experienced some issues with one camera not being able to synchronize. That’s why you’ll only see streams from one Arlo Pro camera. However, when the camera works the synchronization is very straight forward.
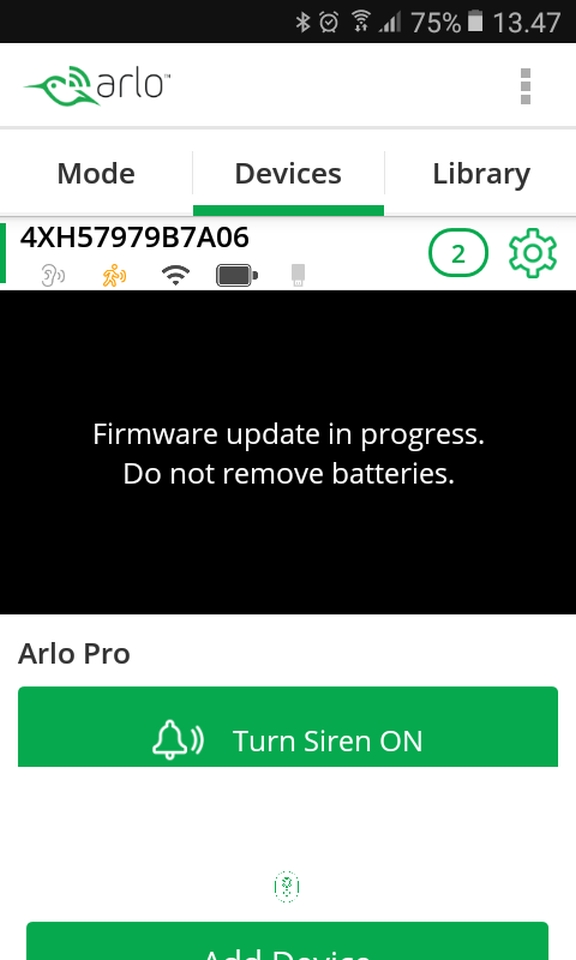
Upon the first start of the Arlo box and the camera we’re met by these pictures, where the firmware of both needs to be updated. After the update, which didn’t take more than a few minutes, the units rebooted and hereafter the box and camera was ready to use.
The camera has been mounted on my deck to film into the back yard and on the door, allowing me to watch for any undesired activity out there.
Arlo Pro Wireless cameras are supposed to be able to withstand all kinds of weather and temperatures. The cameras come charged fully from the factory, which is why we haven’t tested the charge time.
As mentioned, the Arlo Q and Arlo Q Plus are set up in the same way. However, Arlo Q Plus does have extra functionality, such as SD card- and PoE support. Therefore, the following is a combined walkthrough.
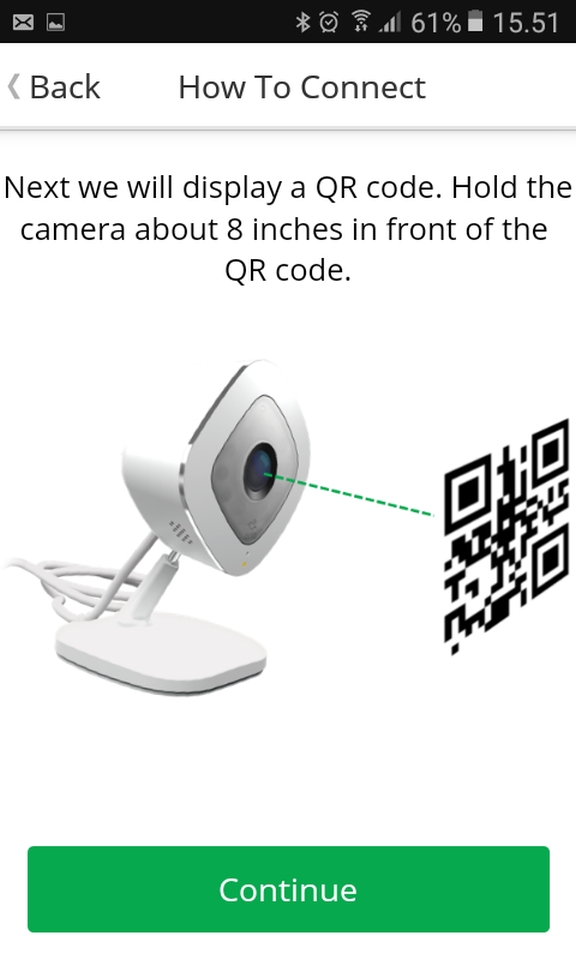
Setting up the Arlo Q cameras can be done via ethernet as well as Wi-Fi. As mentioned, Arlo Q Plus also supports PoE, which the Arlo Q does not. We’ve decided to use the Wi-Fi setup on the Arlo Q plus unit, and therefor we must attach the included 2-meter MicroUSB cable to power the camera.
Once again, the setup is clearly explained to us on screen, and even though it took some finesse to get the camera to recognize the QR code, it really wasn’t difficult. Just follow the on-screen instructions and you will be golden.
After the relatively easy setup, the app will register the new camera, which takes about 60 seconds. If you have bought an Arlo Q camera and do not have the app yet, you’ll have to go through the setup, like the one on the Arlo Pro.
The Arlo app has three different menus, and under “devices” you’ll be able to see all your registered units. In the “mode” section, you can enable or disable the motion sensor functionality. This is also where it’s possible to make schedules for recording on different hours of the day. In “library” you can find old recordings and pictures that has been taken because of the motion sensor.
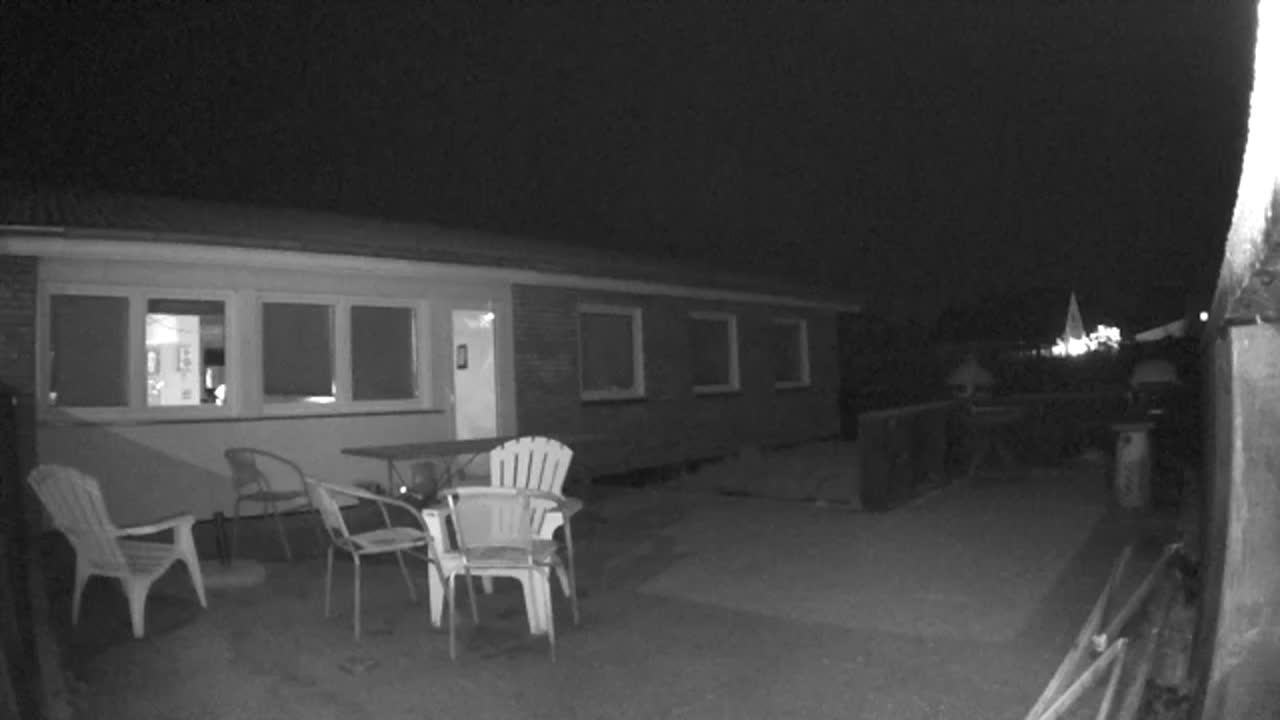
Both cameras come with Night Vision and naturally we need to test that as well. Common for the Arlo cameras is, that they with Night Vision record in black/white, which is the only thing that really makes any sense, anyway. Colors would be come smudged with Night Vision enabled. The pictures have been taken manually with the Arlo app.
Starting with the Arlo Pro, it’s quite decent imagery, and it’s quite clear what the camera is catching in the dark.
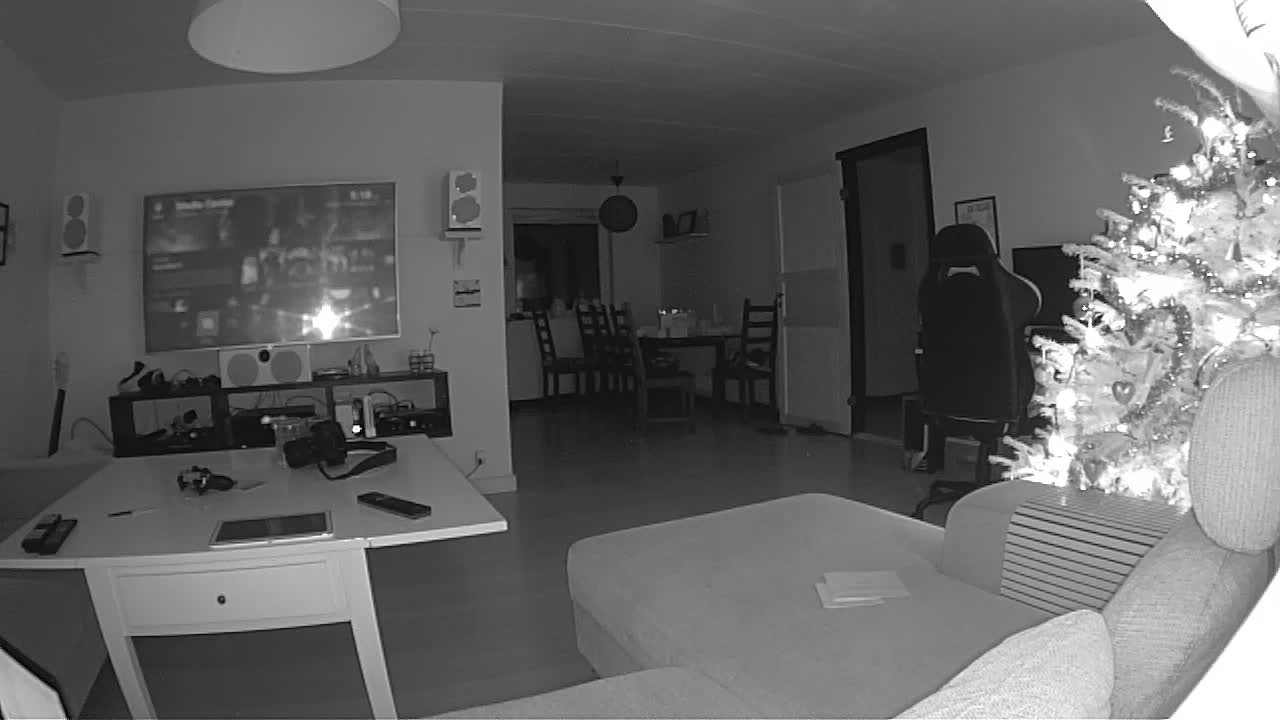
The Arlo Q cameras provide slightly more clear imagery in the nighttime, but there are things like a Christmas tree in the living room, assisting them. There should be no doubt that this image would be useful as evidence, should a burglar decide to visit.
With the NETGEAR Arlo cameras you will find a double-sided sticker to place in your windows or doors, allowing potential unwelcome visitors a chance to see that Arlo will see you.
The cameras are priced at $949.99 for the NETGEAR Arlo Pro.
The NETGEAR Arlo Q is the cheapest option set at $199.99.
Finally, the NETGEAR Arlo Q Plus has been priced at $249.99.
If you as a regular consumer or as a small business owner are looking for a decent surveillance system, the Arlo Q solutions from NETGEAR are worth a look. Both the Arlo Q and the Arlo Q Plus are beastly solutions for indoor surveillance. The cameras look decent, installation is smooth – if you can get over the QR issues.
For outdoor use with the motion detection, the Arlo Pro system is great. The Arlo Base unit can control up to 15 cameras with an Elite subscription. A regular, free, subscription is limited to 5 cameras, which should be more than enough for the average consumer. Setup of the Arlo Pro is straight forward, just like on the Arlo Q cameras you’re guided easily through the setup on your mobile device.
Regarding image quality, the images are clearer than you’ll need to use for evidence of a burglary. The Night Vision is recorded at lower DPI, but quality remains good, and it is easy to see what happens. Video recording is done with 3-5 seconds of delay, which is just a part of the package. The delay is reasonable and won’t really matter during a potential burglary.
The software for your mobile device works great and upon a motion sensor being tripped, you’ll get an instant notification on your phone. Meaning you’ll always be kept in the loop.
Looking at the price you could probably get a cheaper solution, however we’re 100% convinced that it isn’t standard to offer the same level of quality and user friendliness as the Arlo’s do. Arlo Pro is by far the most important solution, but technically you do get an alarm system with a 100+ dB siren and surveillance. Everything considered, the NETGEAR Arlo series have deserved a 9,5 on the scale and a Great Product Award.