13 Jun
smart home


Specifications
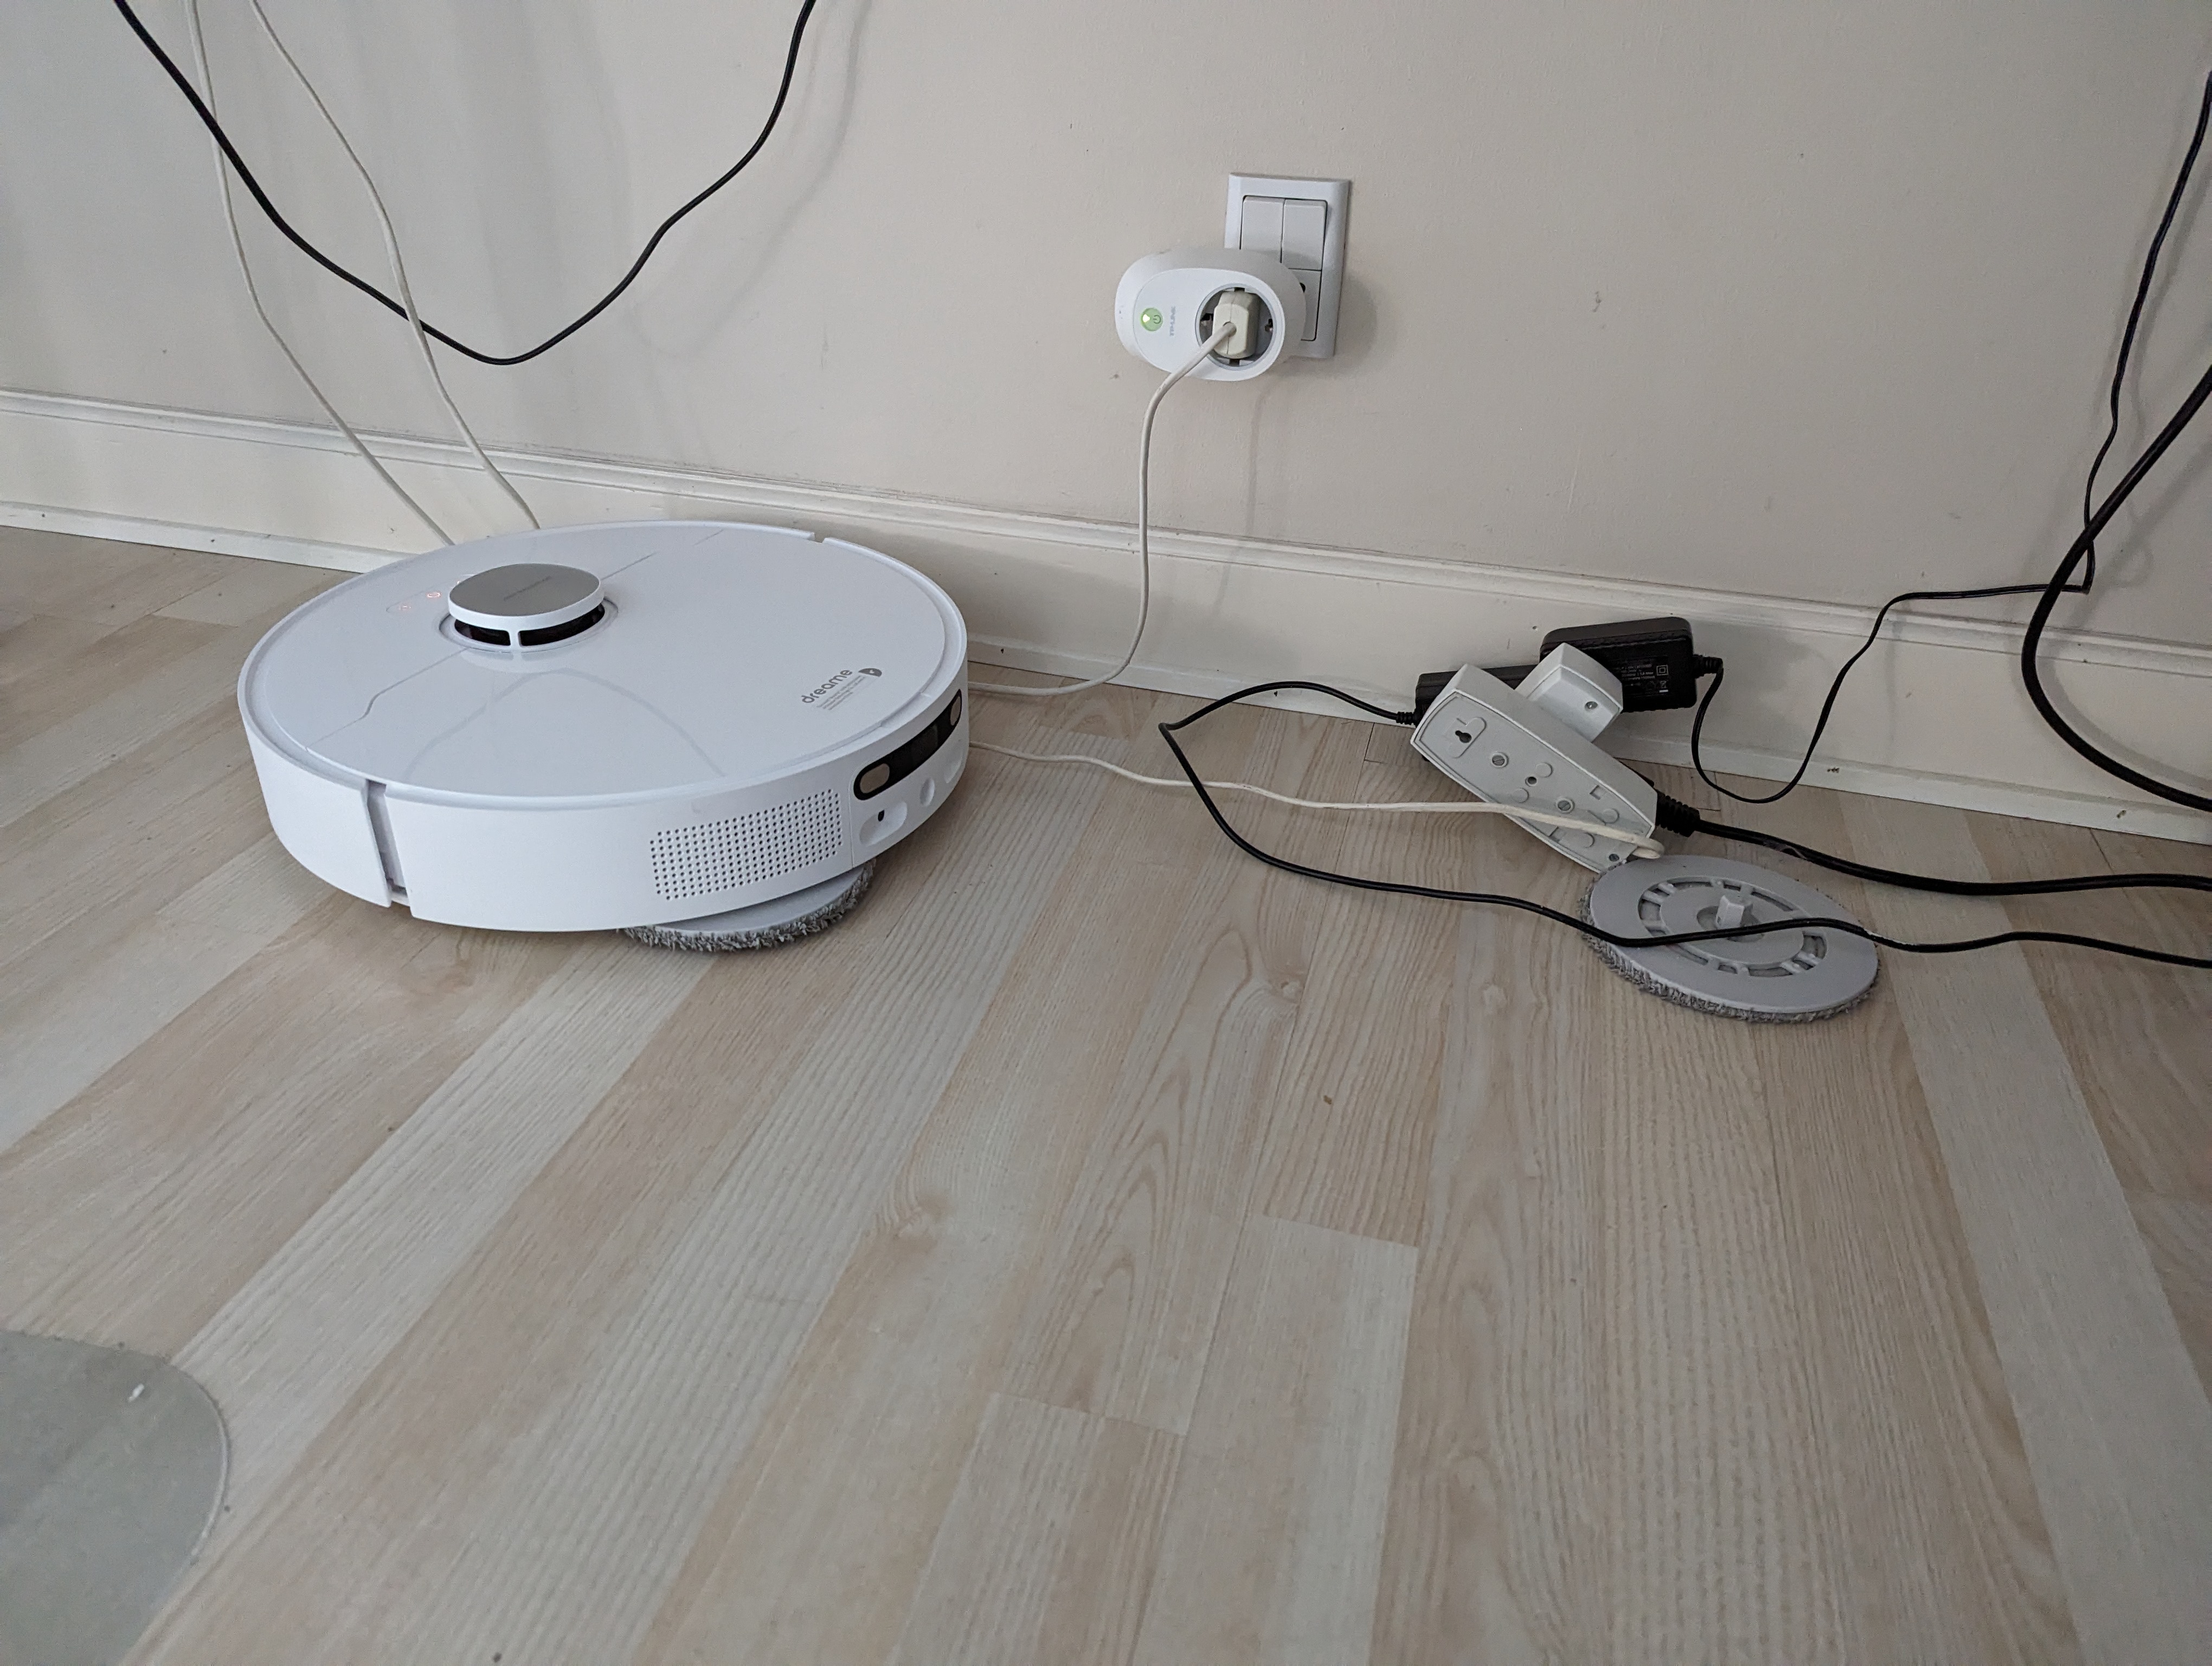
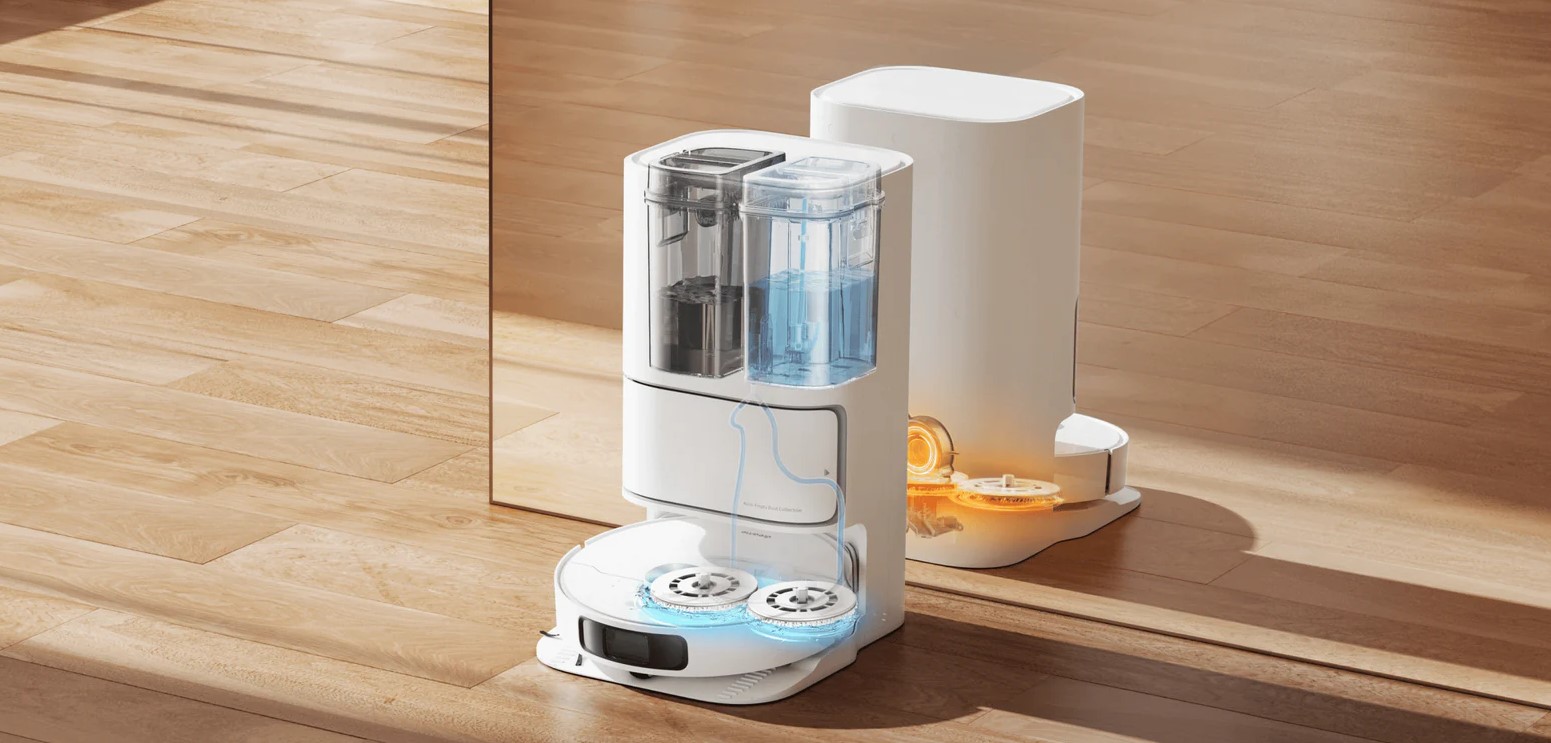
As we can see, it is a complete unit consisting of the robot vacuum cleaner itself and a base station for charging. We can also see that it is possible to combine both vacuuming and floor washing.
A walk around the DreameBot L10 Ultra
If we look at the total size of both the vacuum cleaner and the base station, it takes up a bit of space in the landscape. So in relation to the size, you must of course take that into consideration before you buy it.
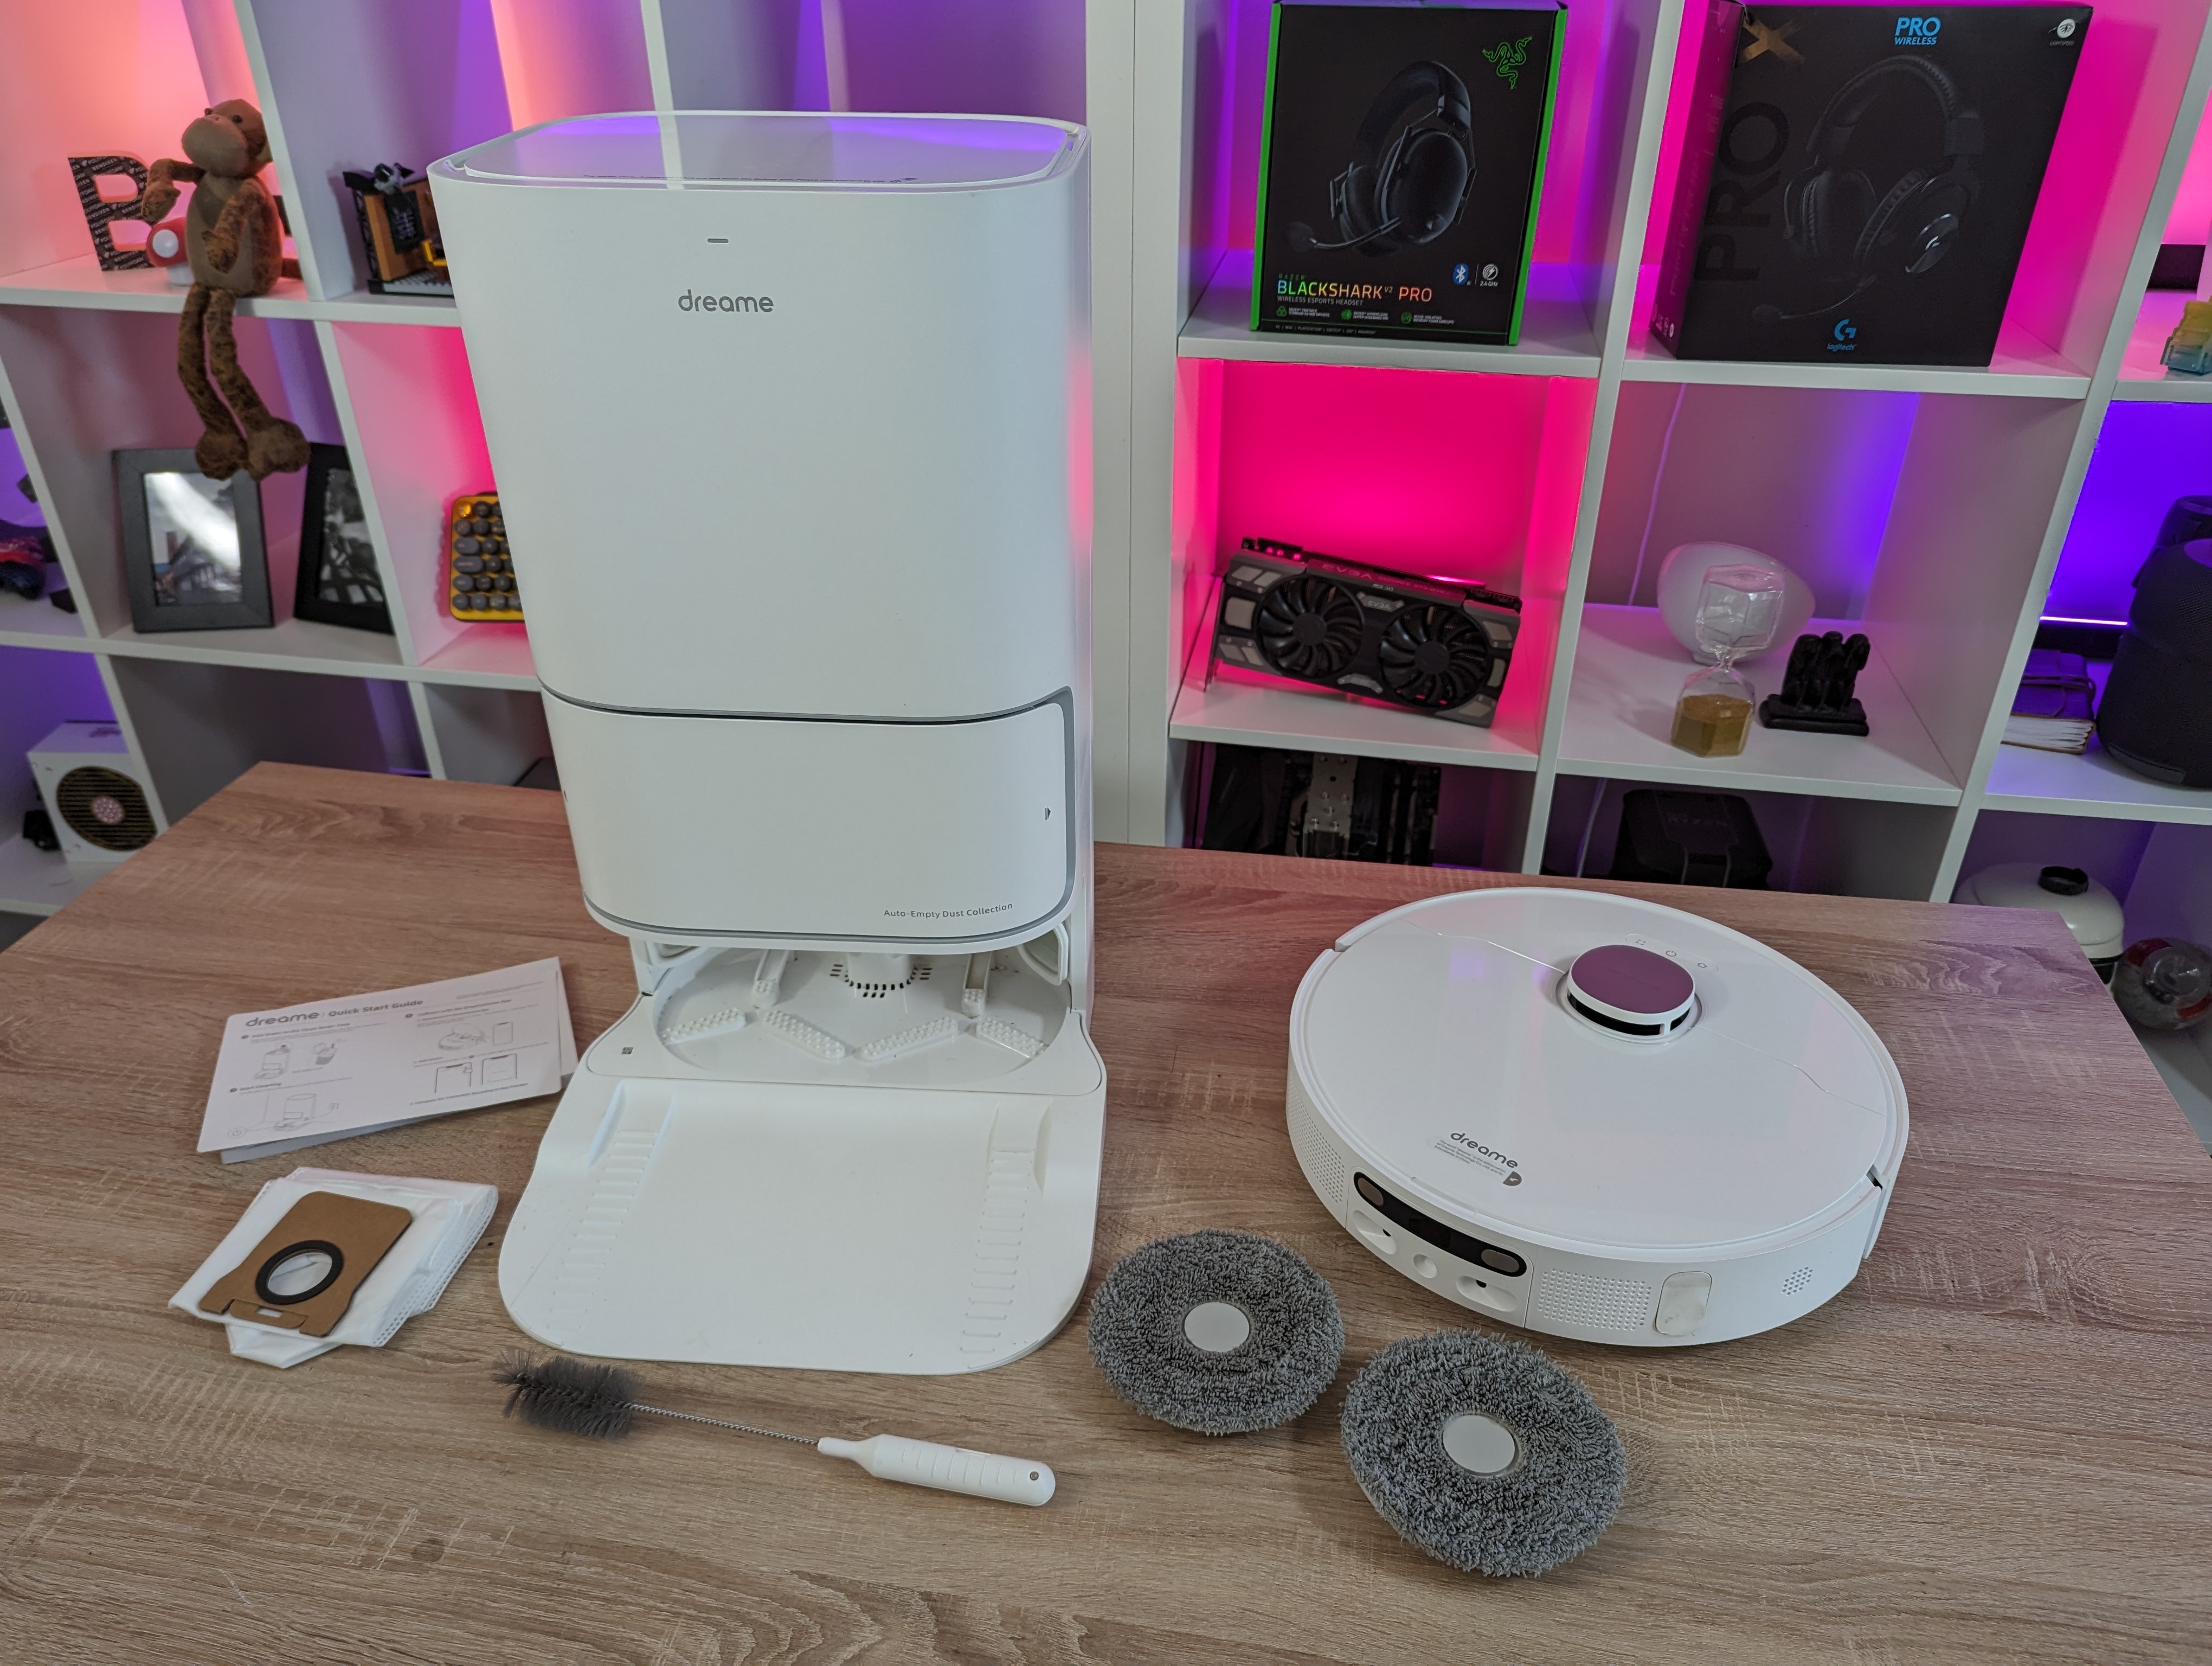
However, the design of both the base station and the vacuum cleaner is nicely discreet and does not stick out too much if it is placed in a slightly secluded place in the home.
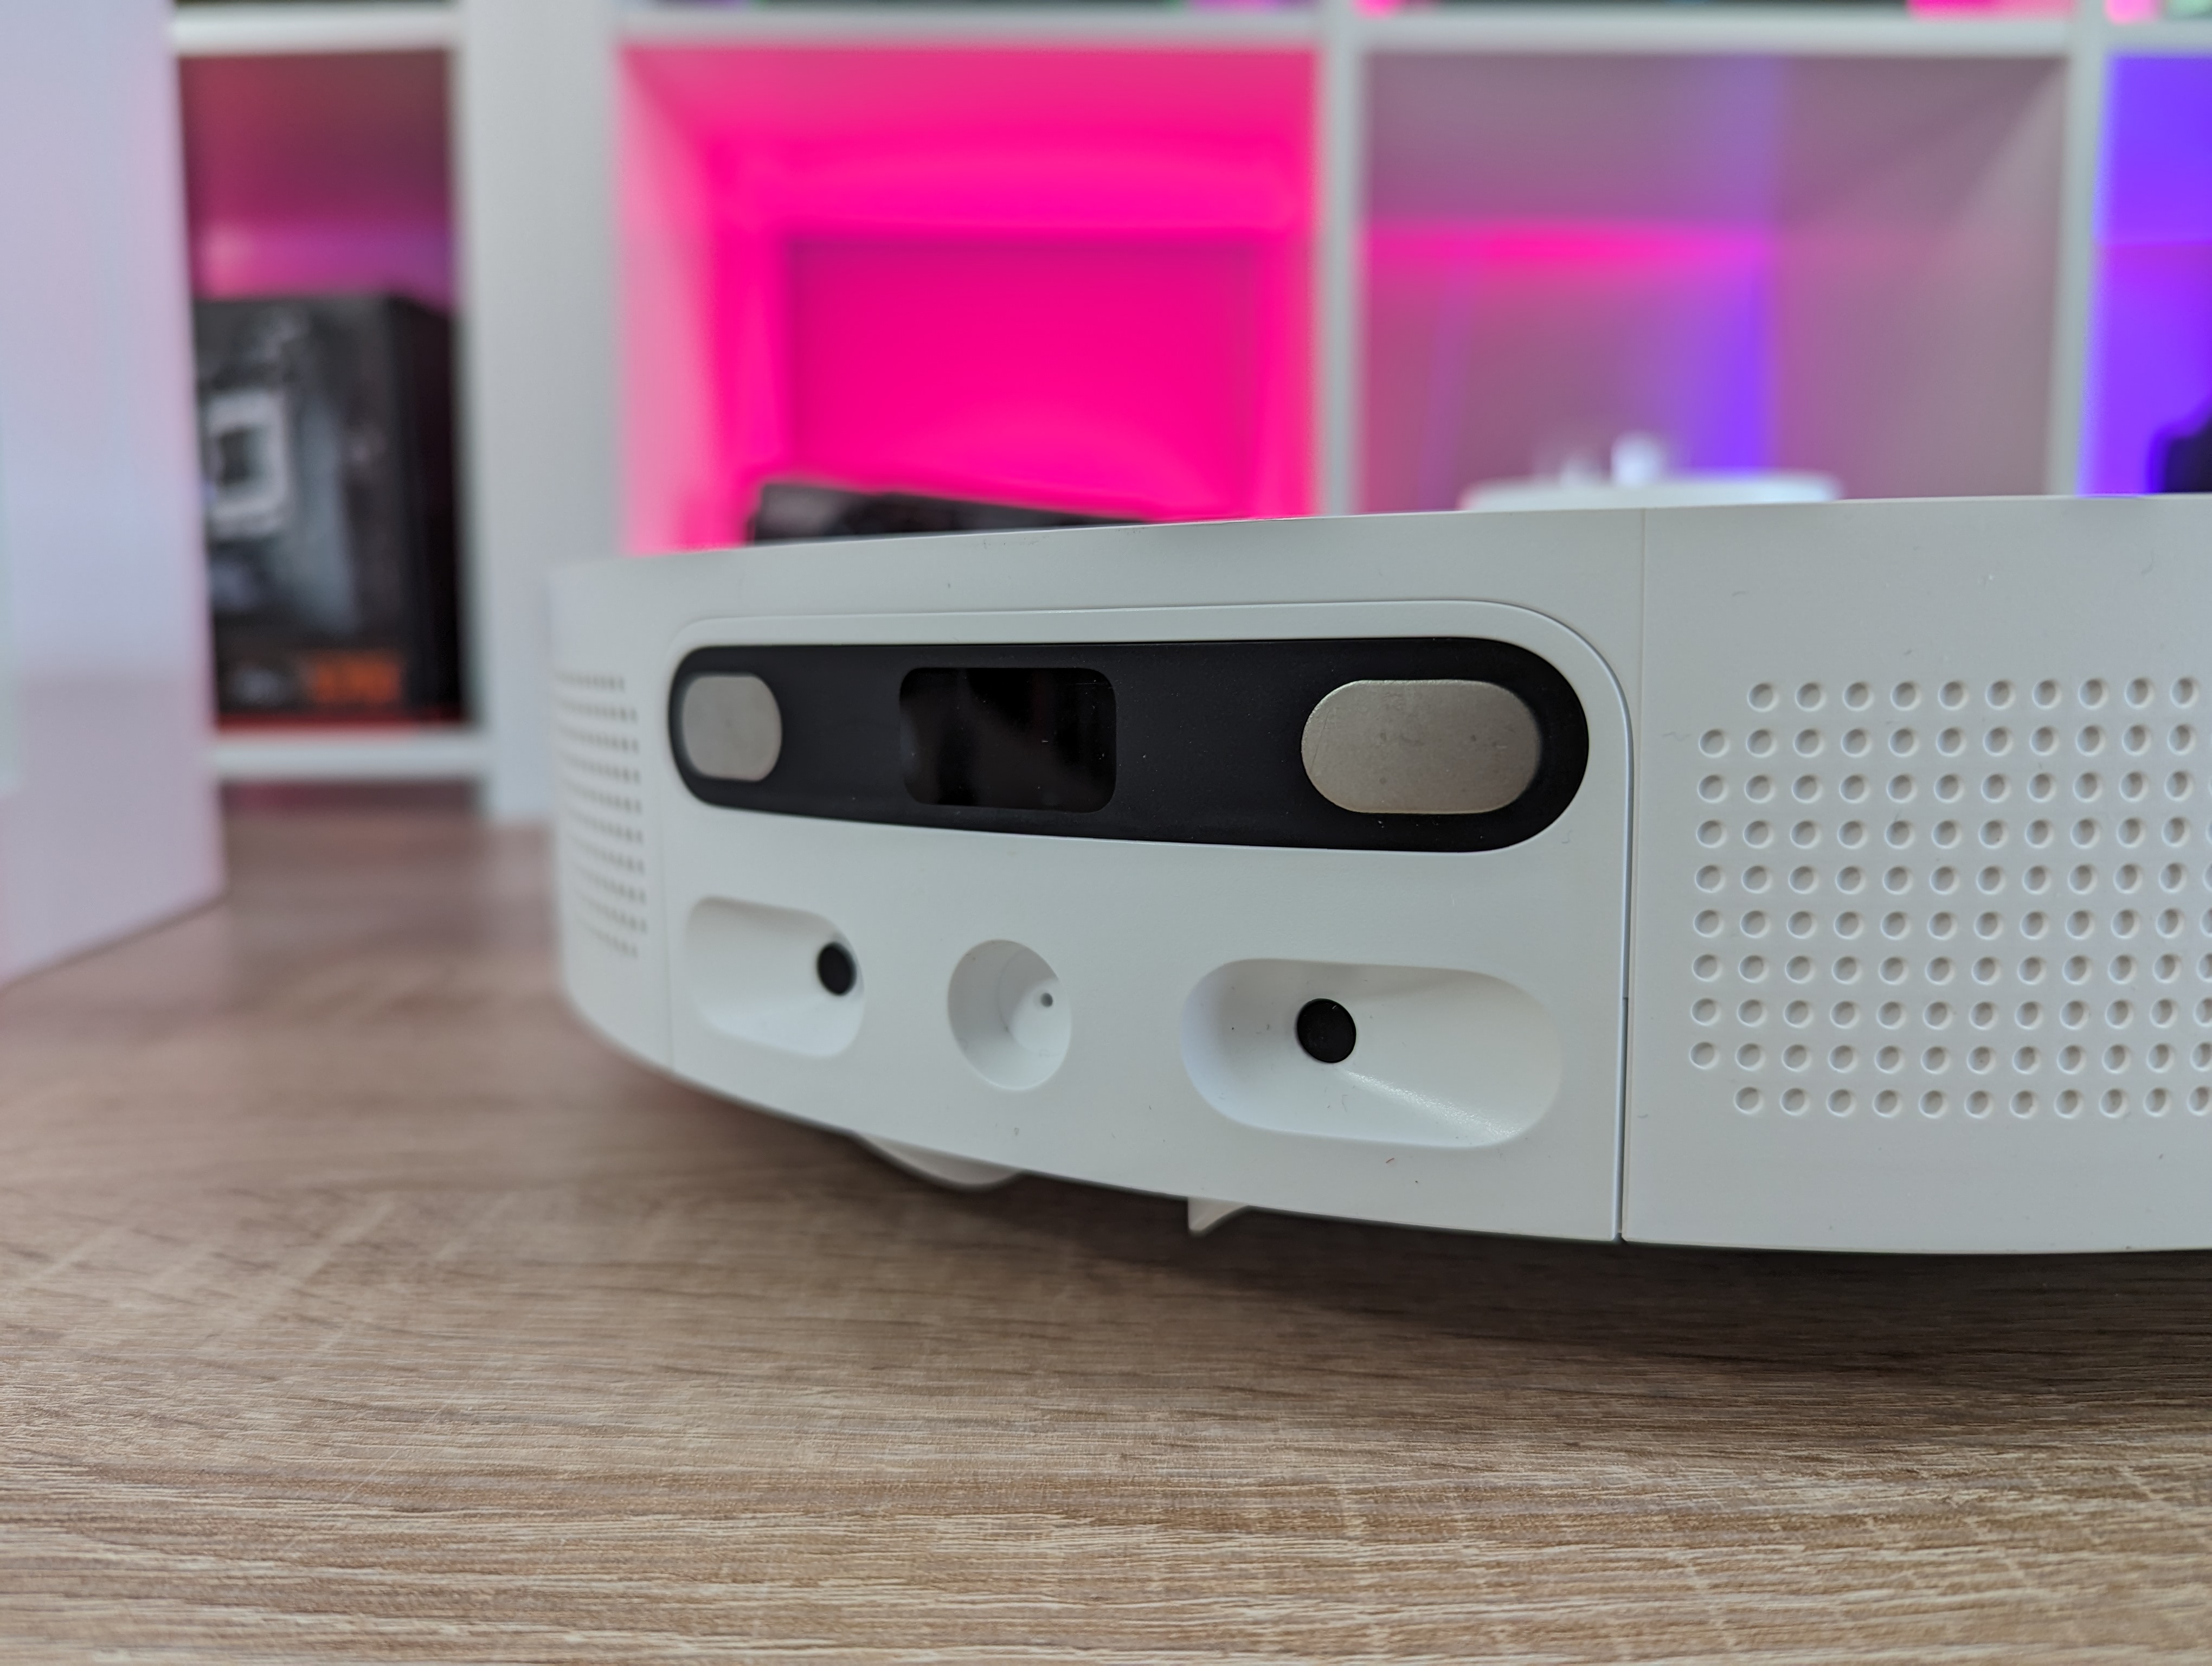
If we look at the vacuum cleaner itself, it, like many other robot vacuum cleaners, is designed as a small flat circle. This is of course so that it can easily get around the house, and under many pieces of furniture.
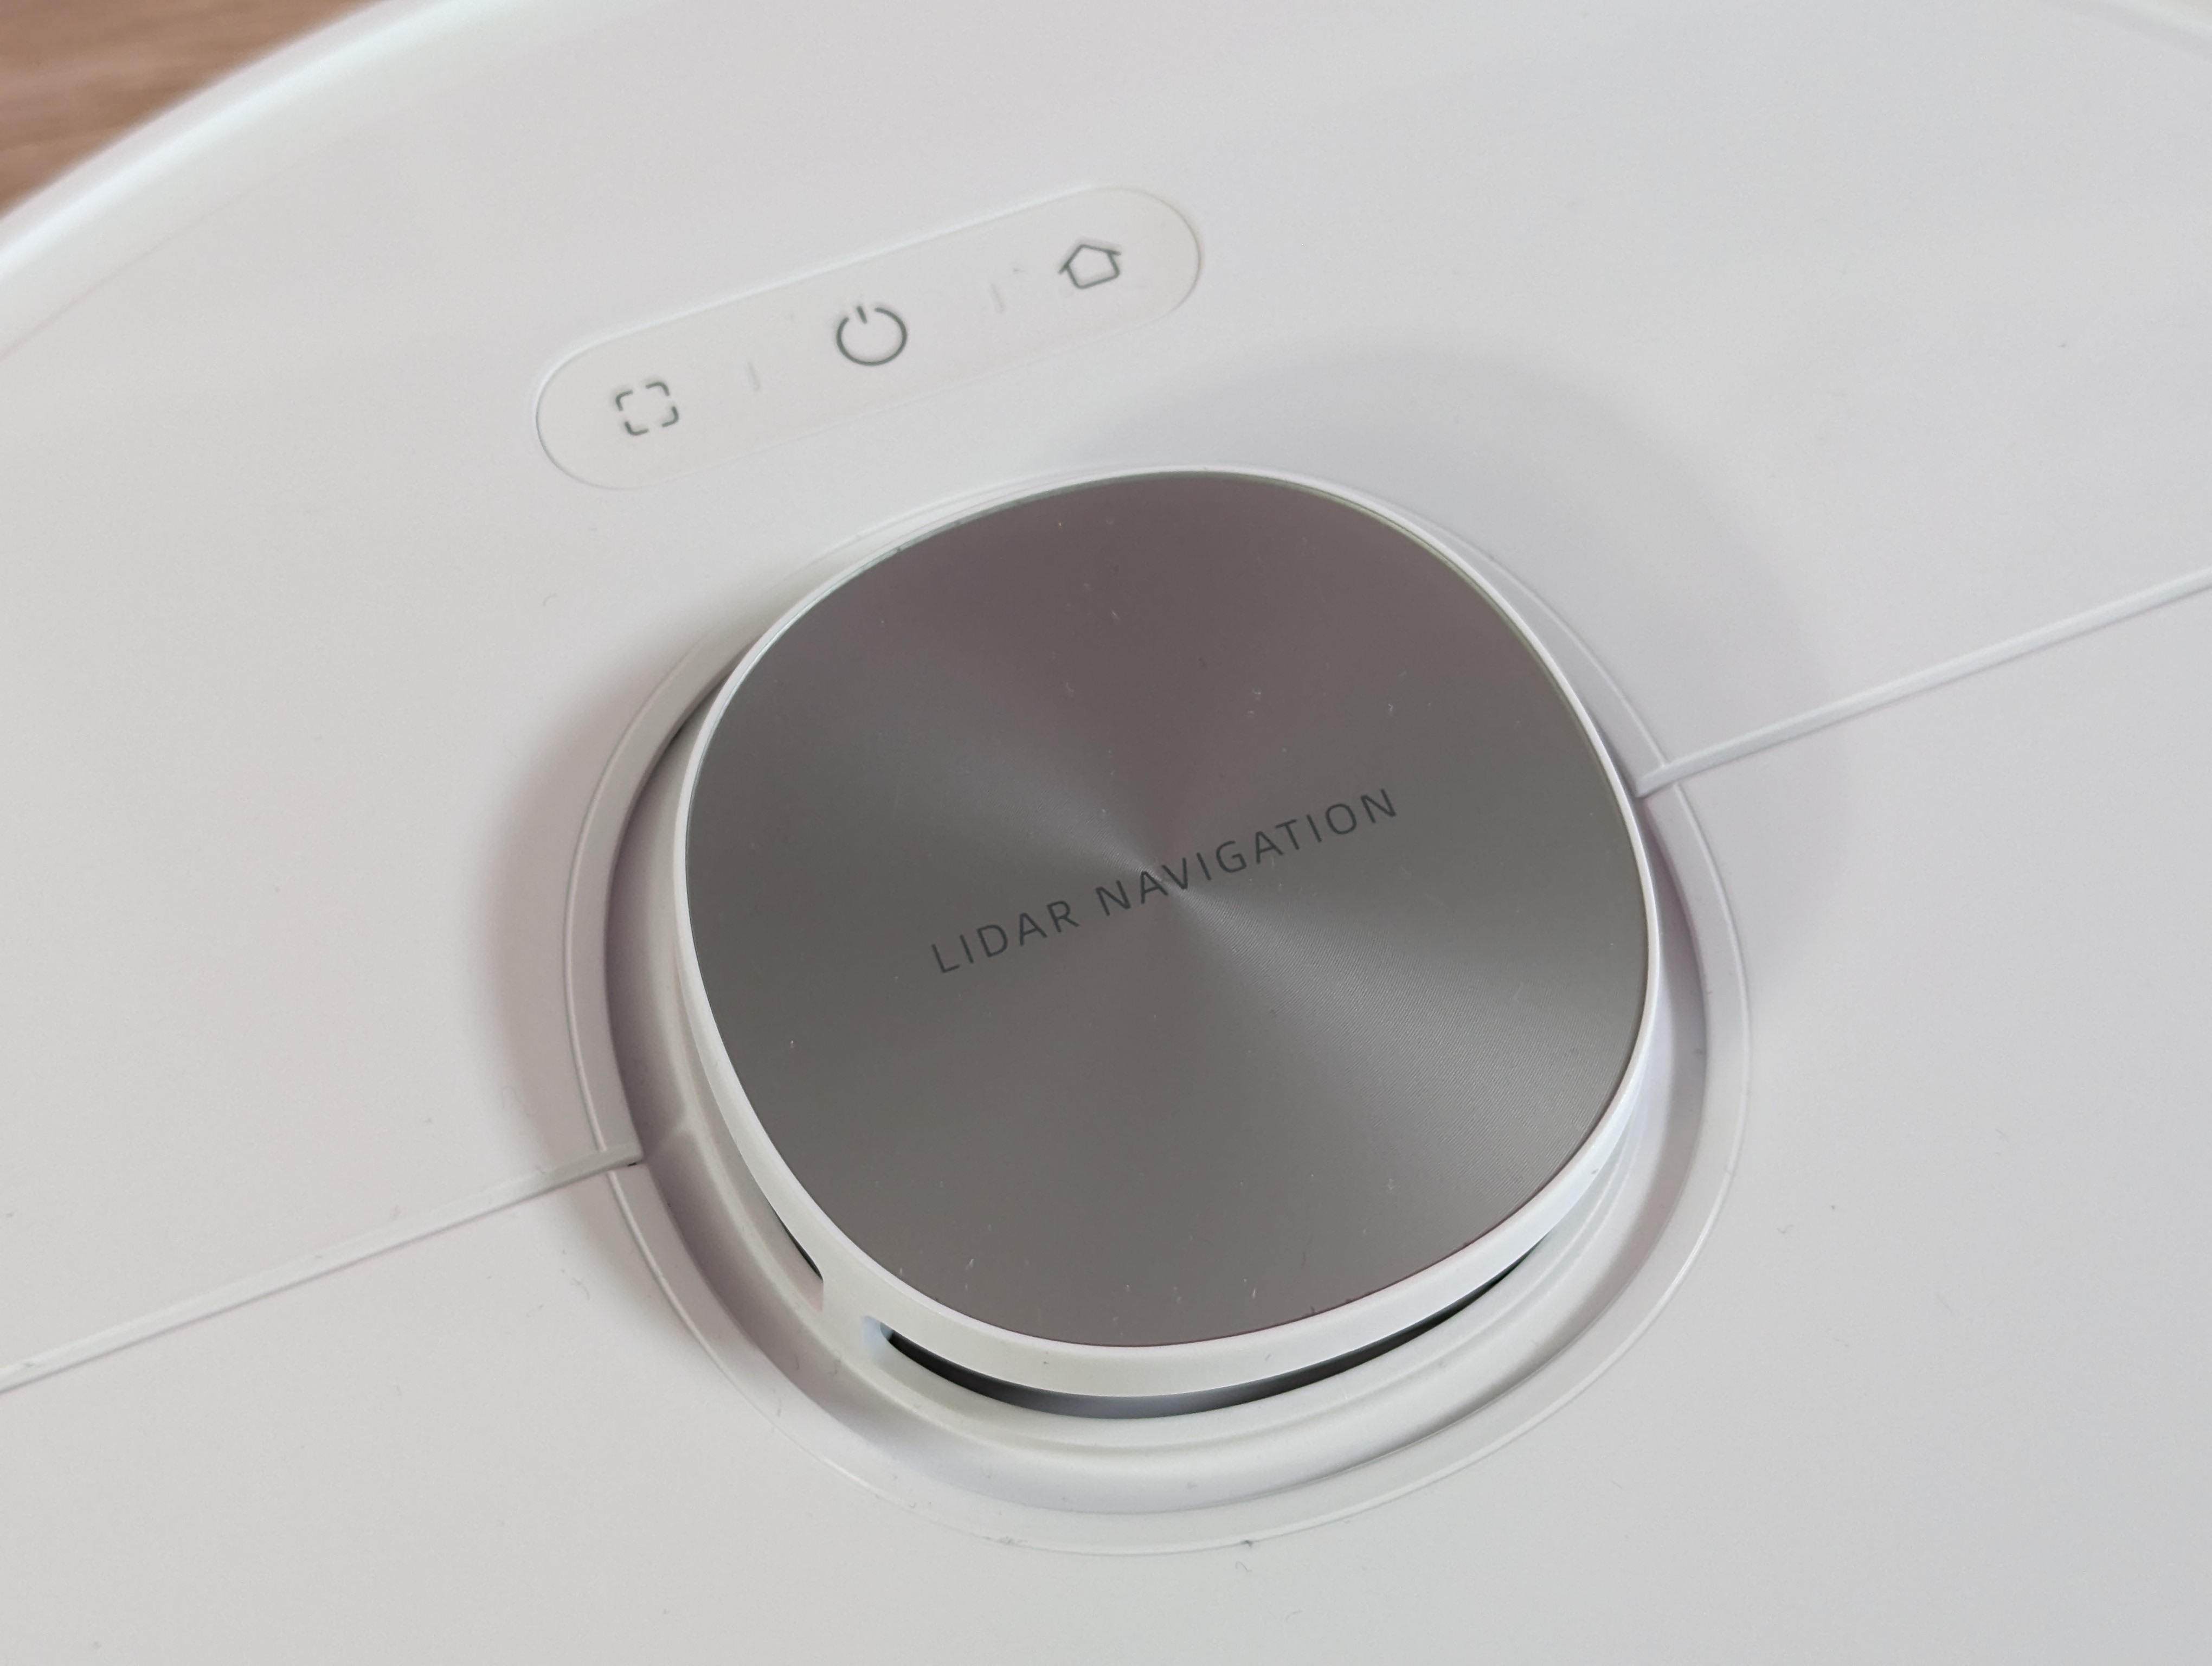
It is 35 cm wide and just under 10 cm high. Around the edge, it has a series of sensors that it uses to navigate your home. DreameBot L10 Ultra uses LIDAR to navigate. It is located in the small "tower" on top of the unit. It is supplemented with touch sensors to be able to navigate around the obstacles it finds on its way through your home.
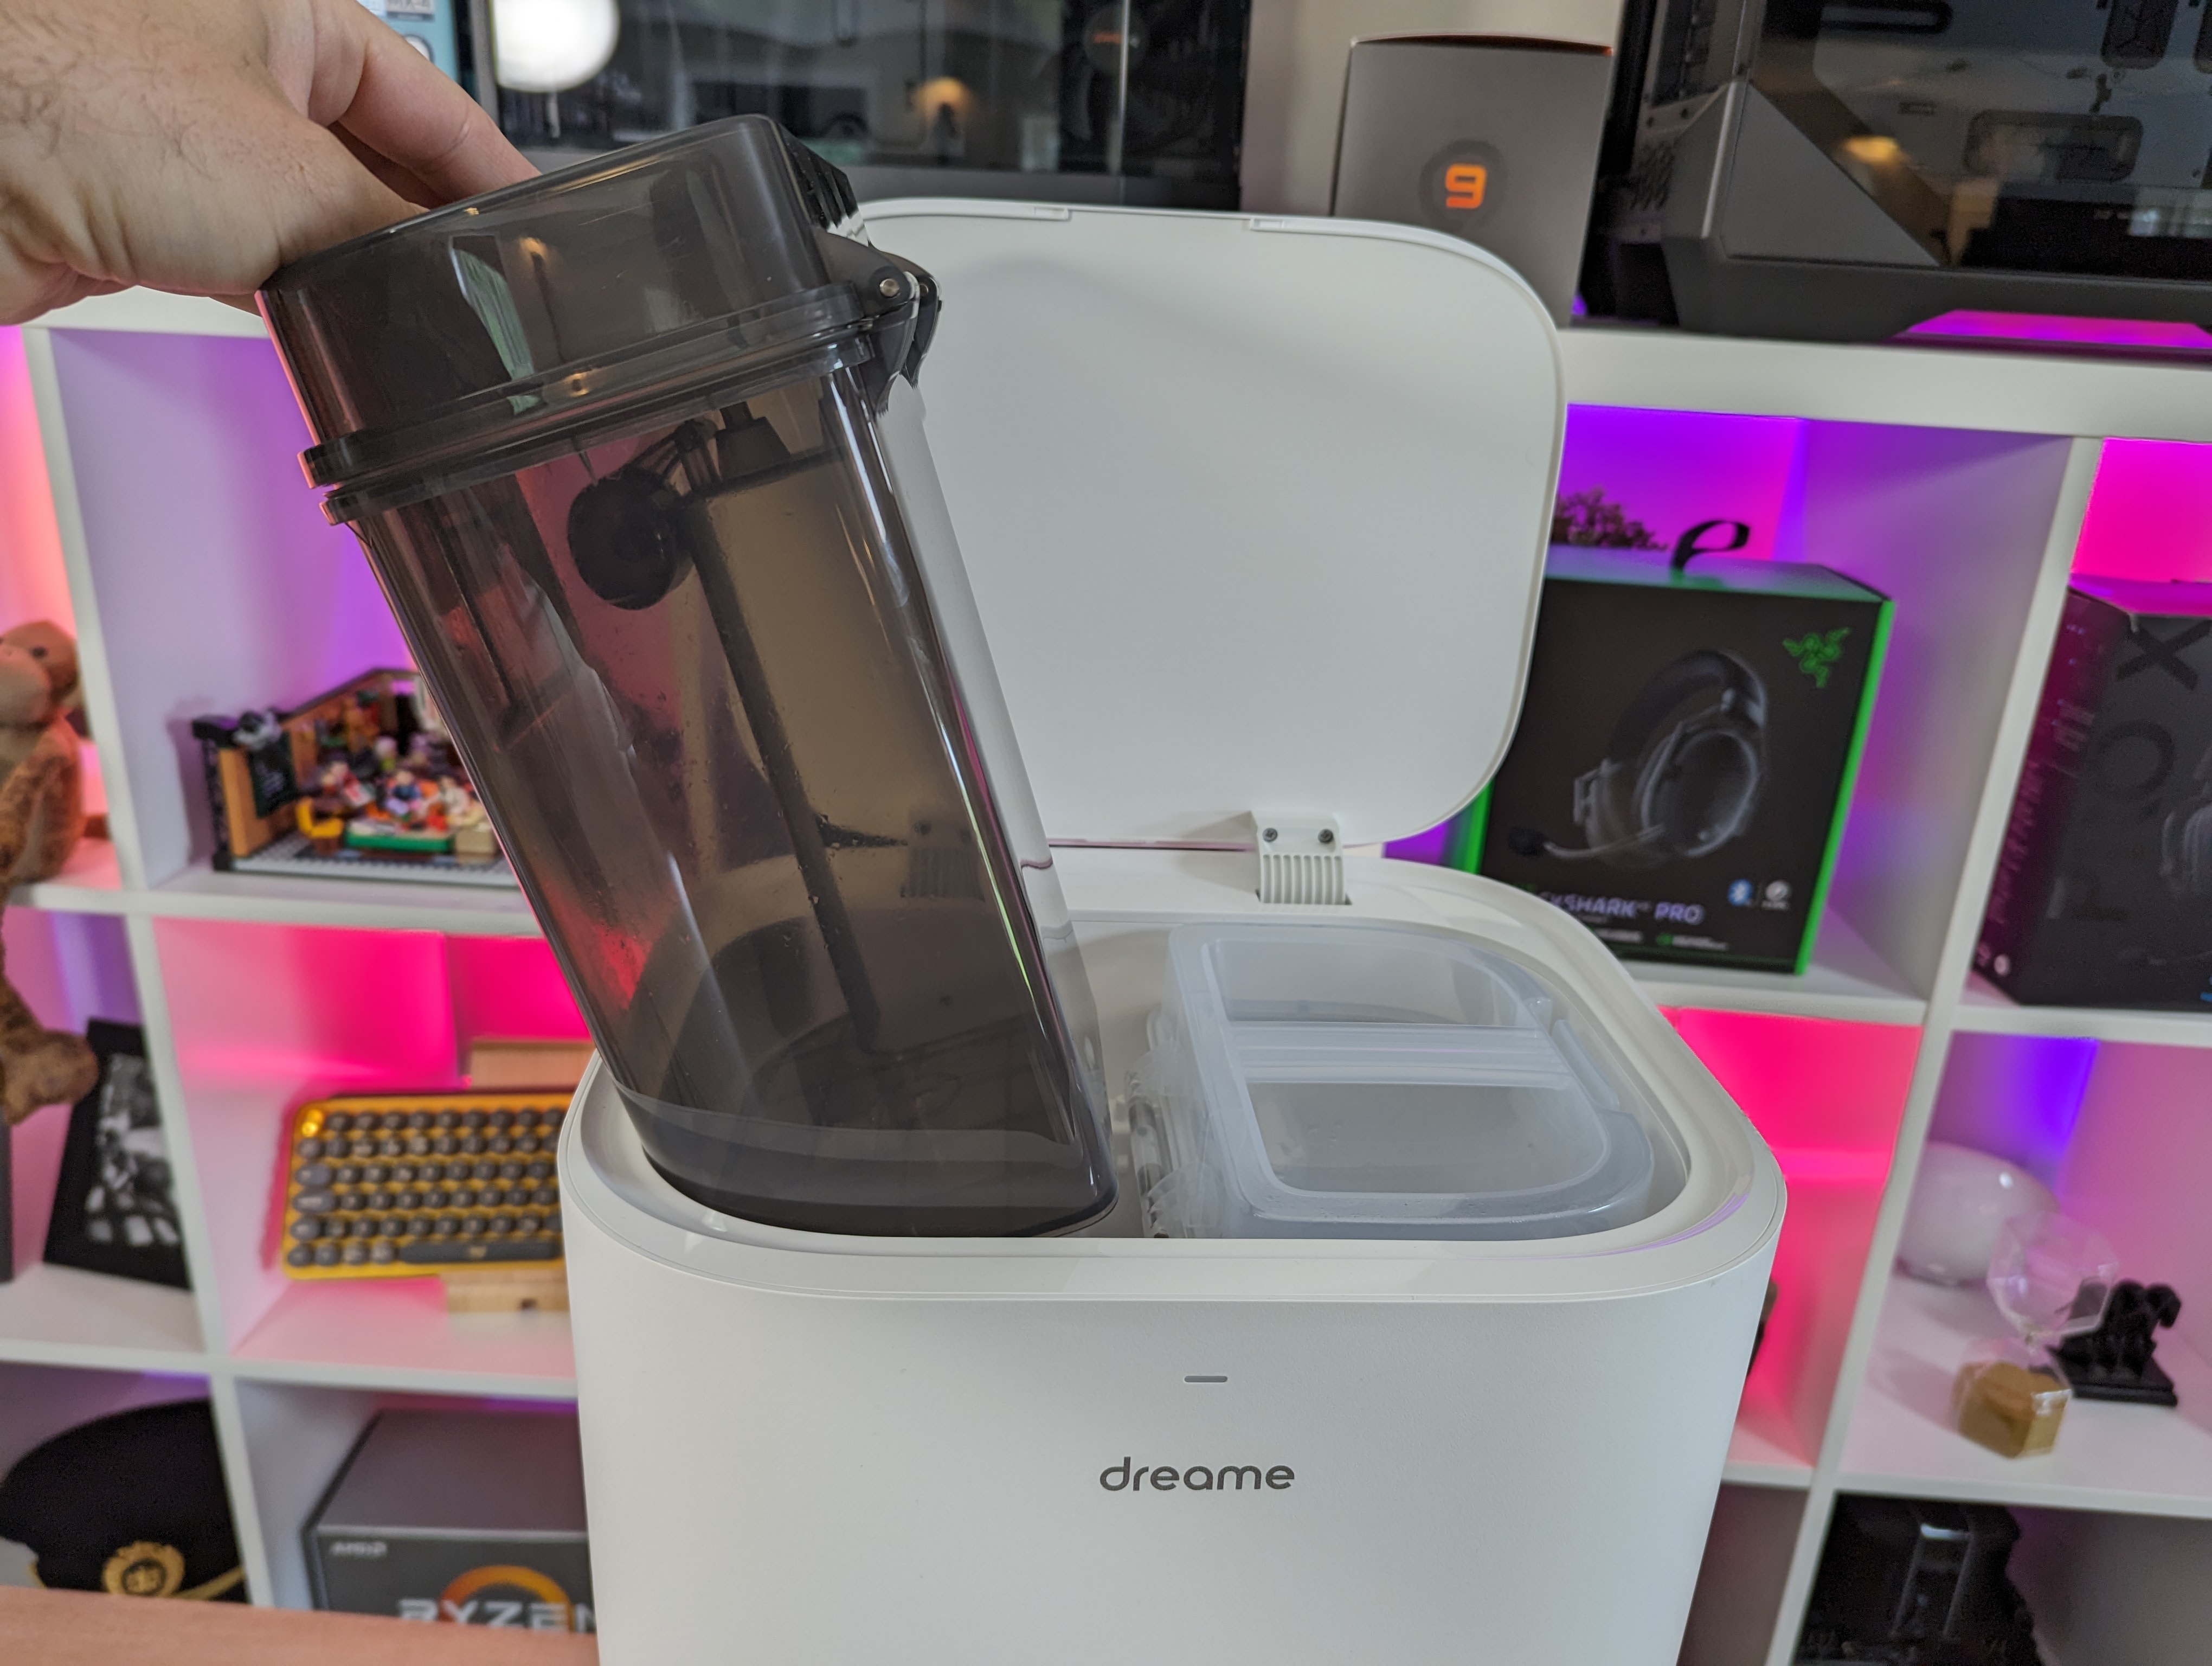
If we open up via the limb at the top, we get to the small internal dust container. It collects the dust here and can either be emptied manually if needed, or automatically via the base station, which we will get into later.
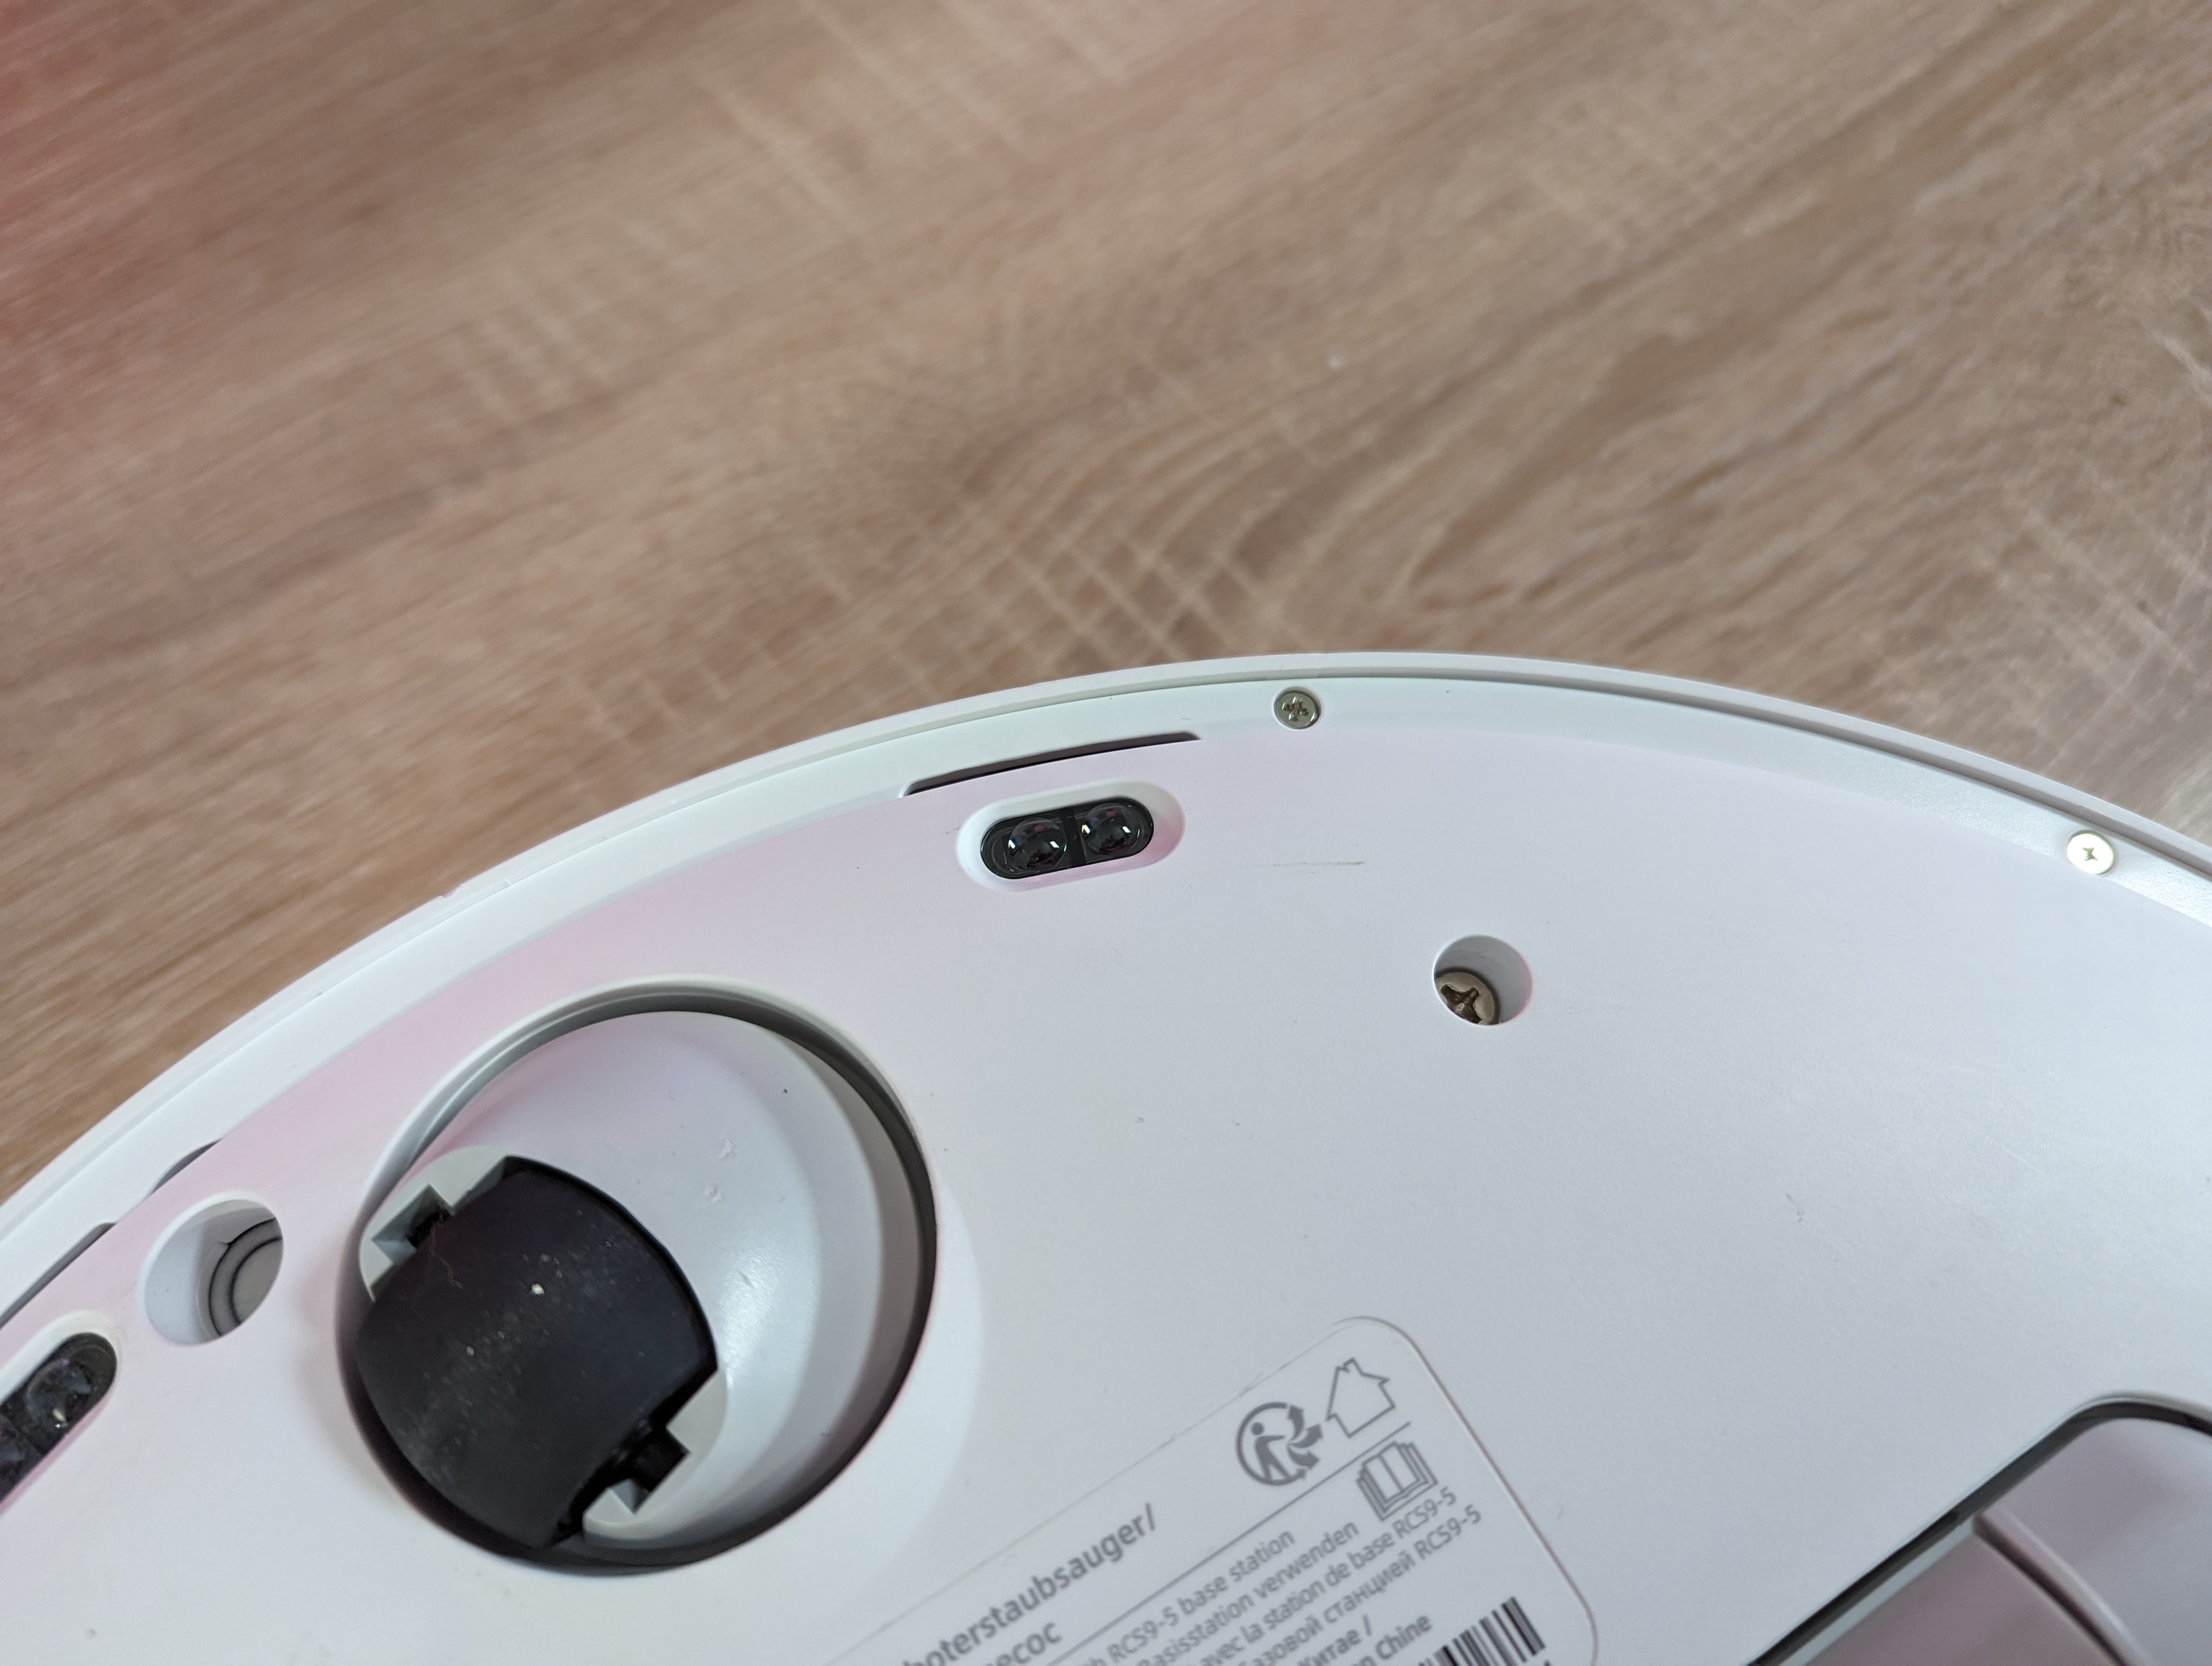
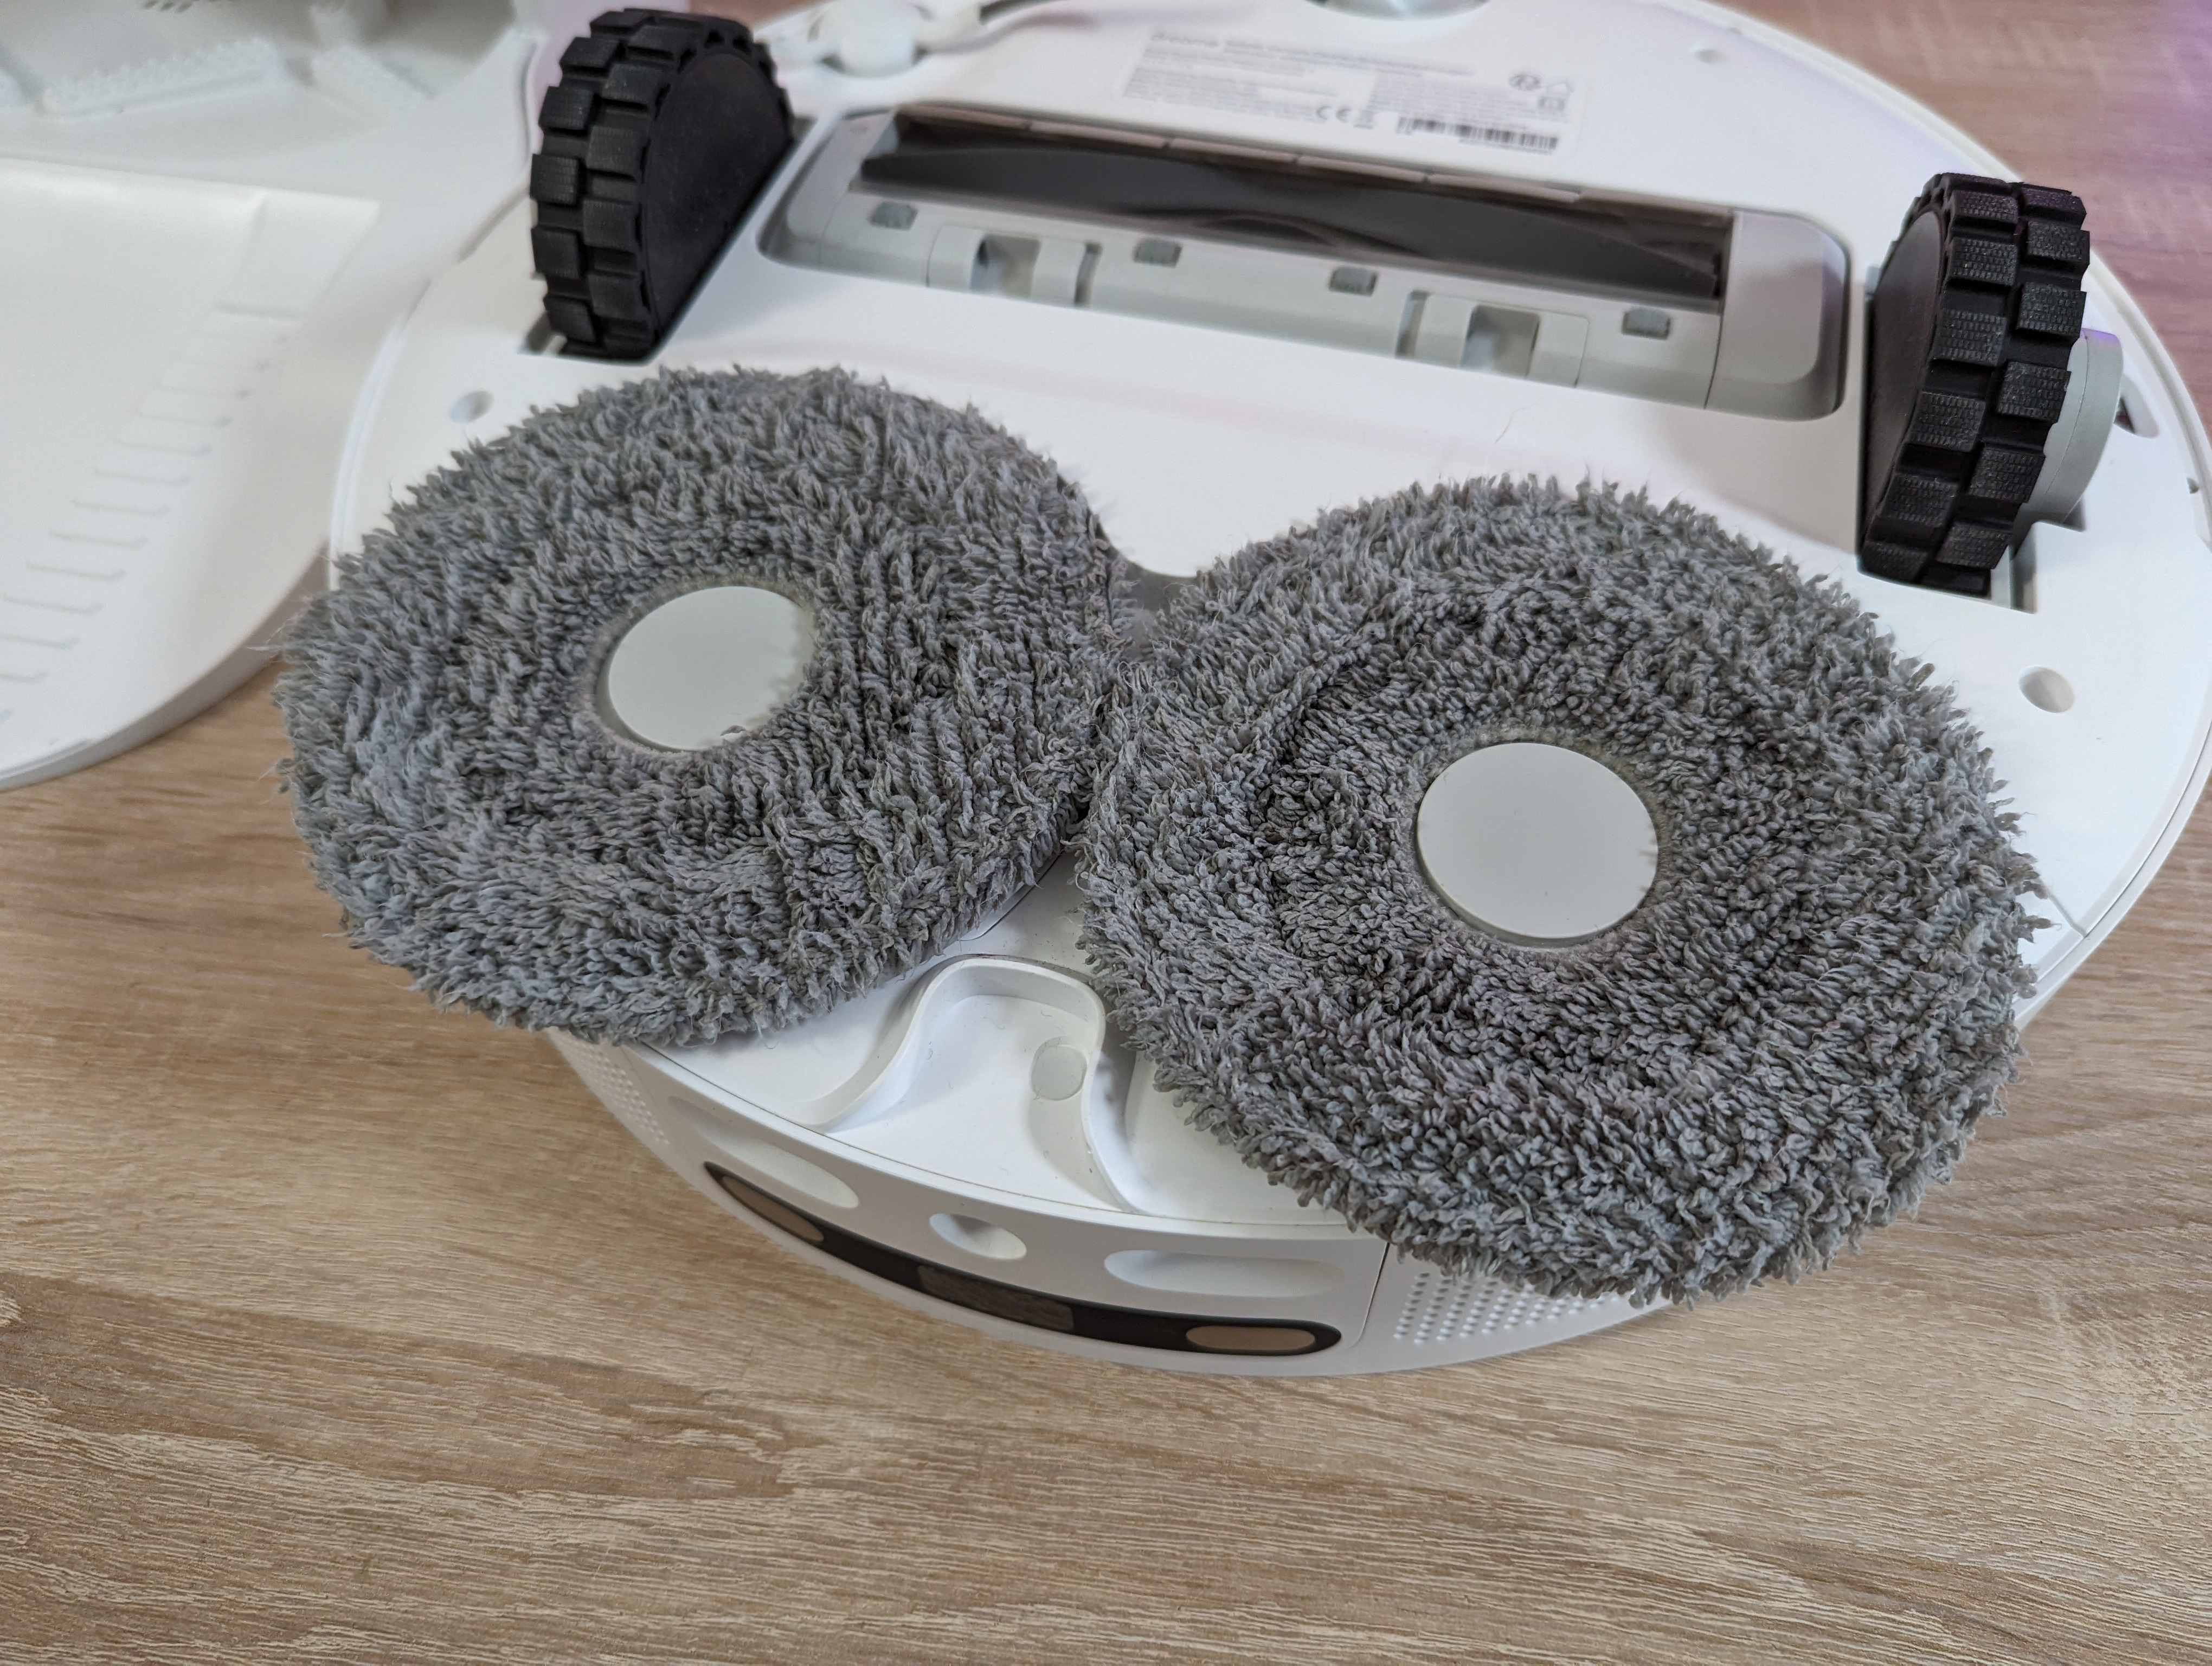
If we switch to the underside, we can see the two large drive wheels, which together with the small nose wheel ensure that the DreameBot L10 Ultra can get around. It has the ability to climb over obstacles, such as door steps with a height of up to 2 cm.
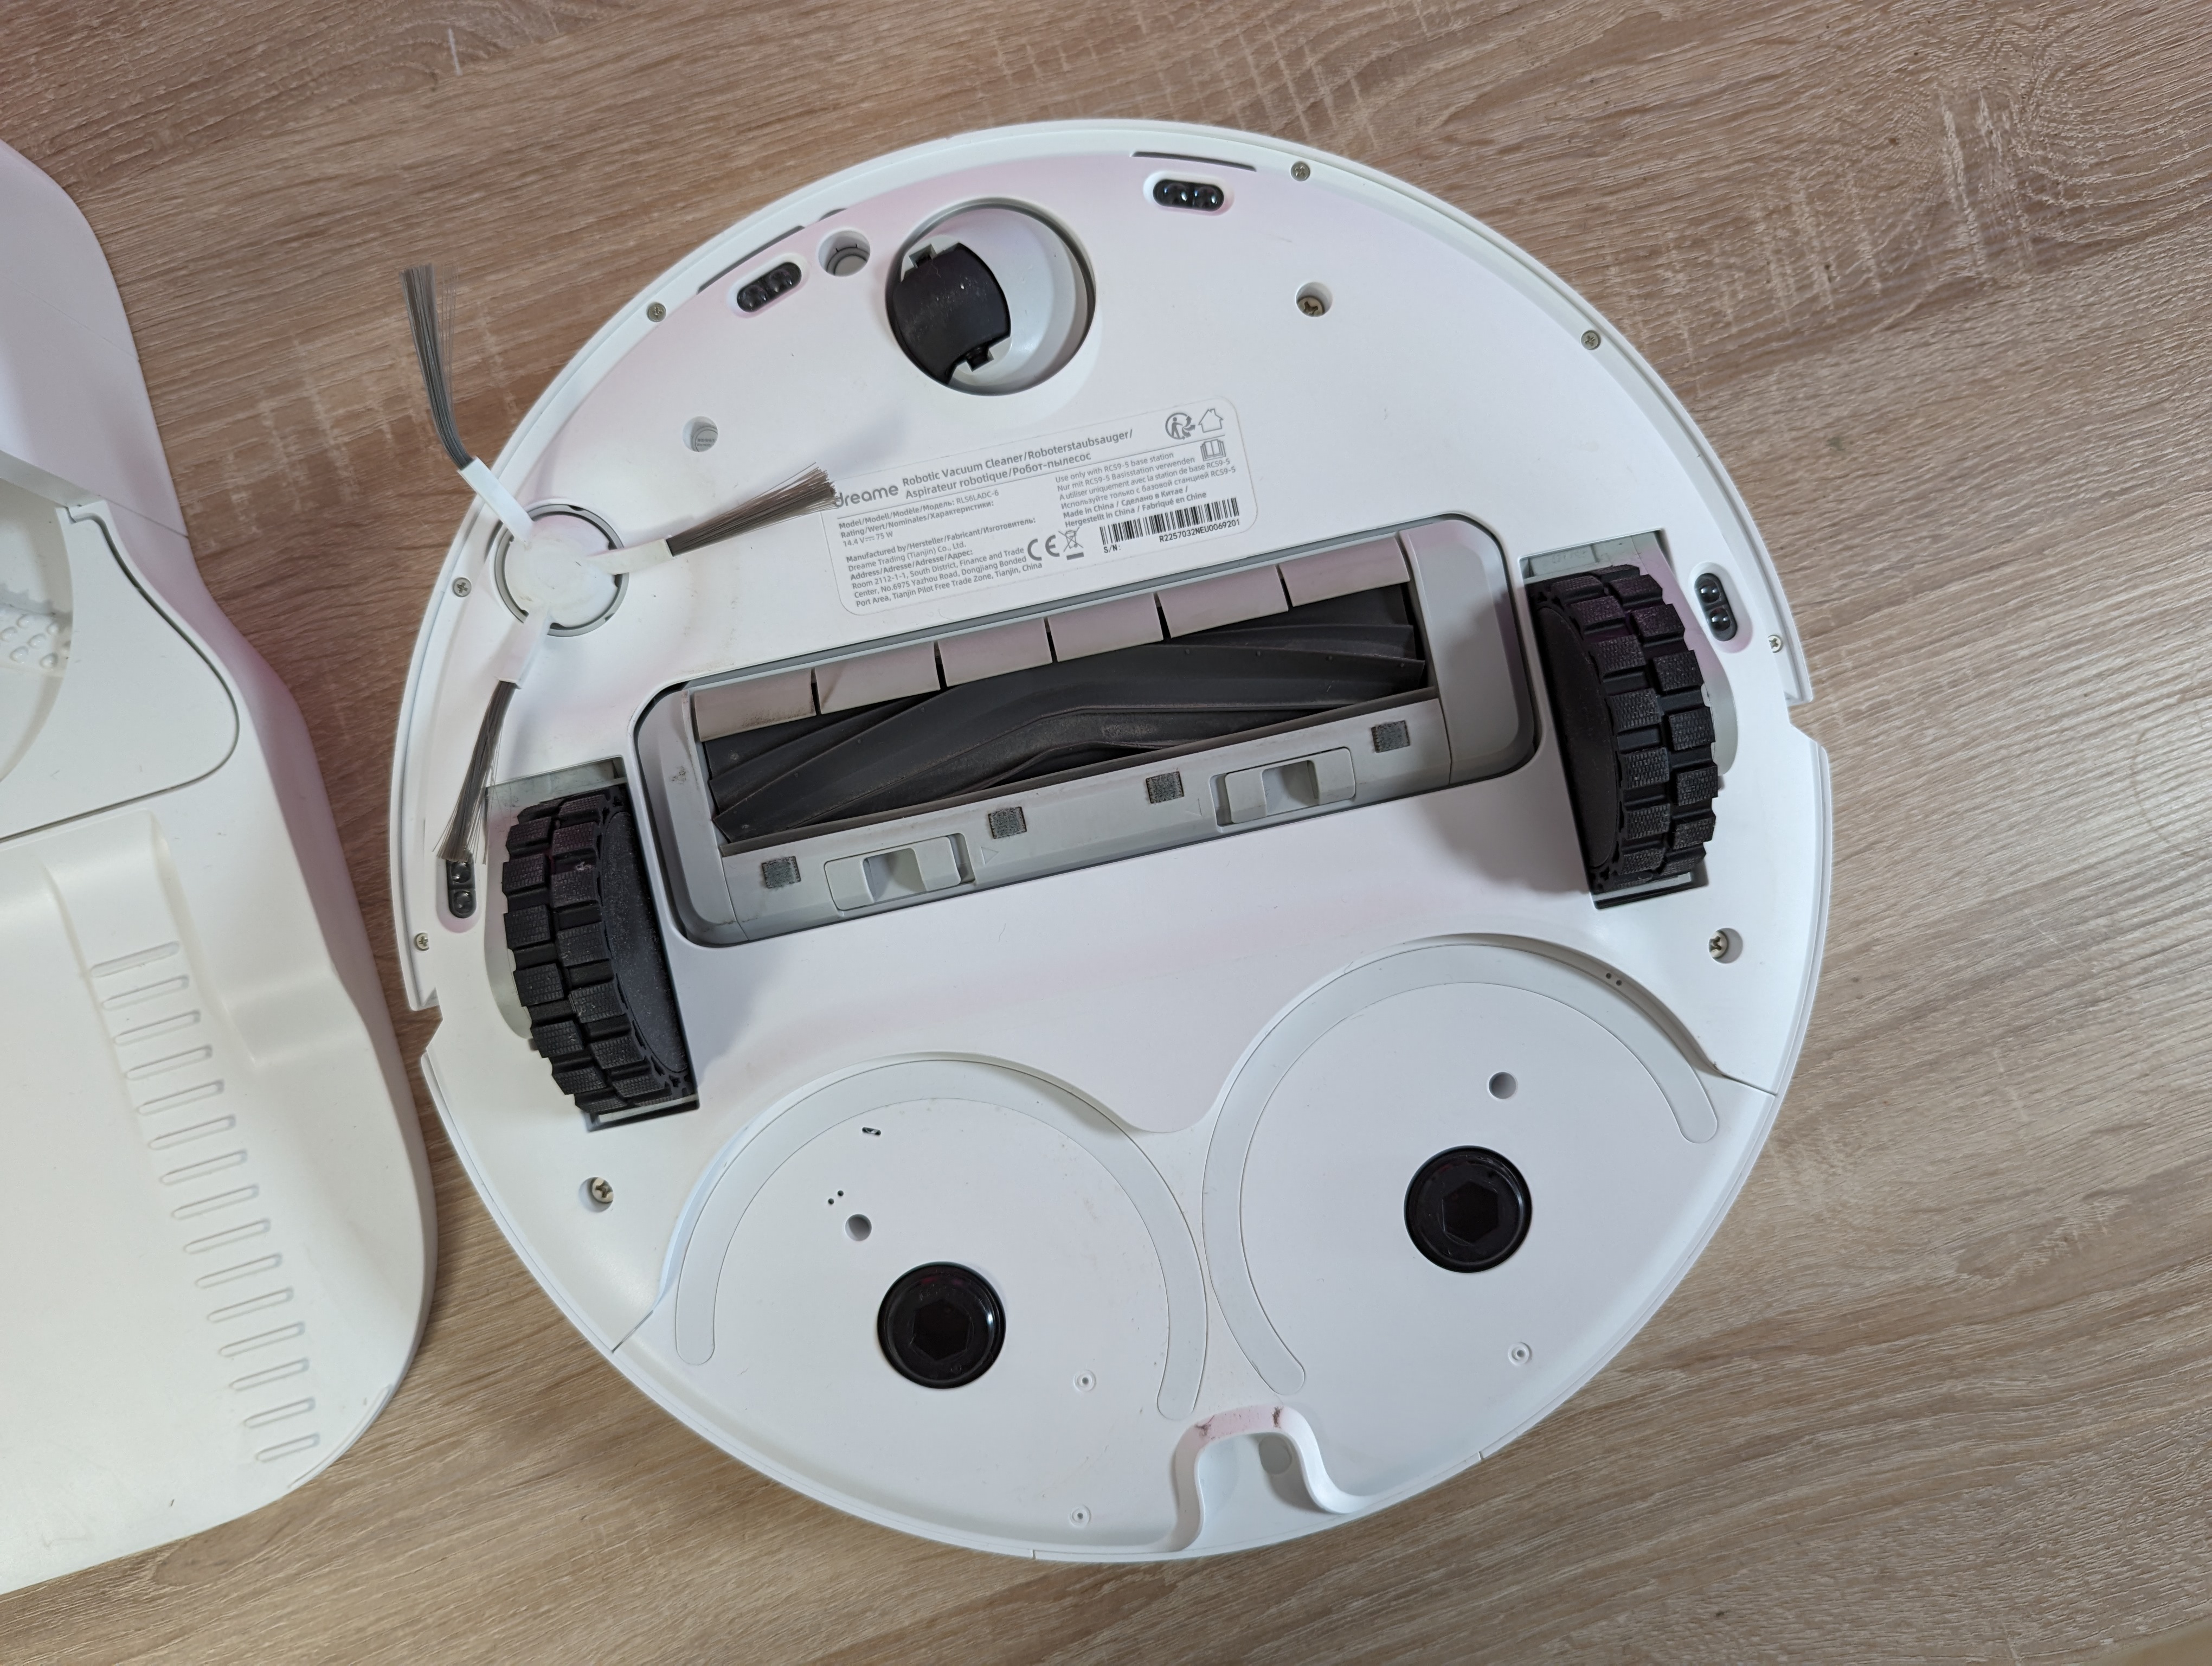
The vacuuming is done in the center of the unit, which is aided by a rotating rubber brush in the middle and a small rotating brush that directs dust and other dirt from the edge towards the vacuum cleaner.
At the back are the two mops. The soft mops themselves are mounted with Velcro on two holders, which can be easily mounted or removed as needed. This makes replacement and cleaning easy when needed.
The mops rotate during use, which differs from many other cheaper robots on the market that just have a static mop.
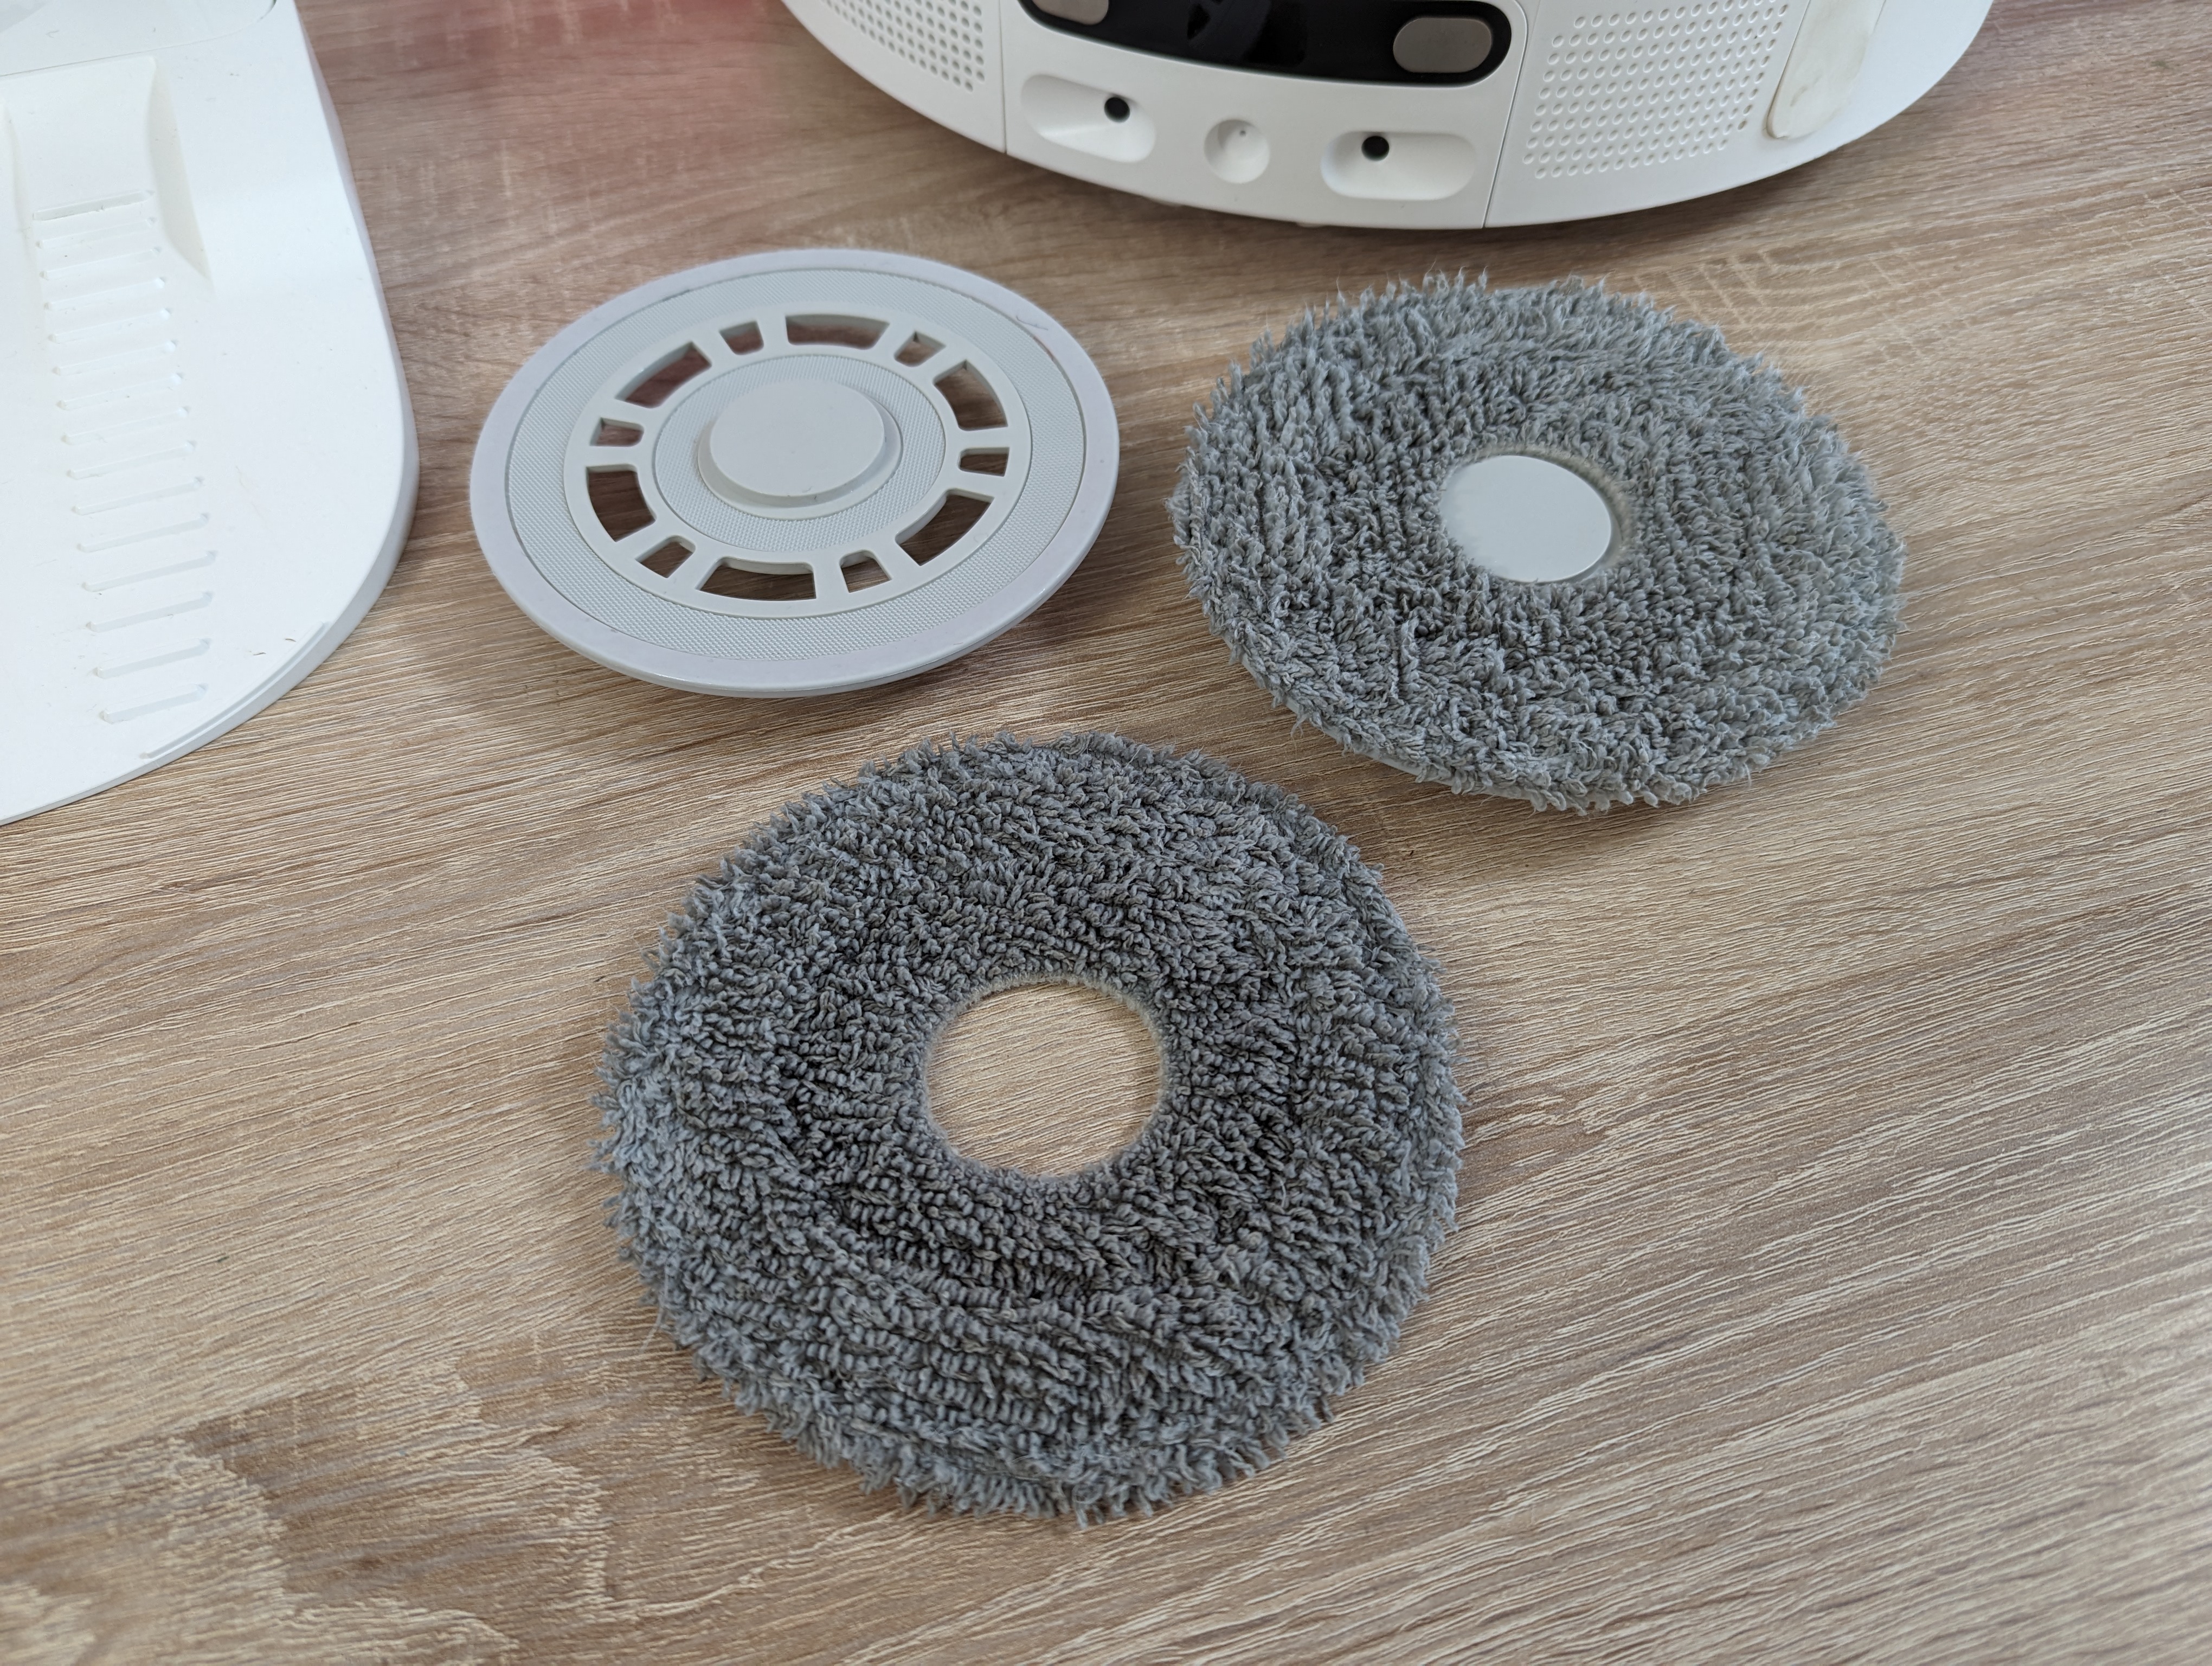
DreameBot L10 Ultra even detects whether the mops are mounted or not. It is possible to replace all the parts such as rubber brooms, mops, etc. with new ones as they wear out.
At the bottom, there are also a series of sensors around the edge of the device. They are partly used to register whether you are driving on hard floors or carpets, but also to register things like stairs and the like. to prevent the DreameBot L10 from falling down.
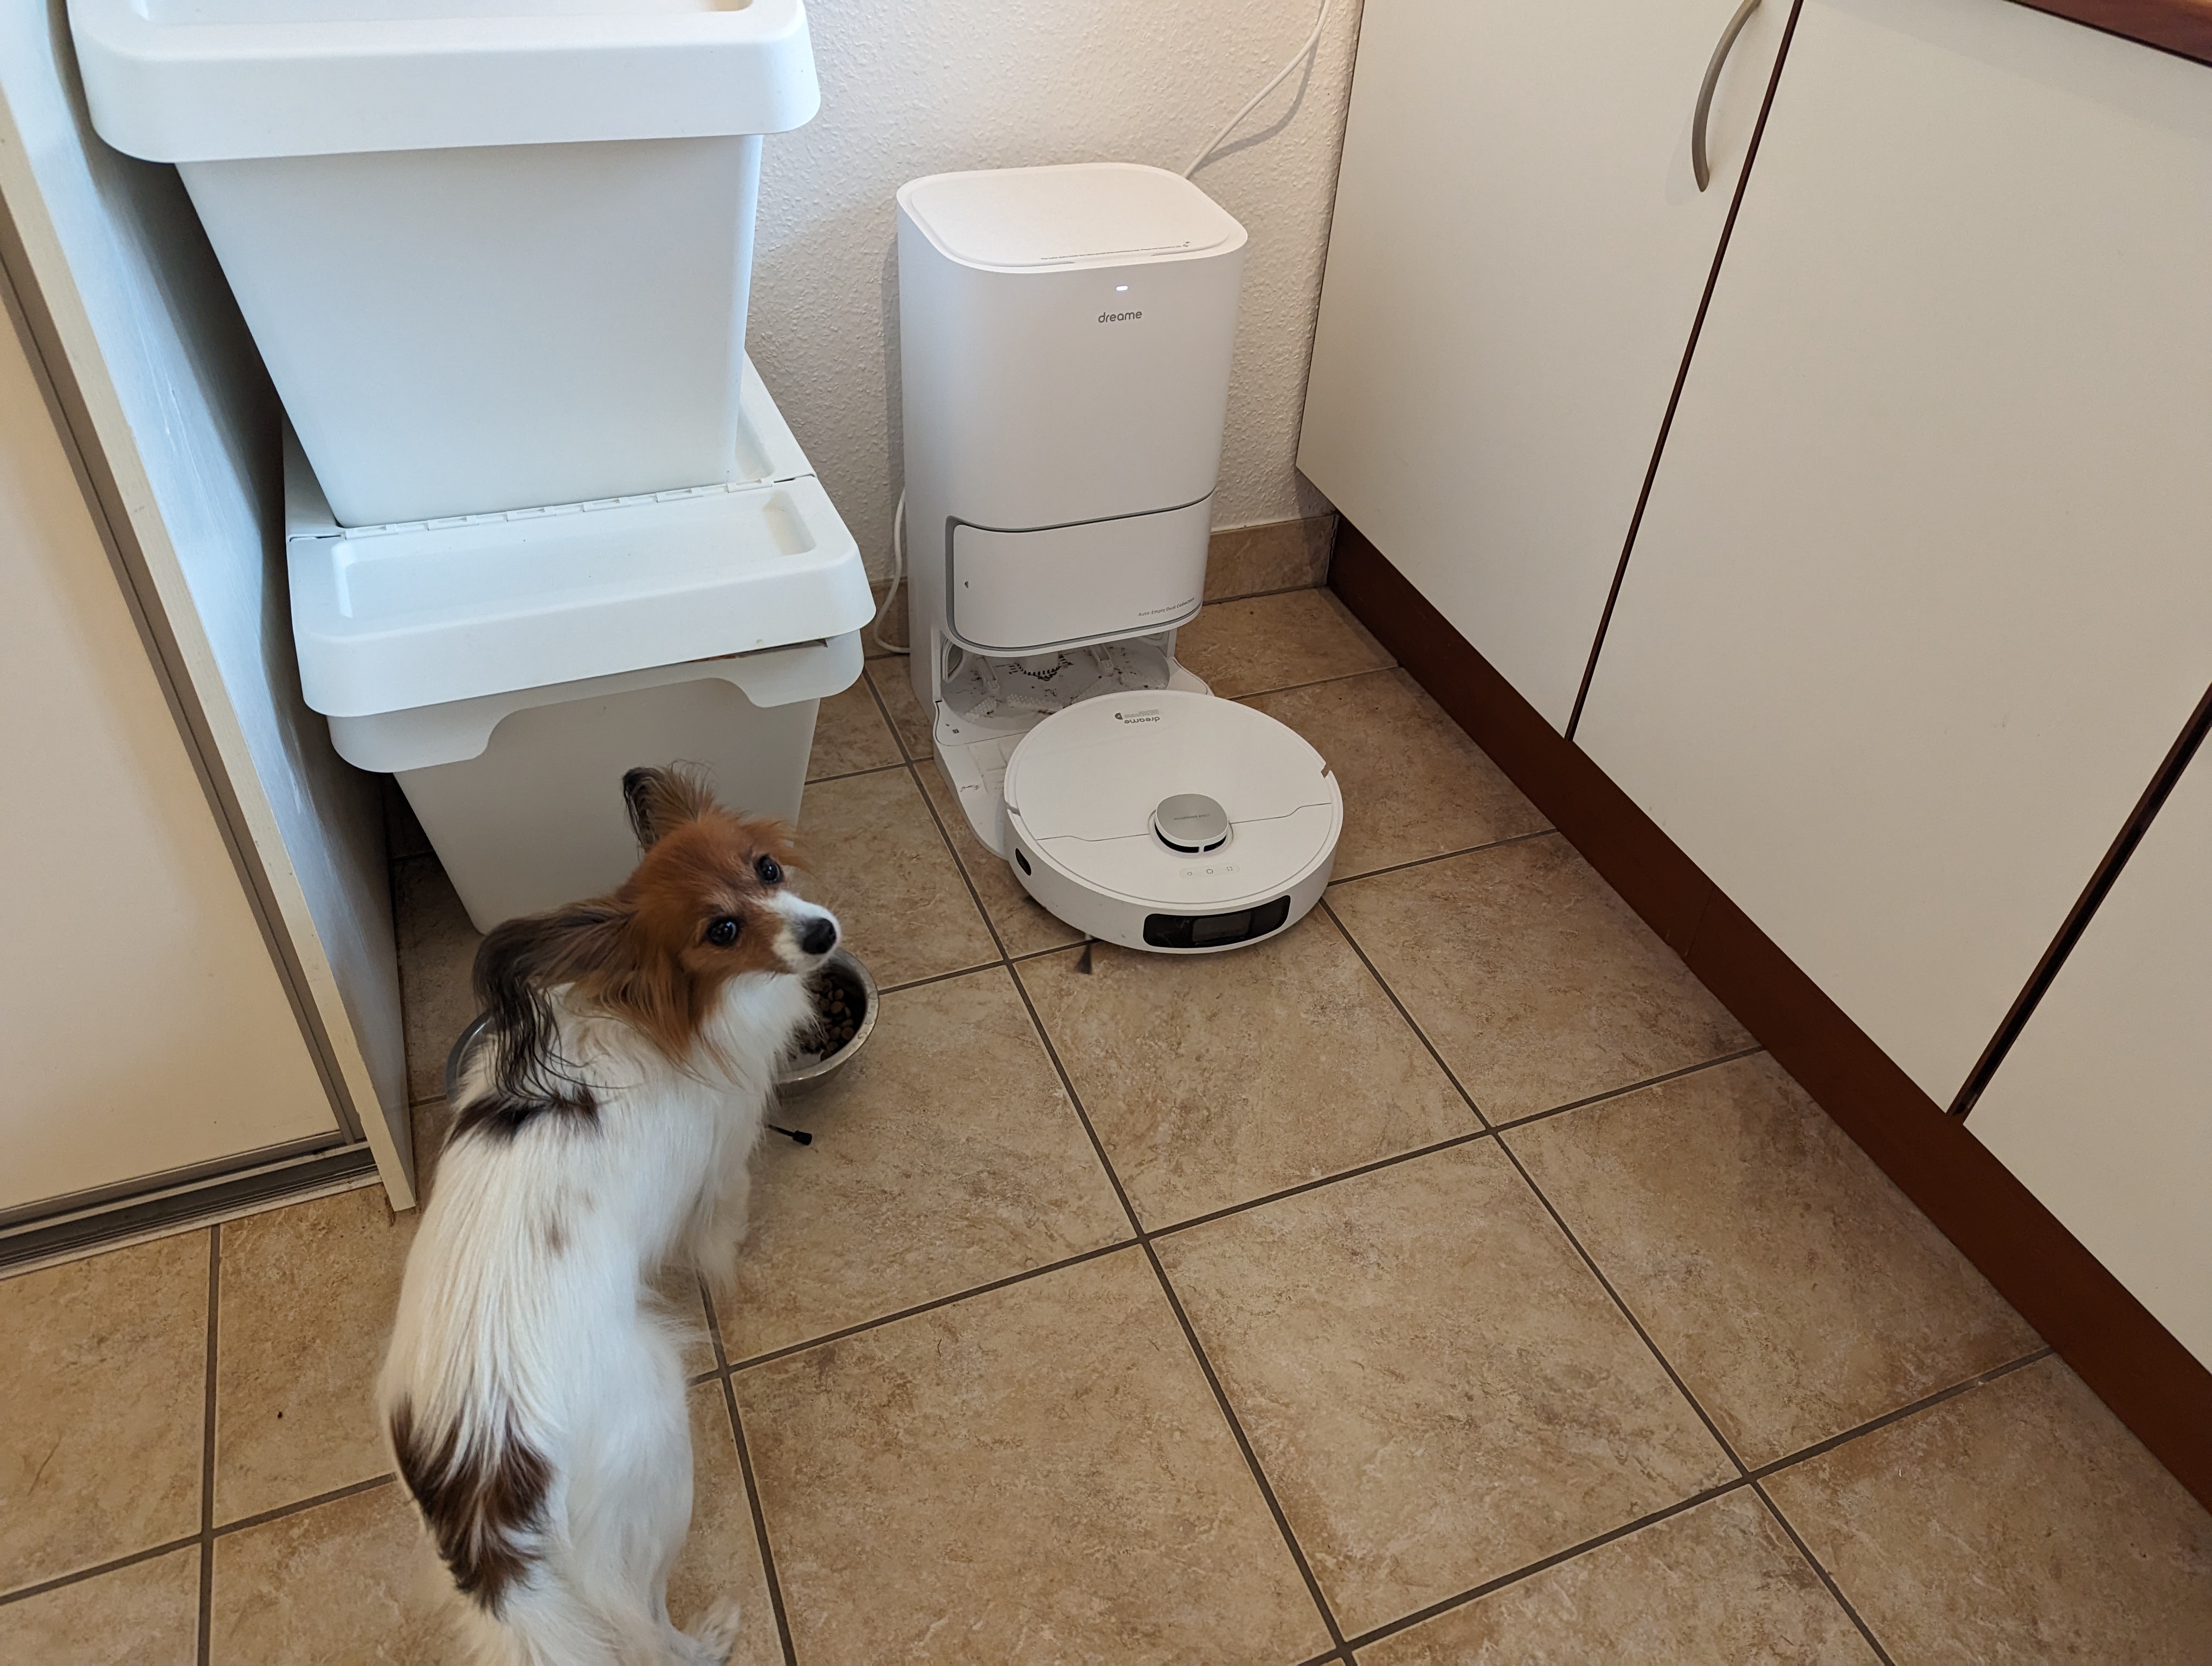
Jumping to the base station, this is naturally where the DreameBot L10 Ultra lives when it is not working. Here, the robot vacuum cleaner is charged via pogo pins, but it is also here that it can be automatically emptied, clean mops and collect the dirty water.
The base station requires a little space, partly due to its size, but there should also preferably be about half a meter of space on each side, so that the robot vacuum cleaner can navigate freely back to it when the water needs to be changed or recharged.
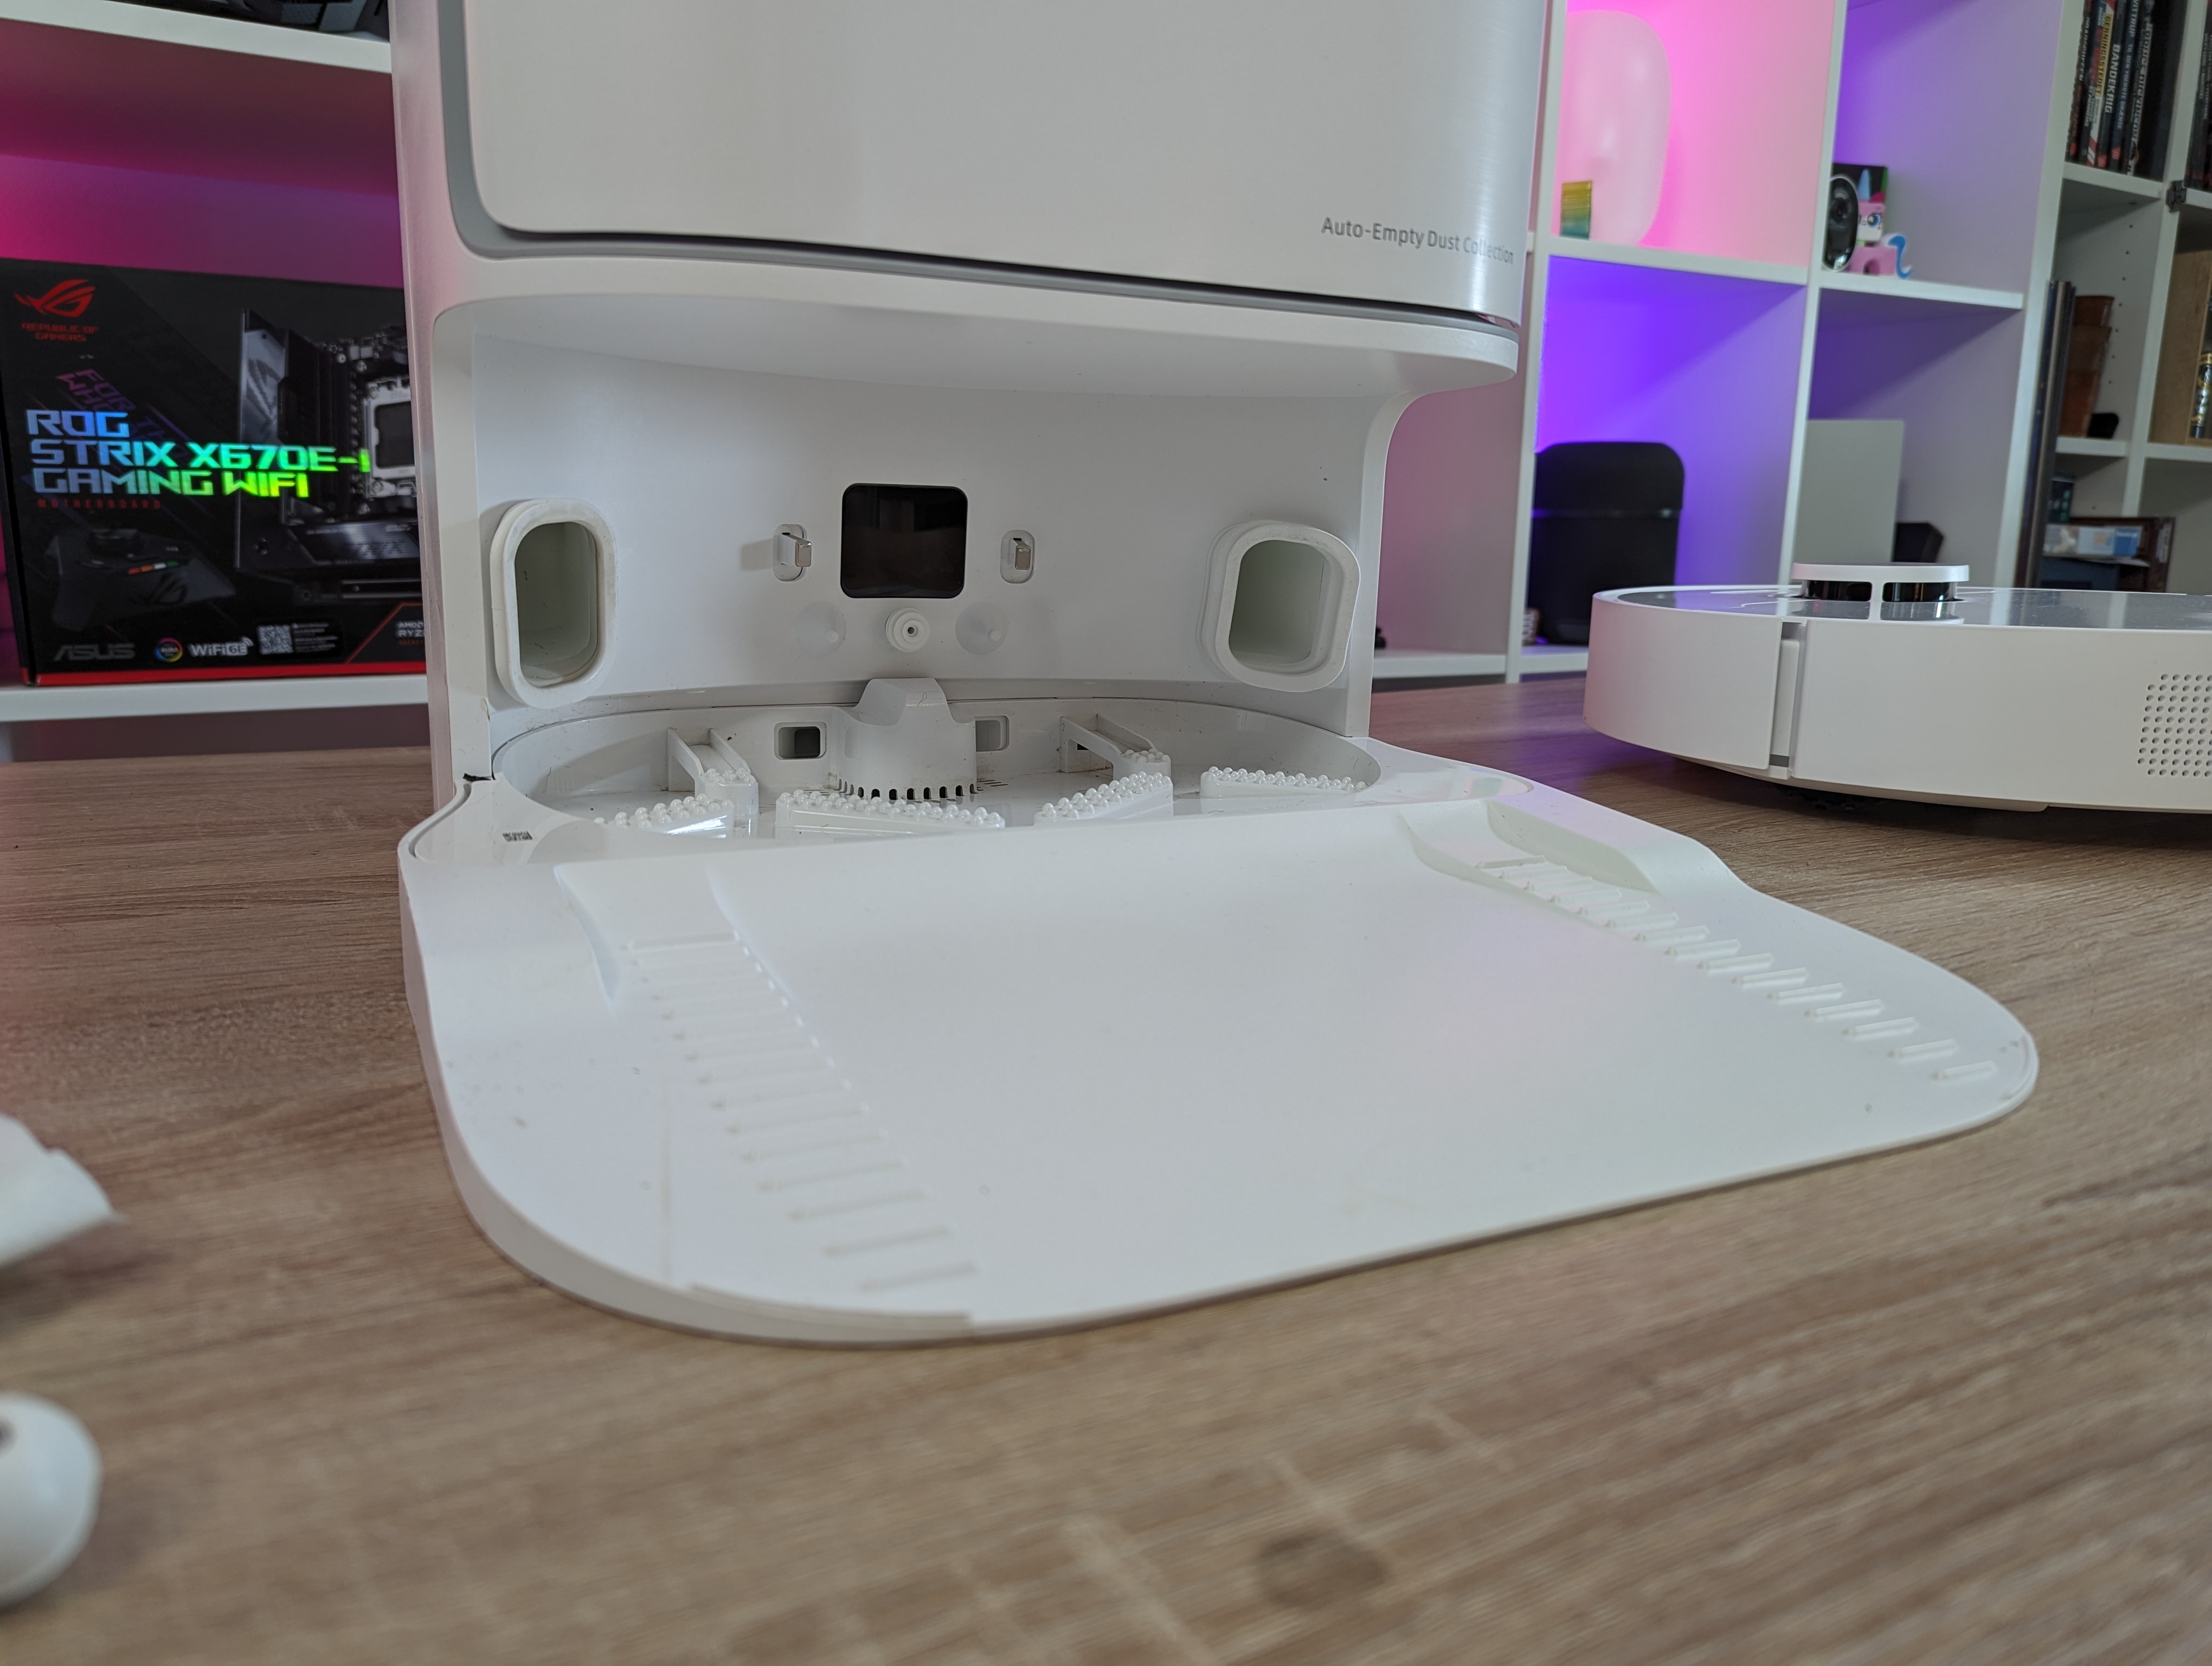
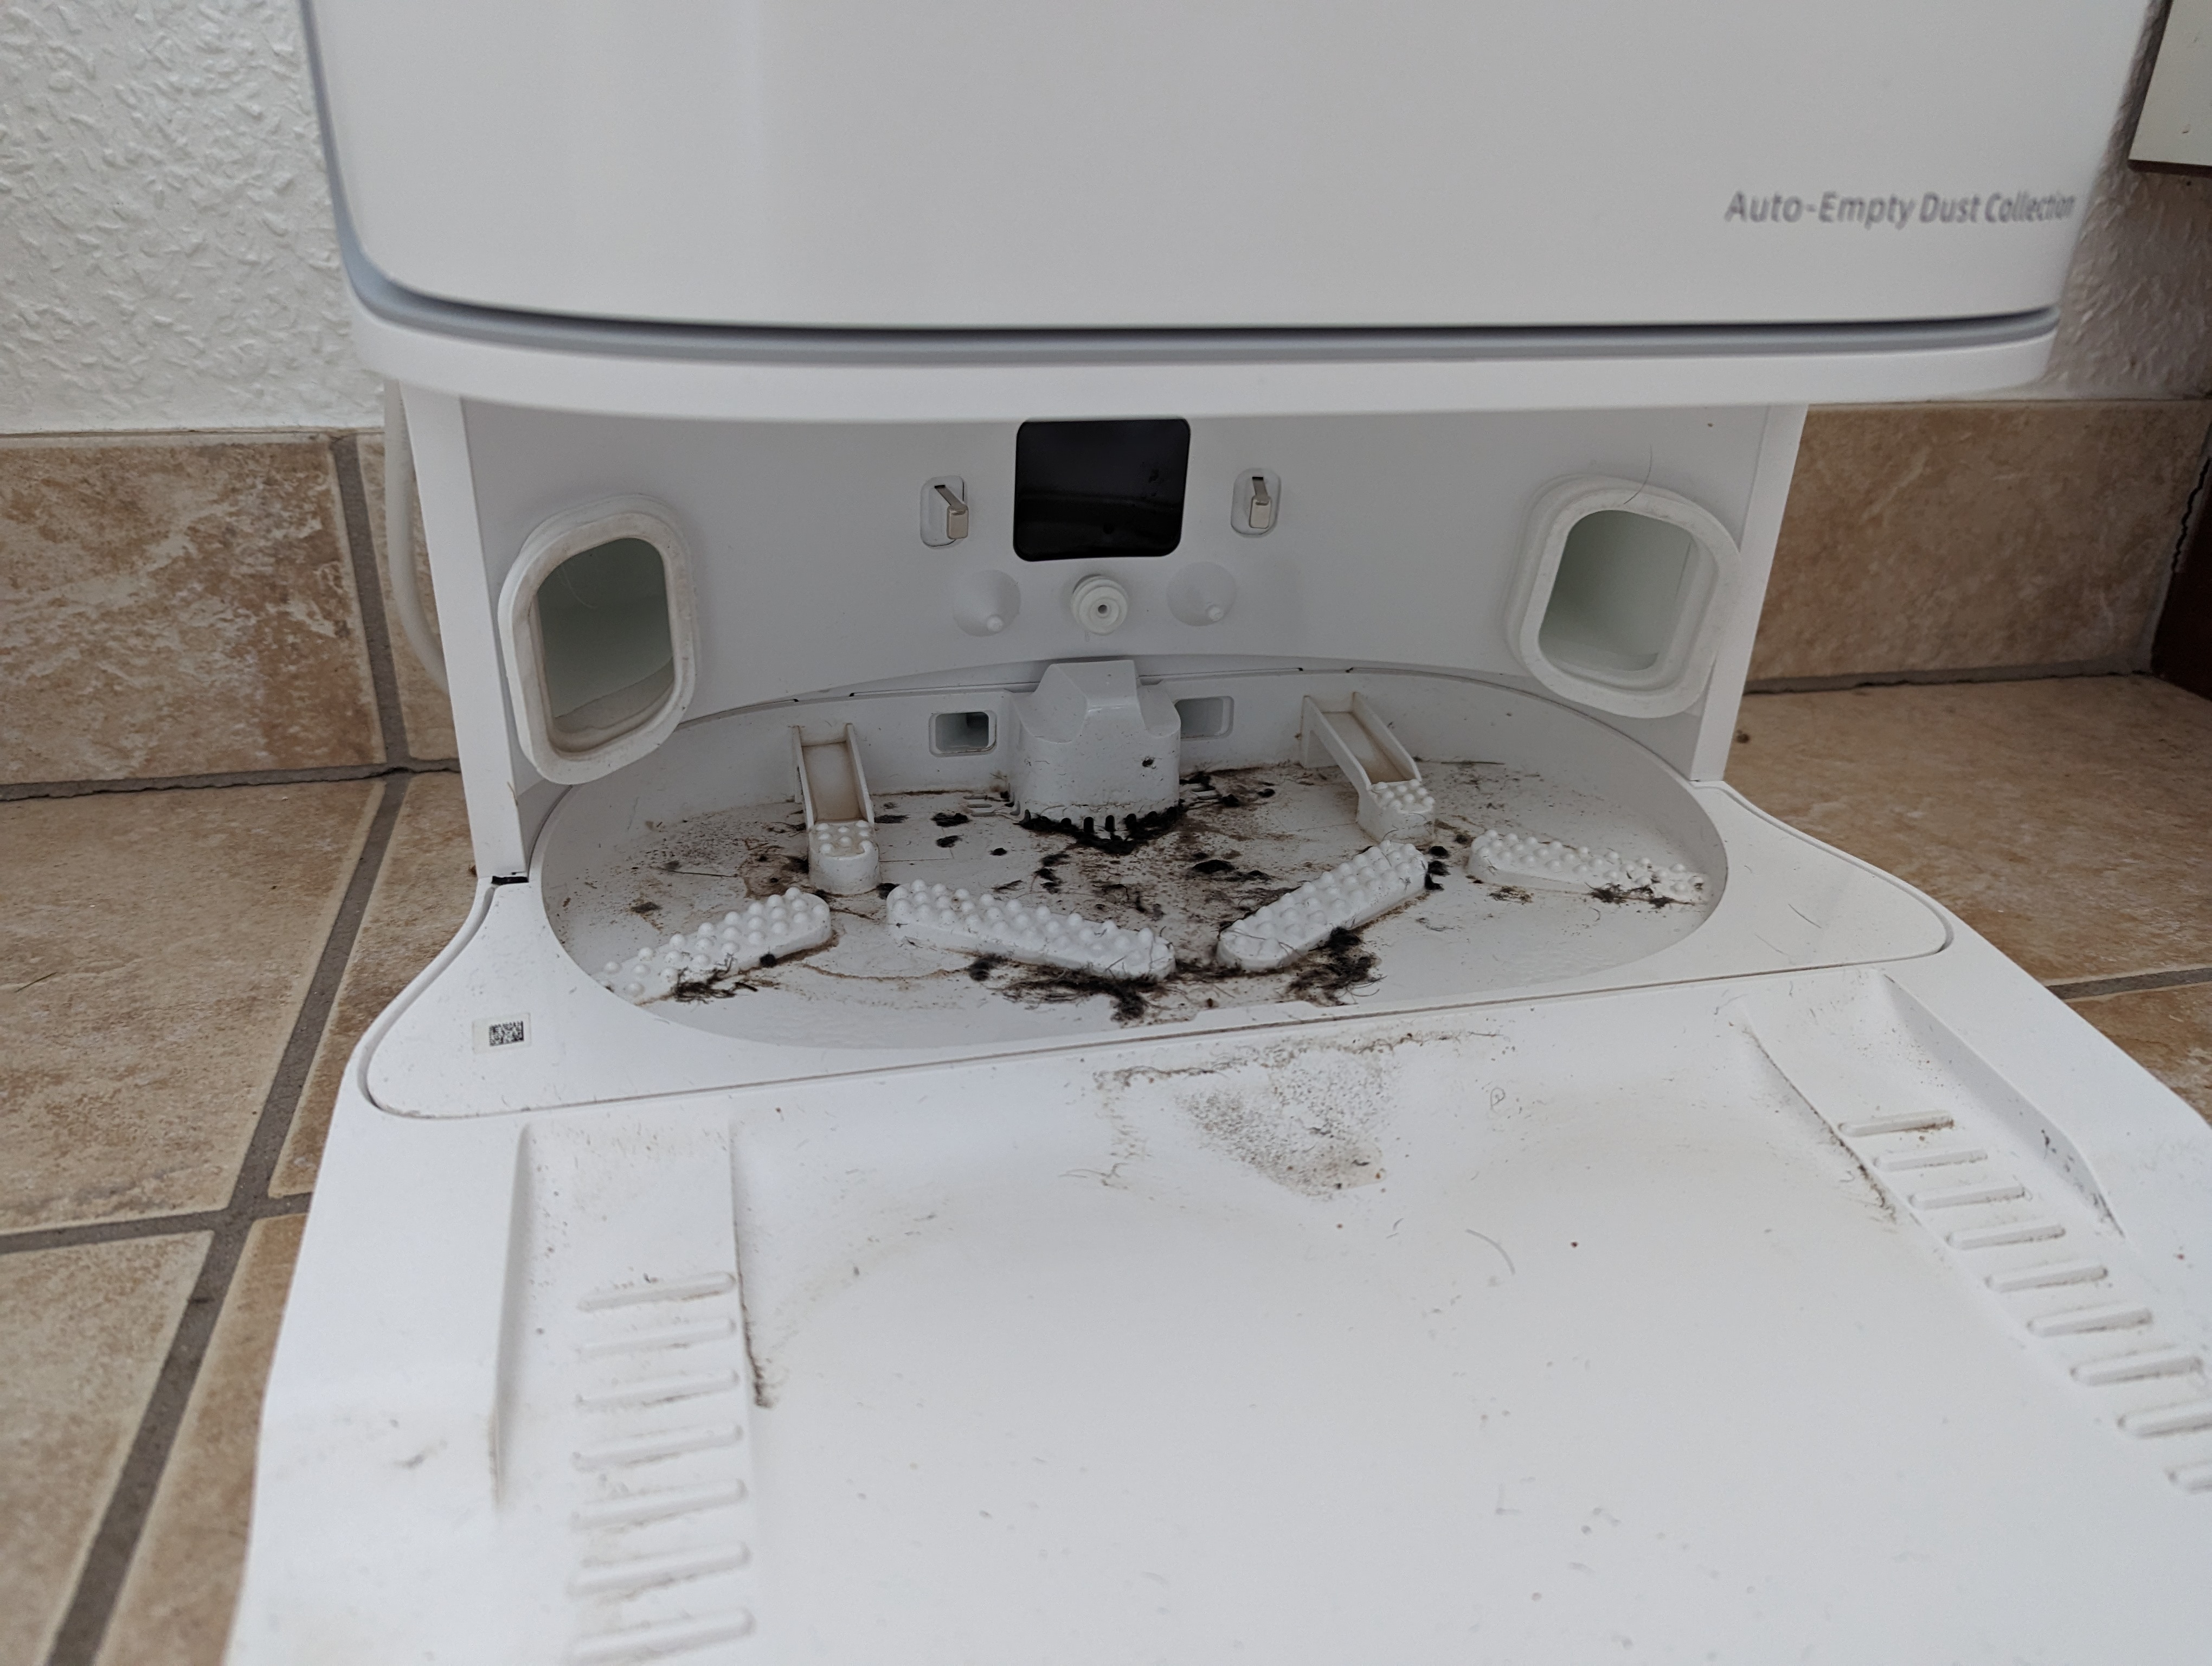
The front can be opened to access the three liter dust bag, which is located in the base station. When the DreameBot L10 Ultra has finished cleaning, the contents are automatically emptied from the small container in the robot itself into the large bag in the base station.
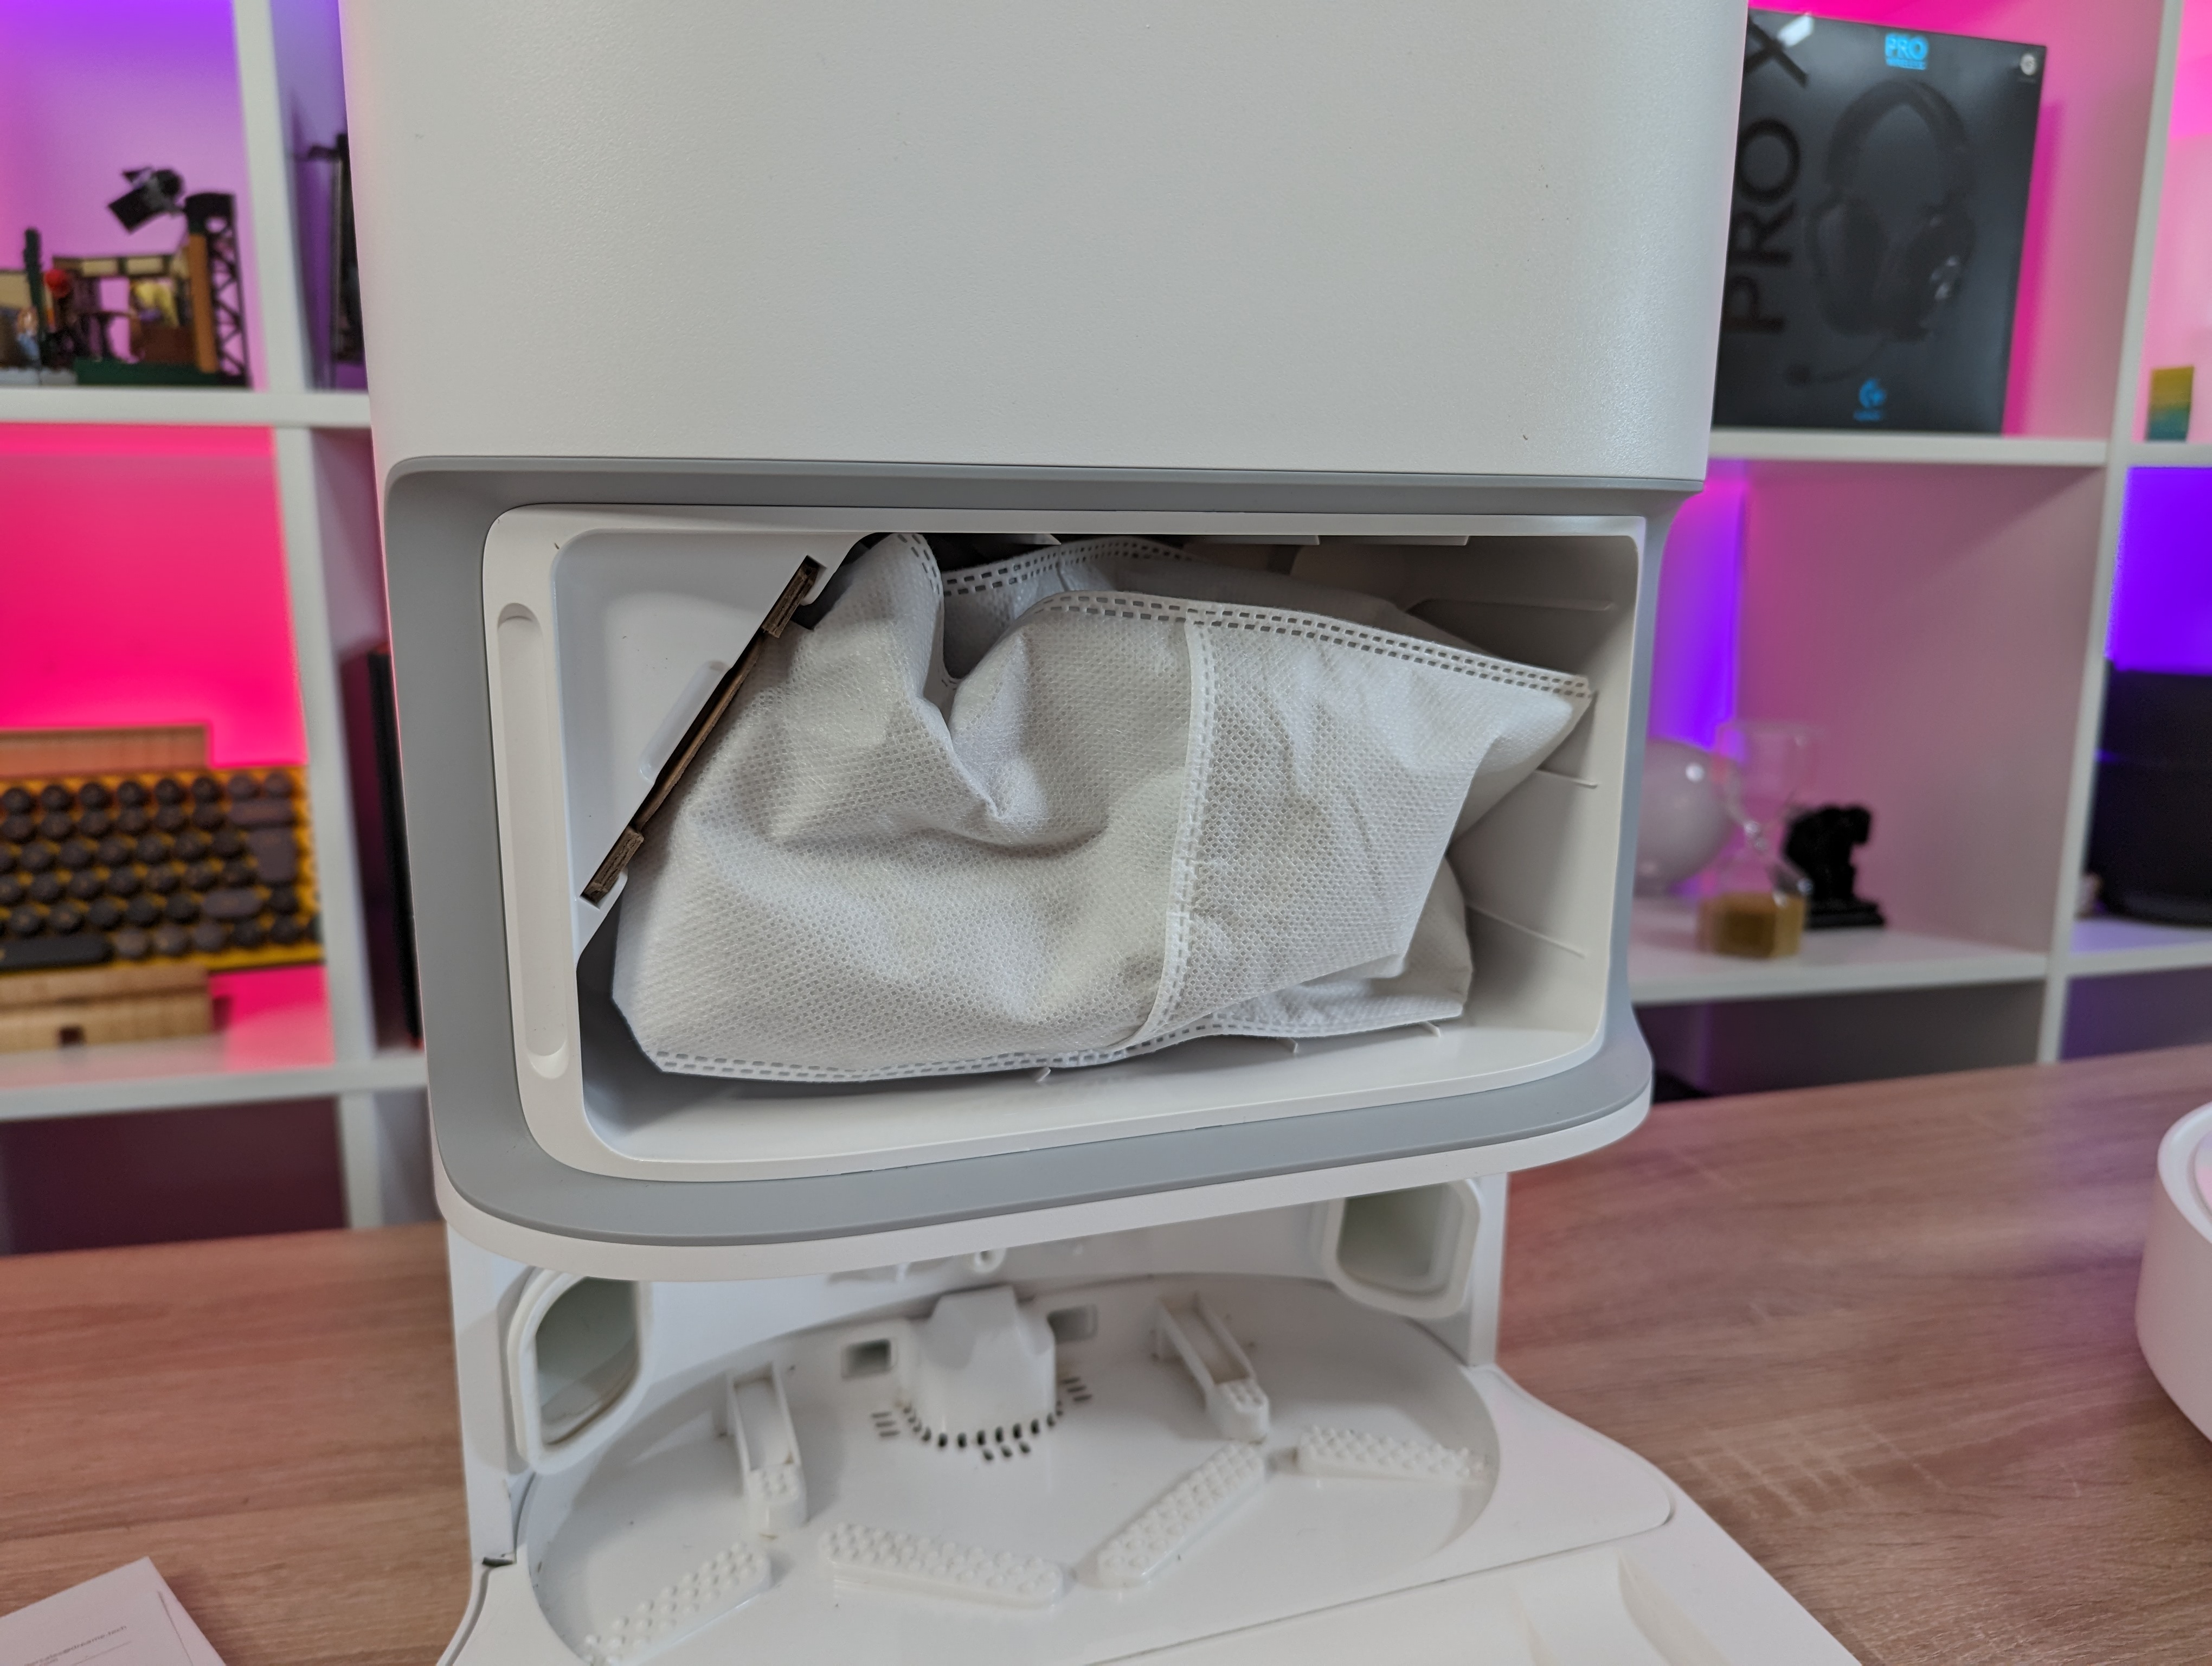
Dreame himself states that with normal use you will be able to vacuum a moderately dirty home three times a week, for around two months, before the bag needs to be changed. It will of course vary depending on how big your home is.
If you open the top of the base station you get to the wet part. Here there are two containers for water. One is for clean water, which is used in connection with floor washing, while the other collects the dirty water.
The containers are practically color-coded, so you can easily see which one is for what. The containers are easy to pick up and fill or empty when needed.
All the materials feel solid and of good quality and in general you get a feeling of quality when you stand with the DreameBot L10 Ultra.
Setup
Like so many other Smart Home devices, set-up and later operation naturally takes place via an app on your smartphone. Via the Dreame app, you are easily and fairly quickly guided through the setup of the DreameBot L10 Ultra.
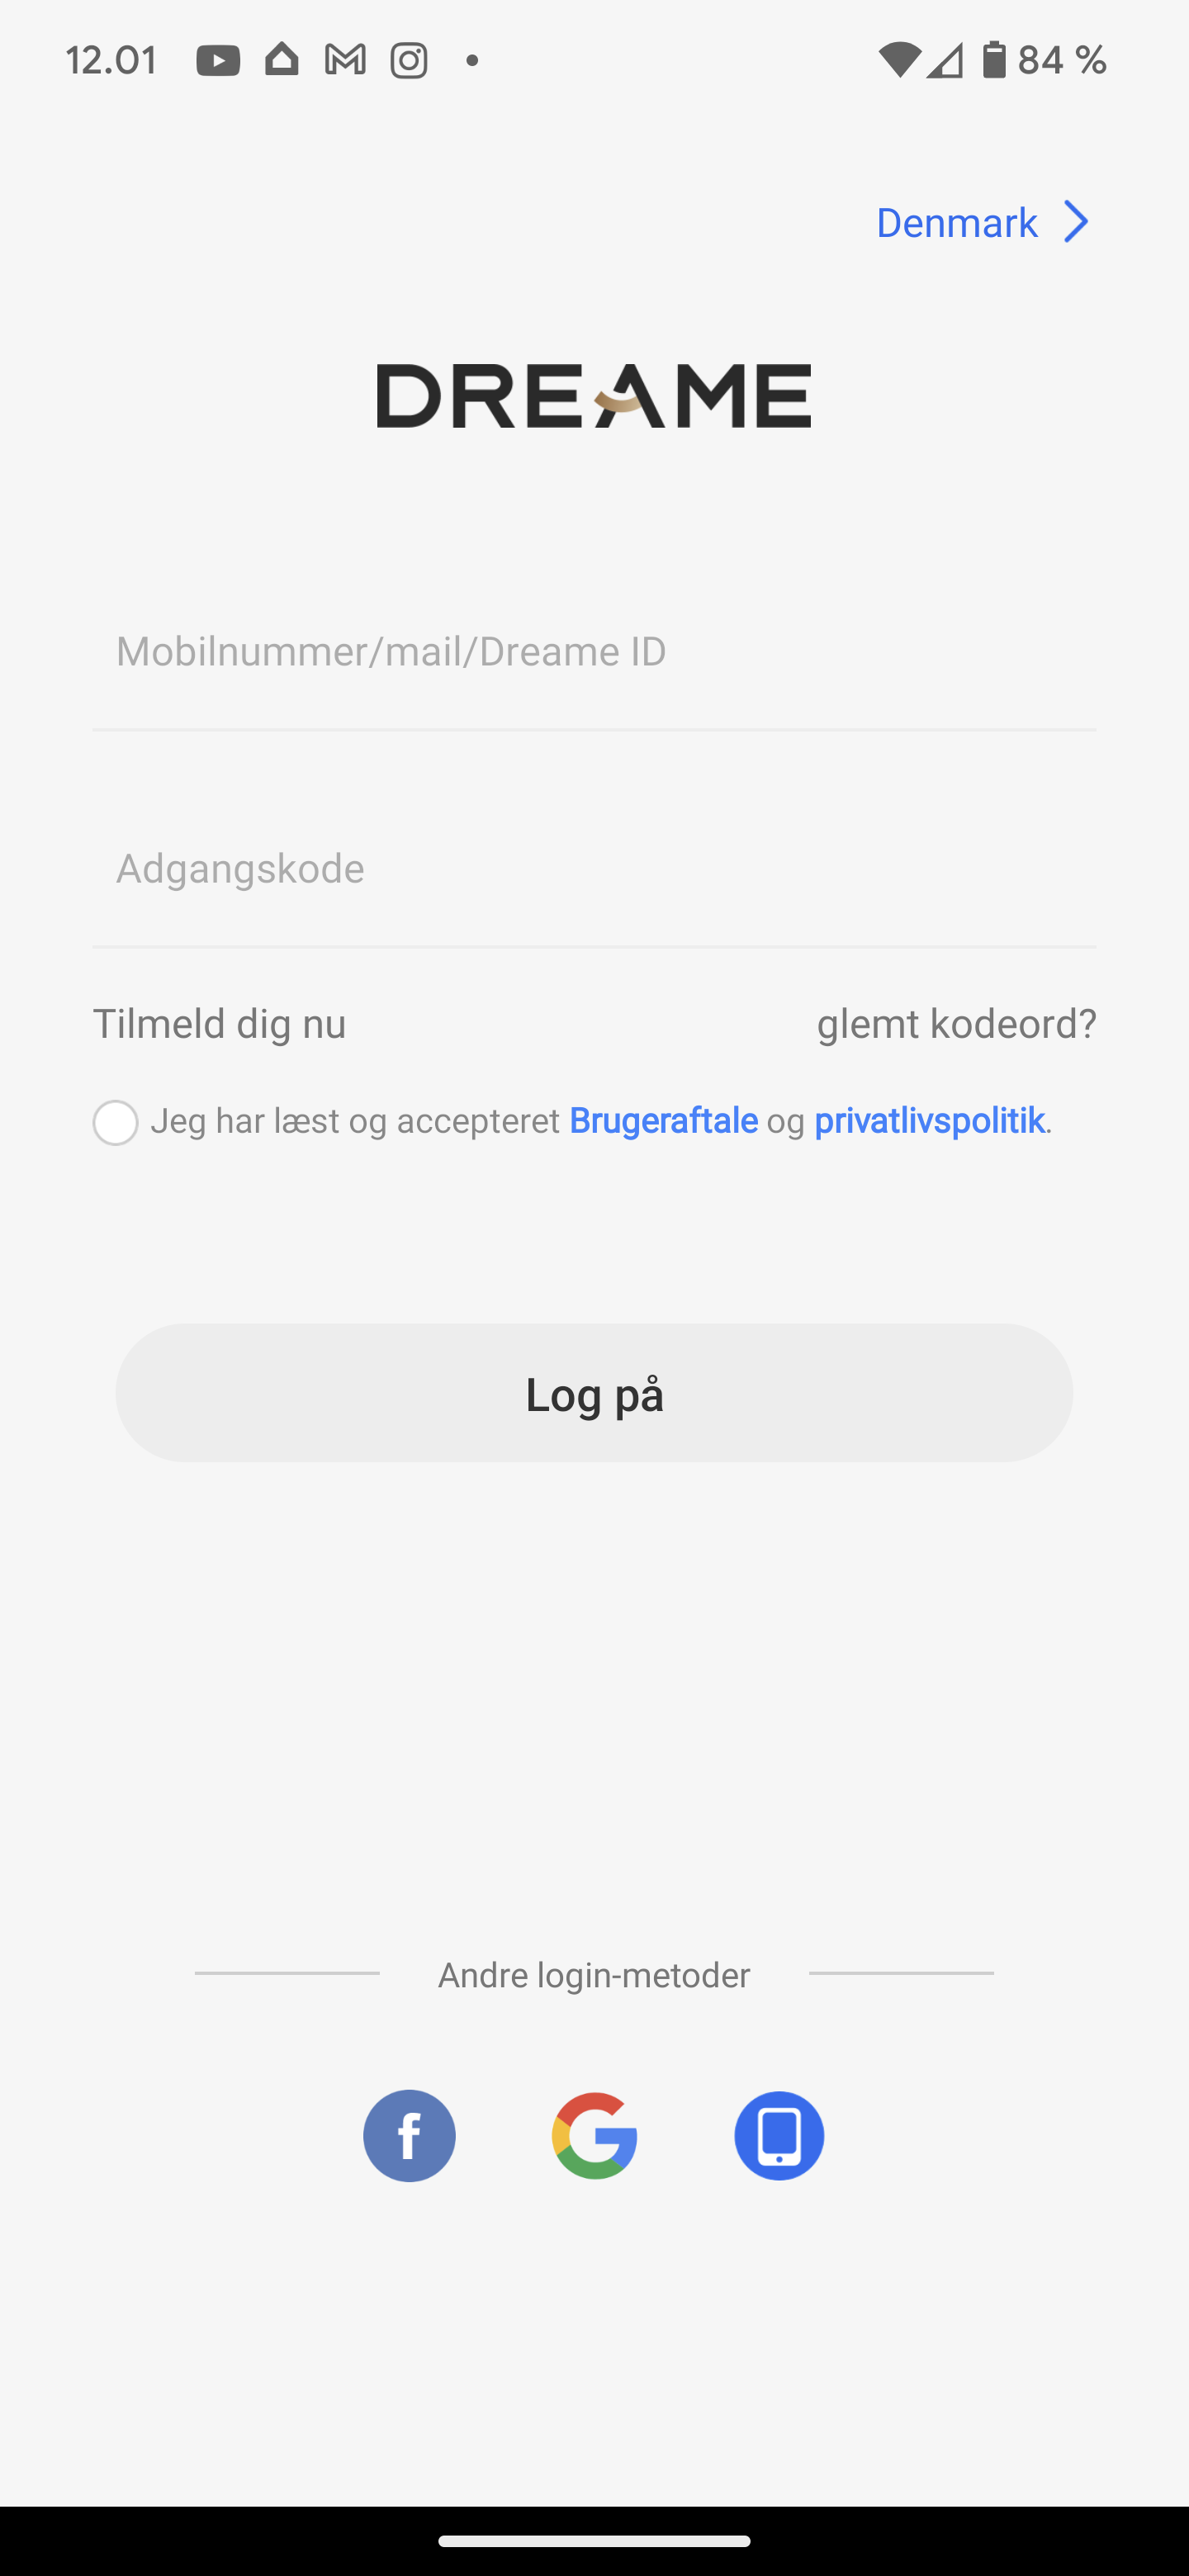
It's a step by step guide that tells you what to do to get started. It's a little annoying that you can't use the app without having to create a profile. However, it is possible to log in with your Facebook or Google account, if you can't bear another online profile.
During setup, you connect your home network, so you must have your network code ready. When the connection is in place, you are ready to let the DreameBot L10 Ultra map the home.

Before then, it is recommended to clean up and make sure that there are no objects on the floor in the areas where it will run.
After that, it's just a matter of letting it run the Fast Mapping function. The robot will then drive around your home and map the home via the LIDAR system. It's a good idea to be nearby and keep an eye on it, so you can make sure it goes smoothly.
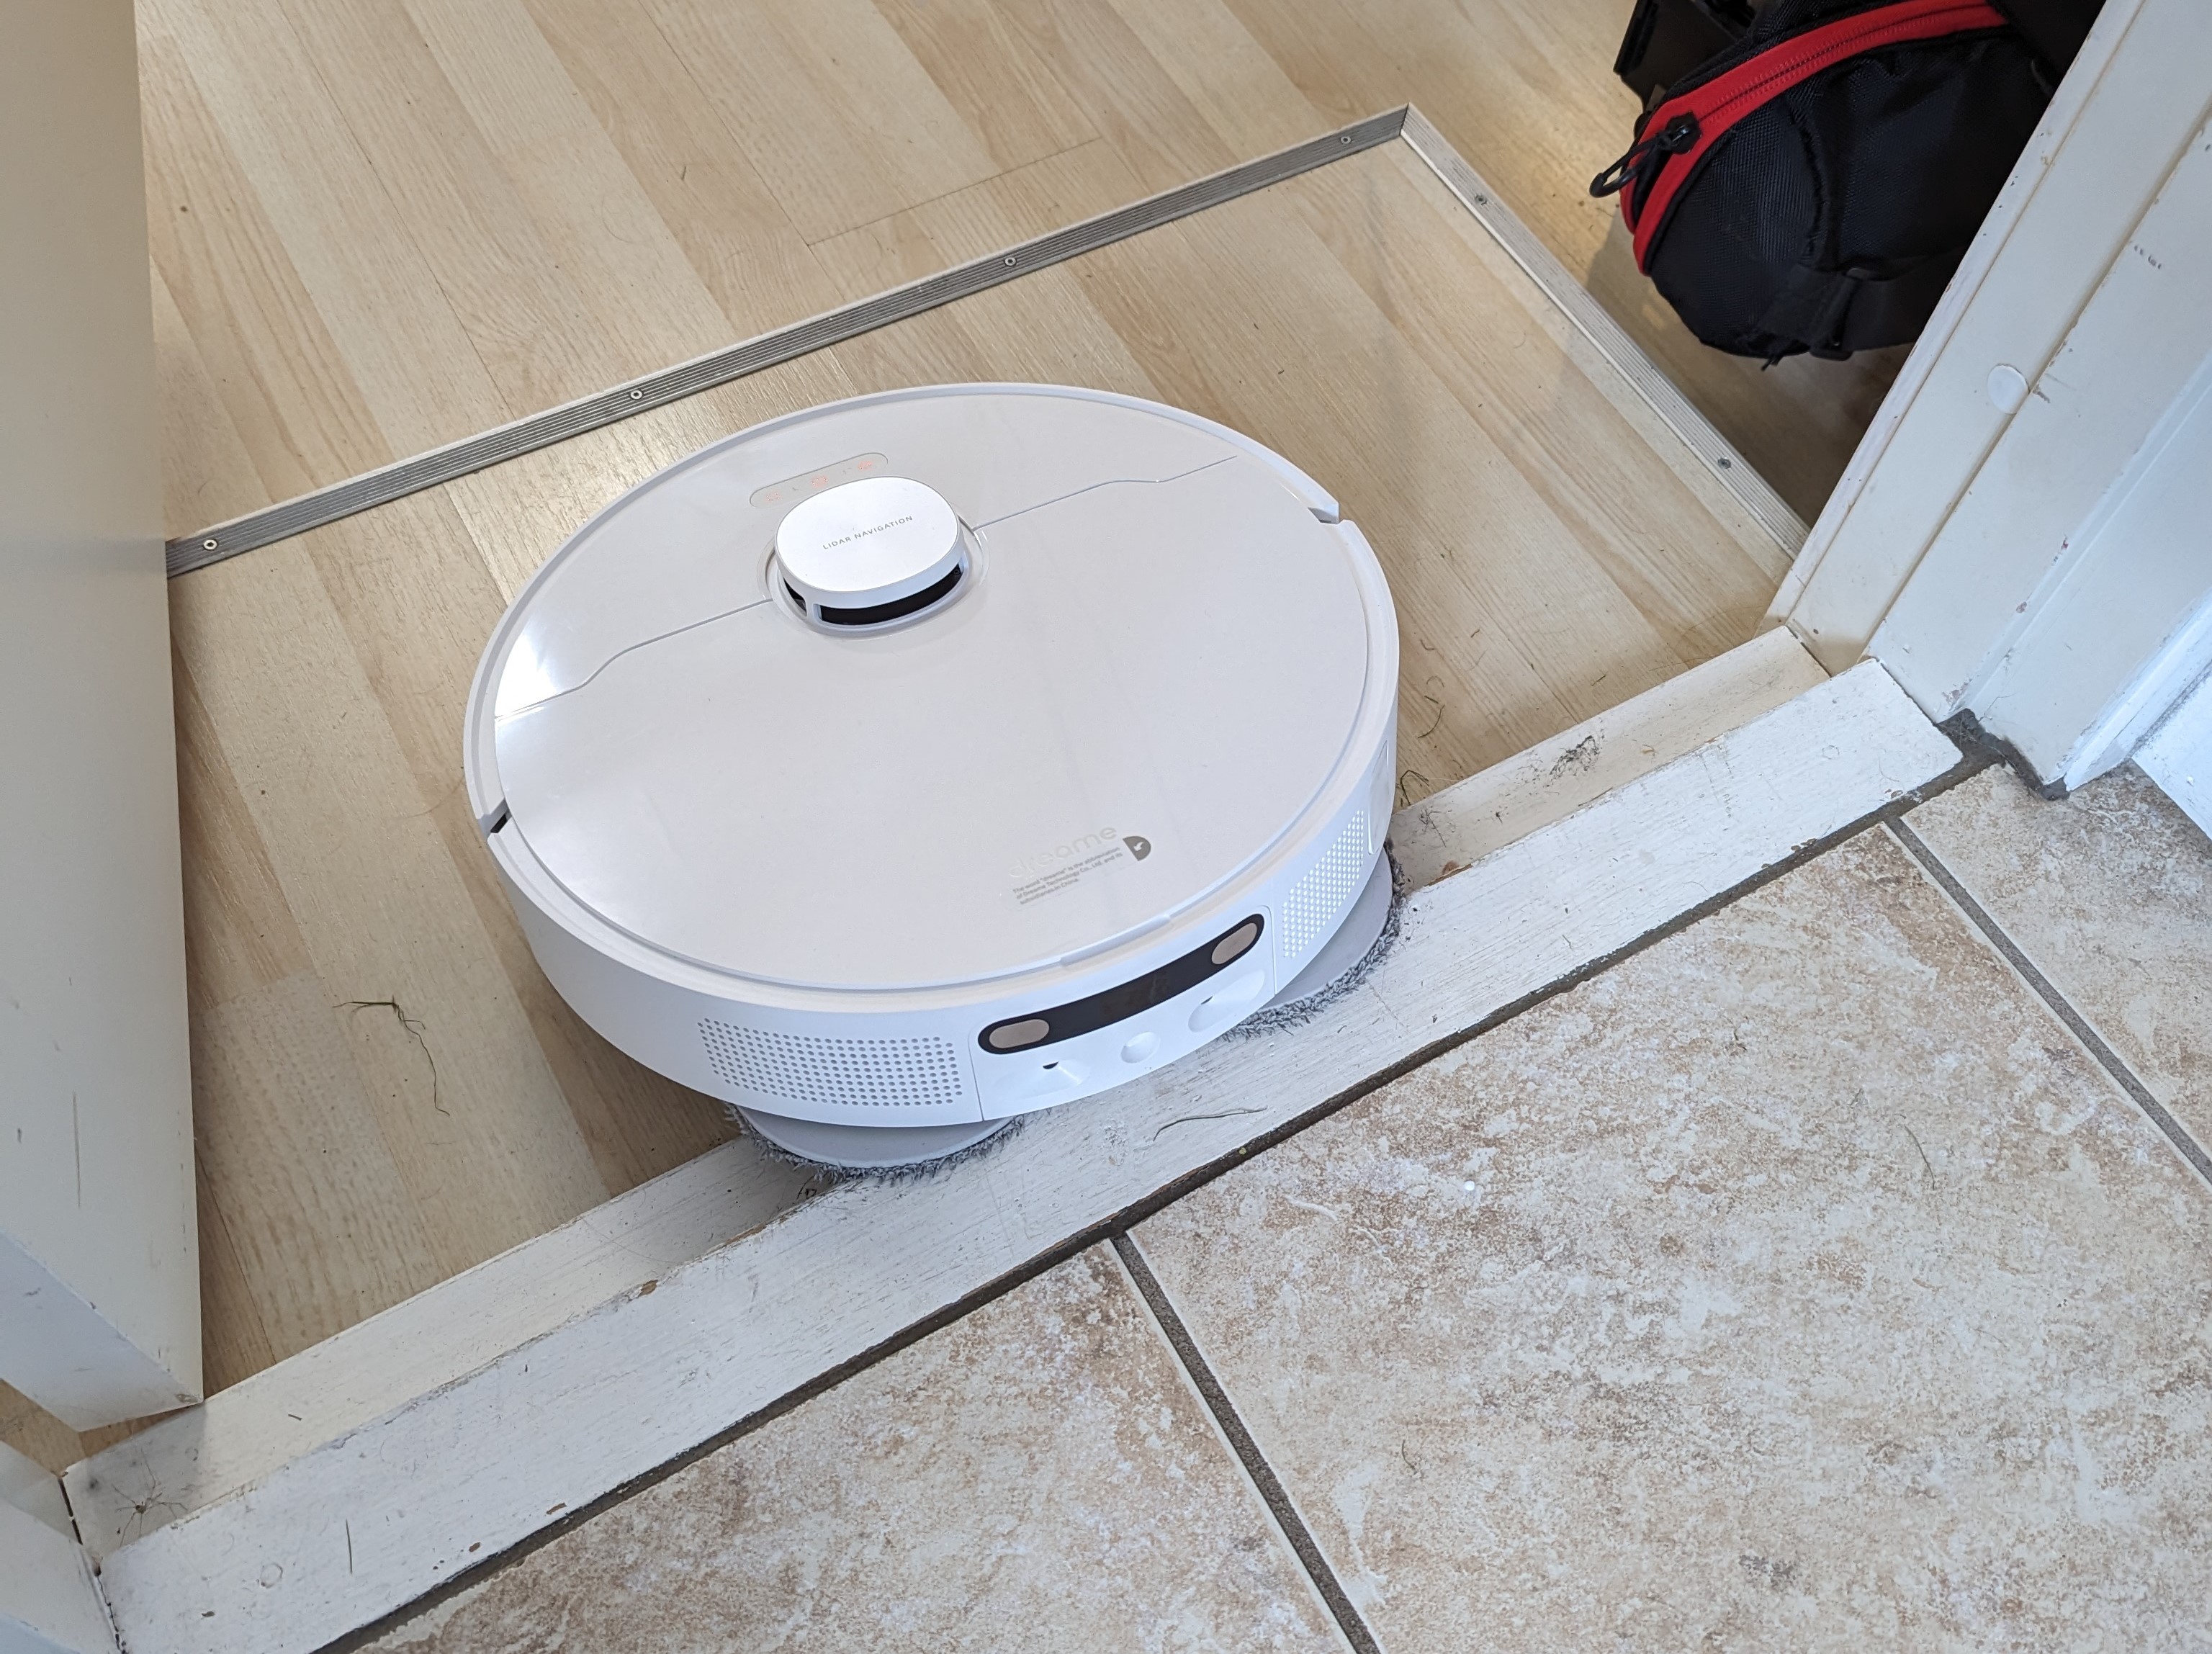
In my case, I could unfortunately conclude that the fall protection on the device did not function optimally. I have a step down between two parts of the house and here the DreameBot L10 Ultra consistently drove over the edge and got stuck resulting in it having to be rescued.
I ended up closing the door to prevent it from happening again.
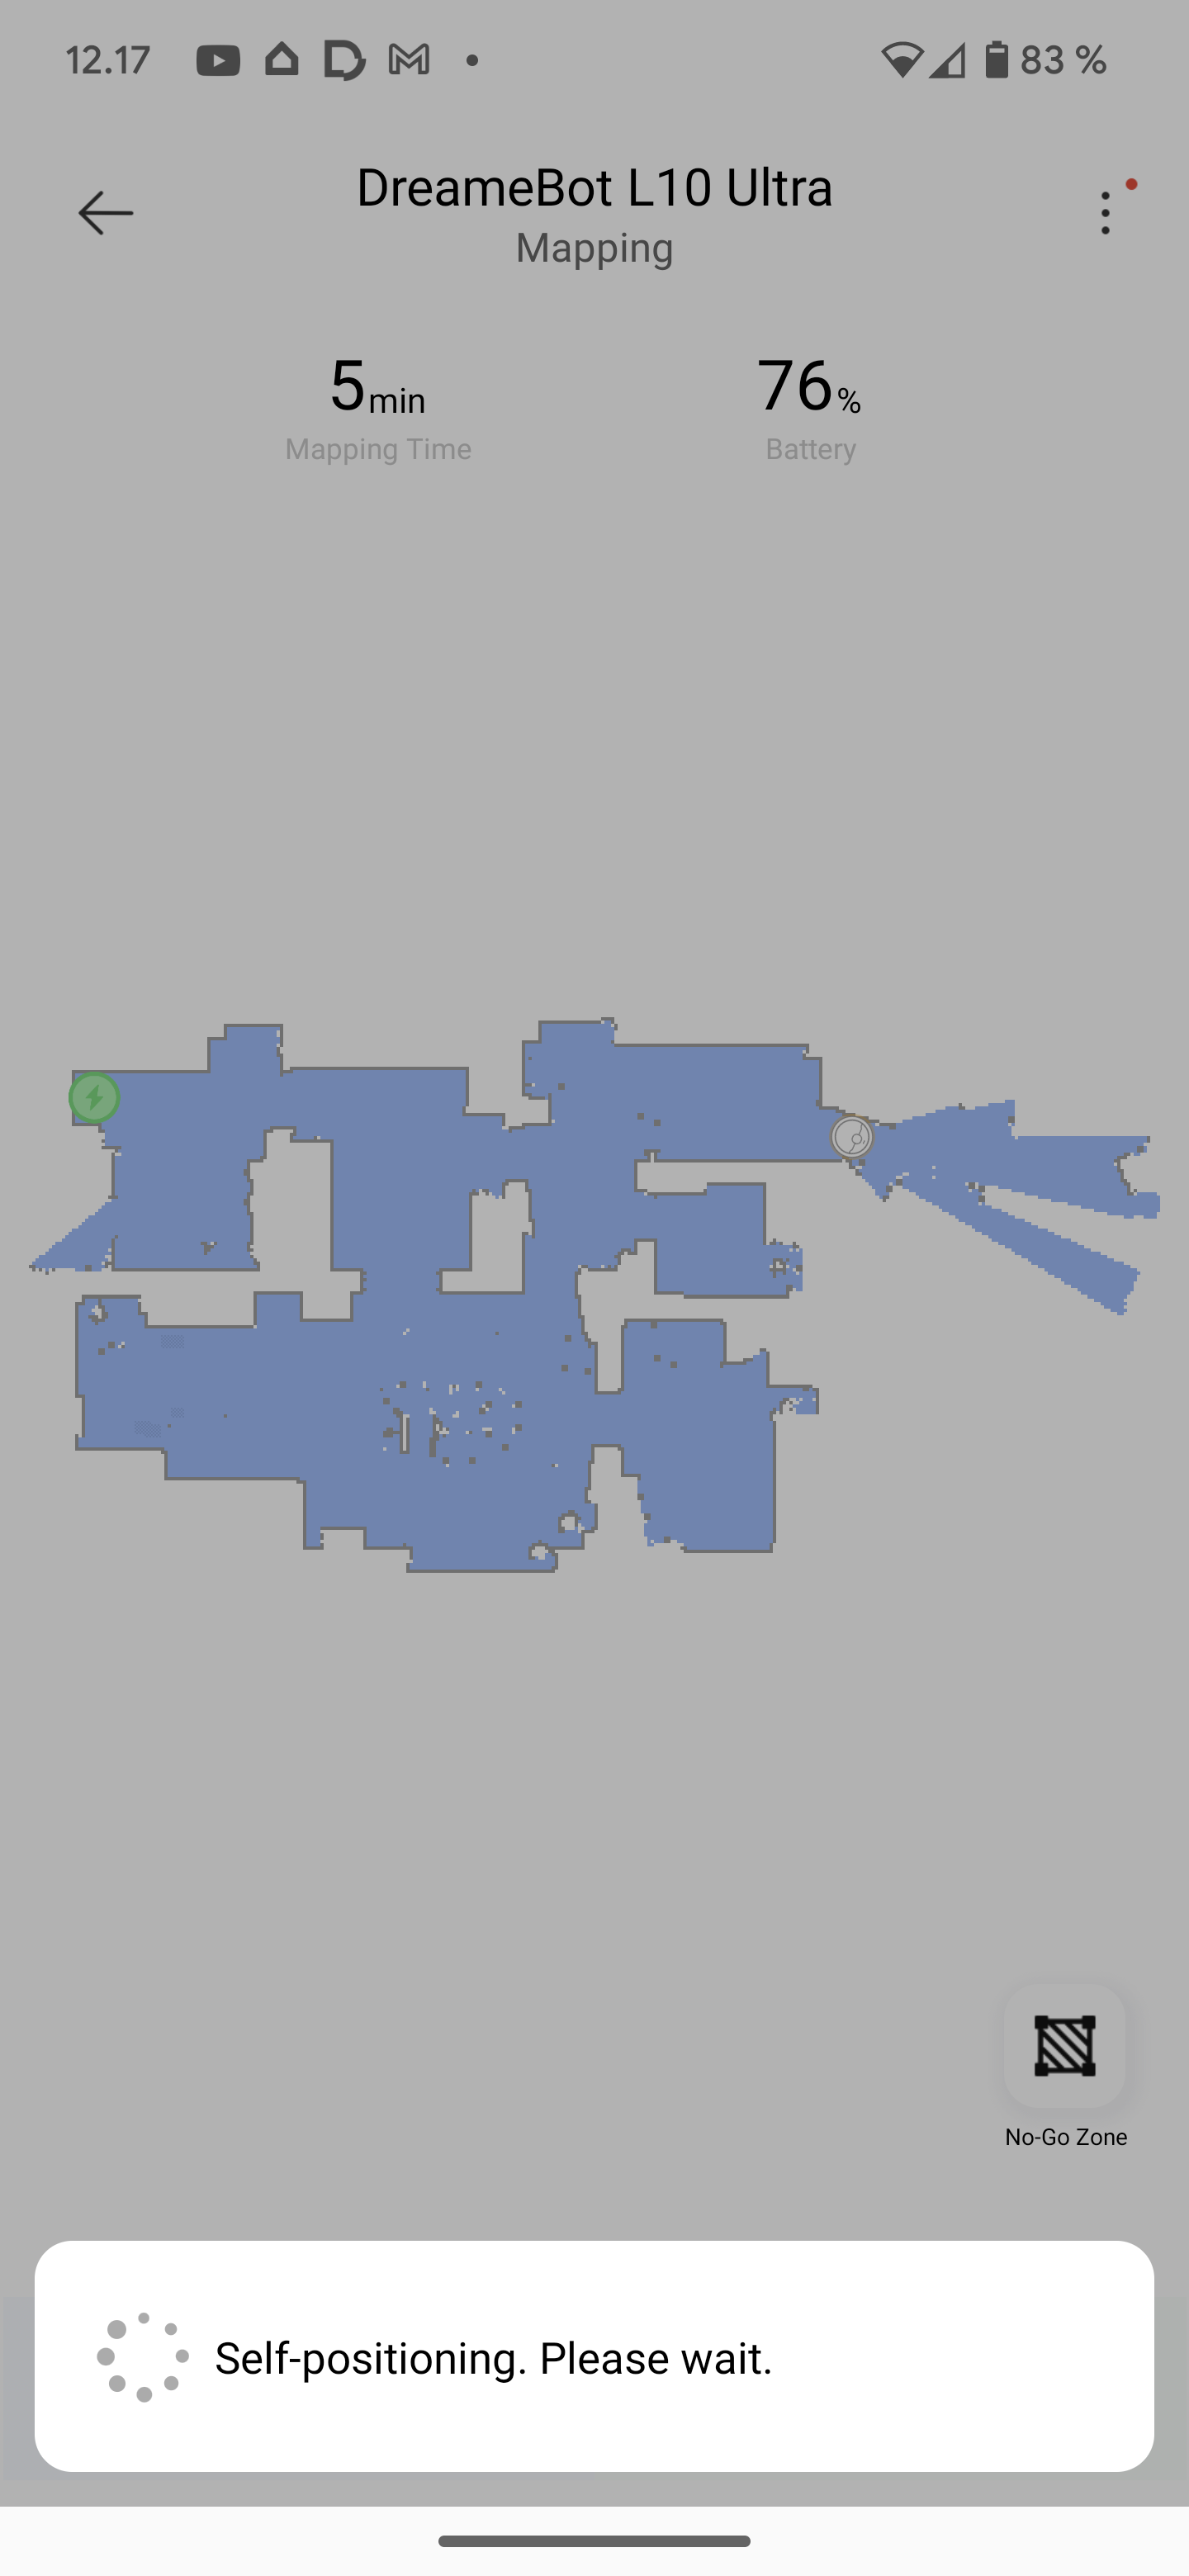
Apart from that bump in the road, the mapping went without any problems, and in about 10 minutes it had mapped the roughly 63 m2 in the main part of the ground floor of the house.
The system itself detects doorways and then divides the map into separate rooms. In my case, it was spread over six rooms in total in the main area.
It is possible to set up several maps when, for example, you have a 1st floor or another part of the house, which the DreameBot L10 Ultra cannot access due to the height difference.
However, this requires that during setup you move the base unit to the new area and start the mapping from there. The robot vacuum cleaner must be able to return to the base station to finish mapping. I found that out after it spent almost an hour trying to map the office without success. Once the base station was in the room, it went smoothly.
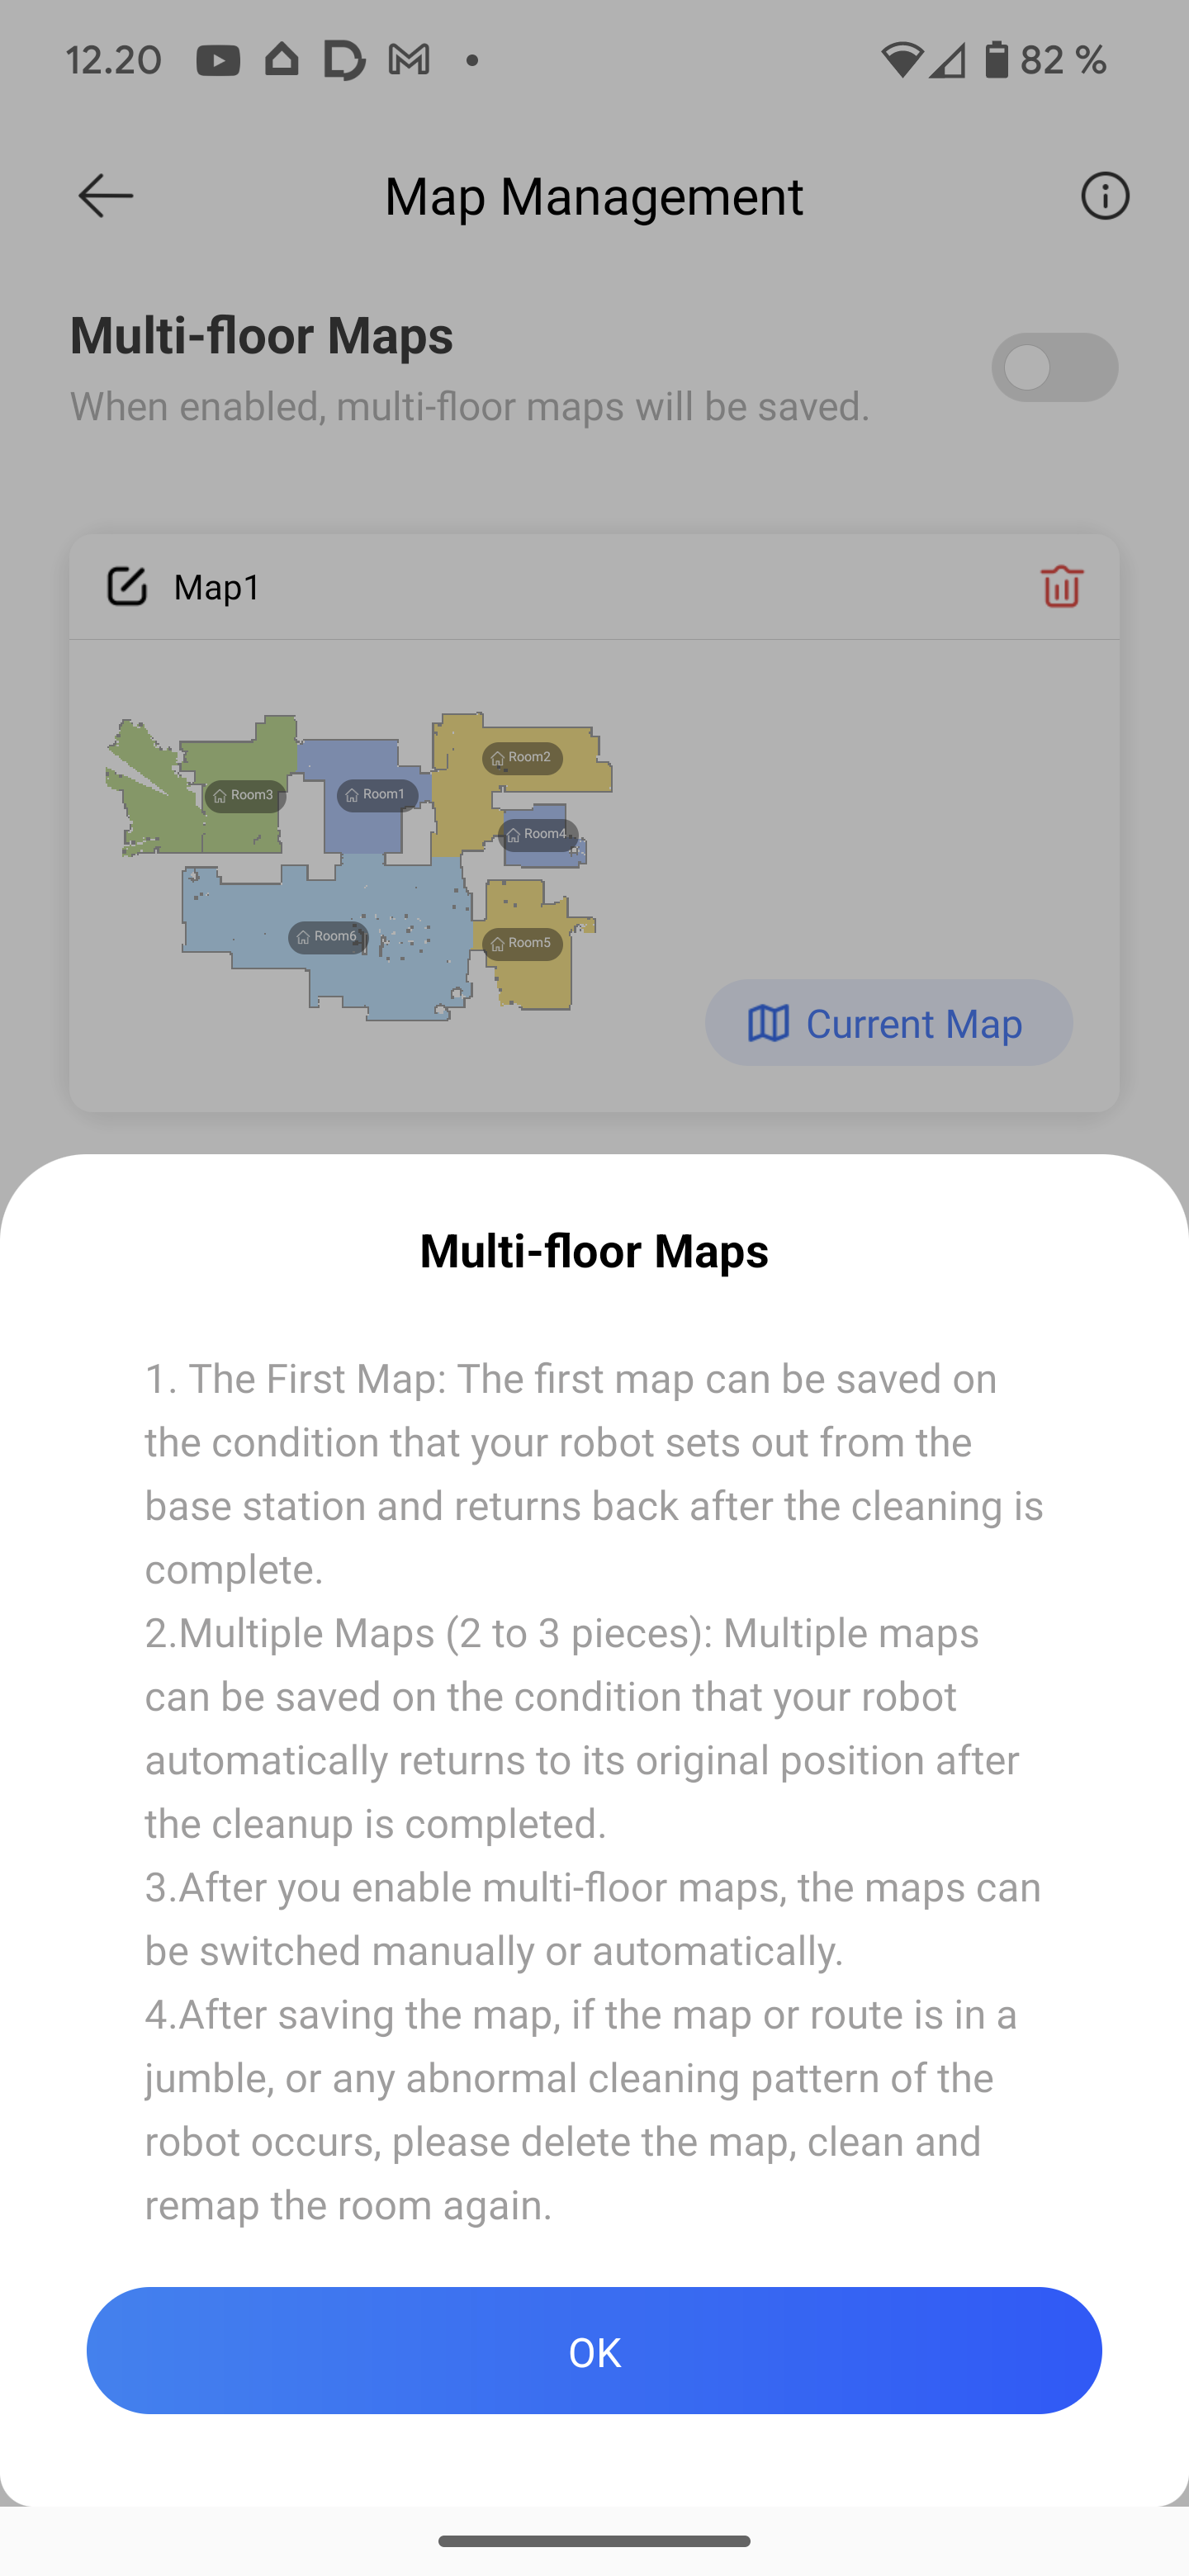
In my case, this meant I had three separate maps that can be switched between in the app.
It is possible to use the robot in the other areas later, without having to move the base unit with it each time. However, it has some limitations, which I will get into later.
When the system is set up and the maps of your home are ready, you can go in and adapt the maps yourself if, for example, there are areas where you do not want the robot running. For me it was, for example, a few places under certain furniture, where I knew it could cause problems with cables etc.
I also used it to secure the stairs on the 1st floor, as after my episode with the set-up I didn't have much confidence that the system would detect the stairs itself and not run over. However, I solved it by creating a no-go zone at the landing.
Testing and software
Once all setup is in place, the DreameBot L10 Ultra is controlled via the app. It can be done manually or set up to run automatically at certain times.
It is possible to set up different programs if there are certain rooms you would like cleaned more often than others. It could be, for example, that the entrance hall and kitchen must be vacuumed every day, while the living room and bedroom can be cleaned twice a week.
It is also possible to choose whether to vacuum, wash or both, as well as how powerful the various steps should be.

All in all, there are quite flexible options for setting up a cleaning program that suits your particular needs.
If you want to avoid problems, it naturally requires that you keep the floors reasonably tidy. Smaller objects on the floor cannot necessarily be seen and controlled by the DreameBot L10 Ultra. So if you have an almost three-year-old energy bomb, with lots of toys in the house, like we have here, then it requires a quick review of the house before starting a cleaning program.
We have a rug by the couch in the living room, as well as a few mats around the house, and the DreameBot L10 handled them without any major problems. A couple of times the mops were caught by the edge of the carpet and ripped off, but this is probably not completely avoidable.
Otherwise, the robot itself detects quite accurately whether it is running on a hard floor or on carpets and can easily switch between them. When it detects that it is driving over a carpet, the suction power is increased slightly and the mops are raised and stop rotating.
The result of the cleaning in the main area of the house, which covers two hallways, kitchen, living room, bedroom and toilet, has been super fine throughout the test. It is about 62 m2, which it manages with vacuuming and washing in just over an hour.
Washing of the floor is carried out continuously together with the vacuuming. It works by the robot continuously returning to the base station to clean and moisten the mop pads.
In the app, you can set how often it should do this. I had it set to do that for every 10m2 it cleaned. Then it drives back, cleans the mops via the grooved parts at the bottom of the base station, the mops are rinsed and the dirty water is collected in the container in the base station.
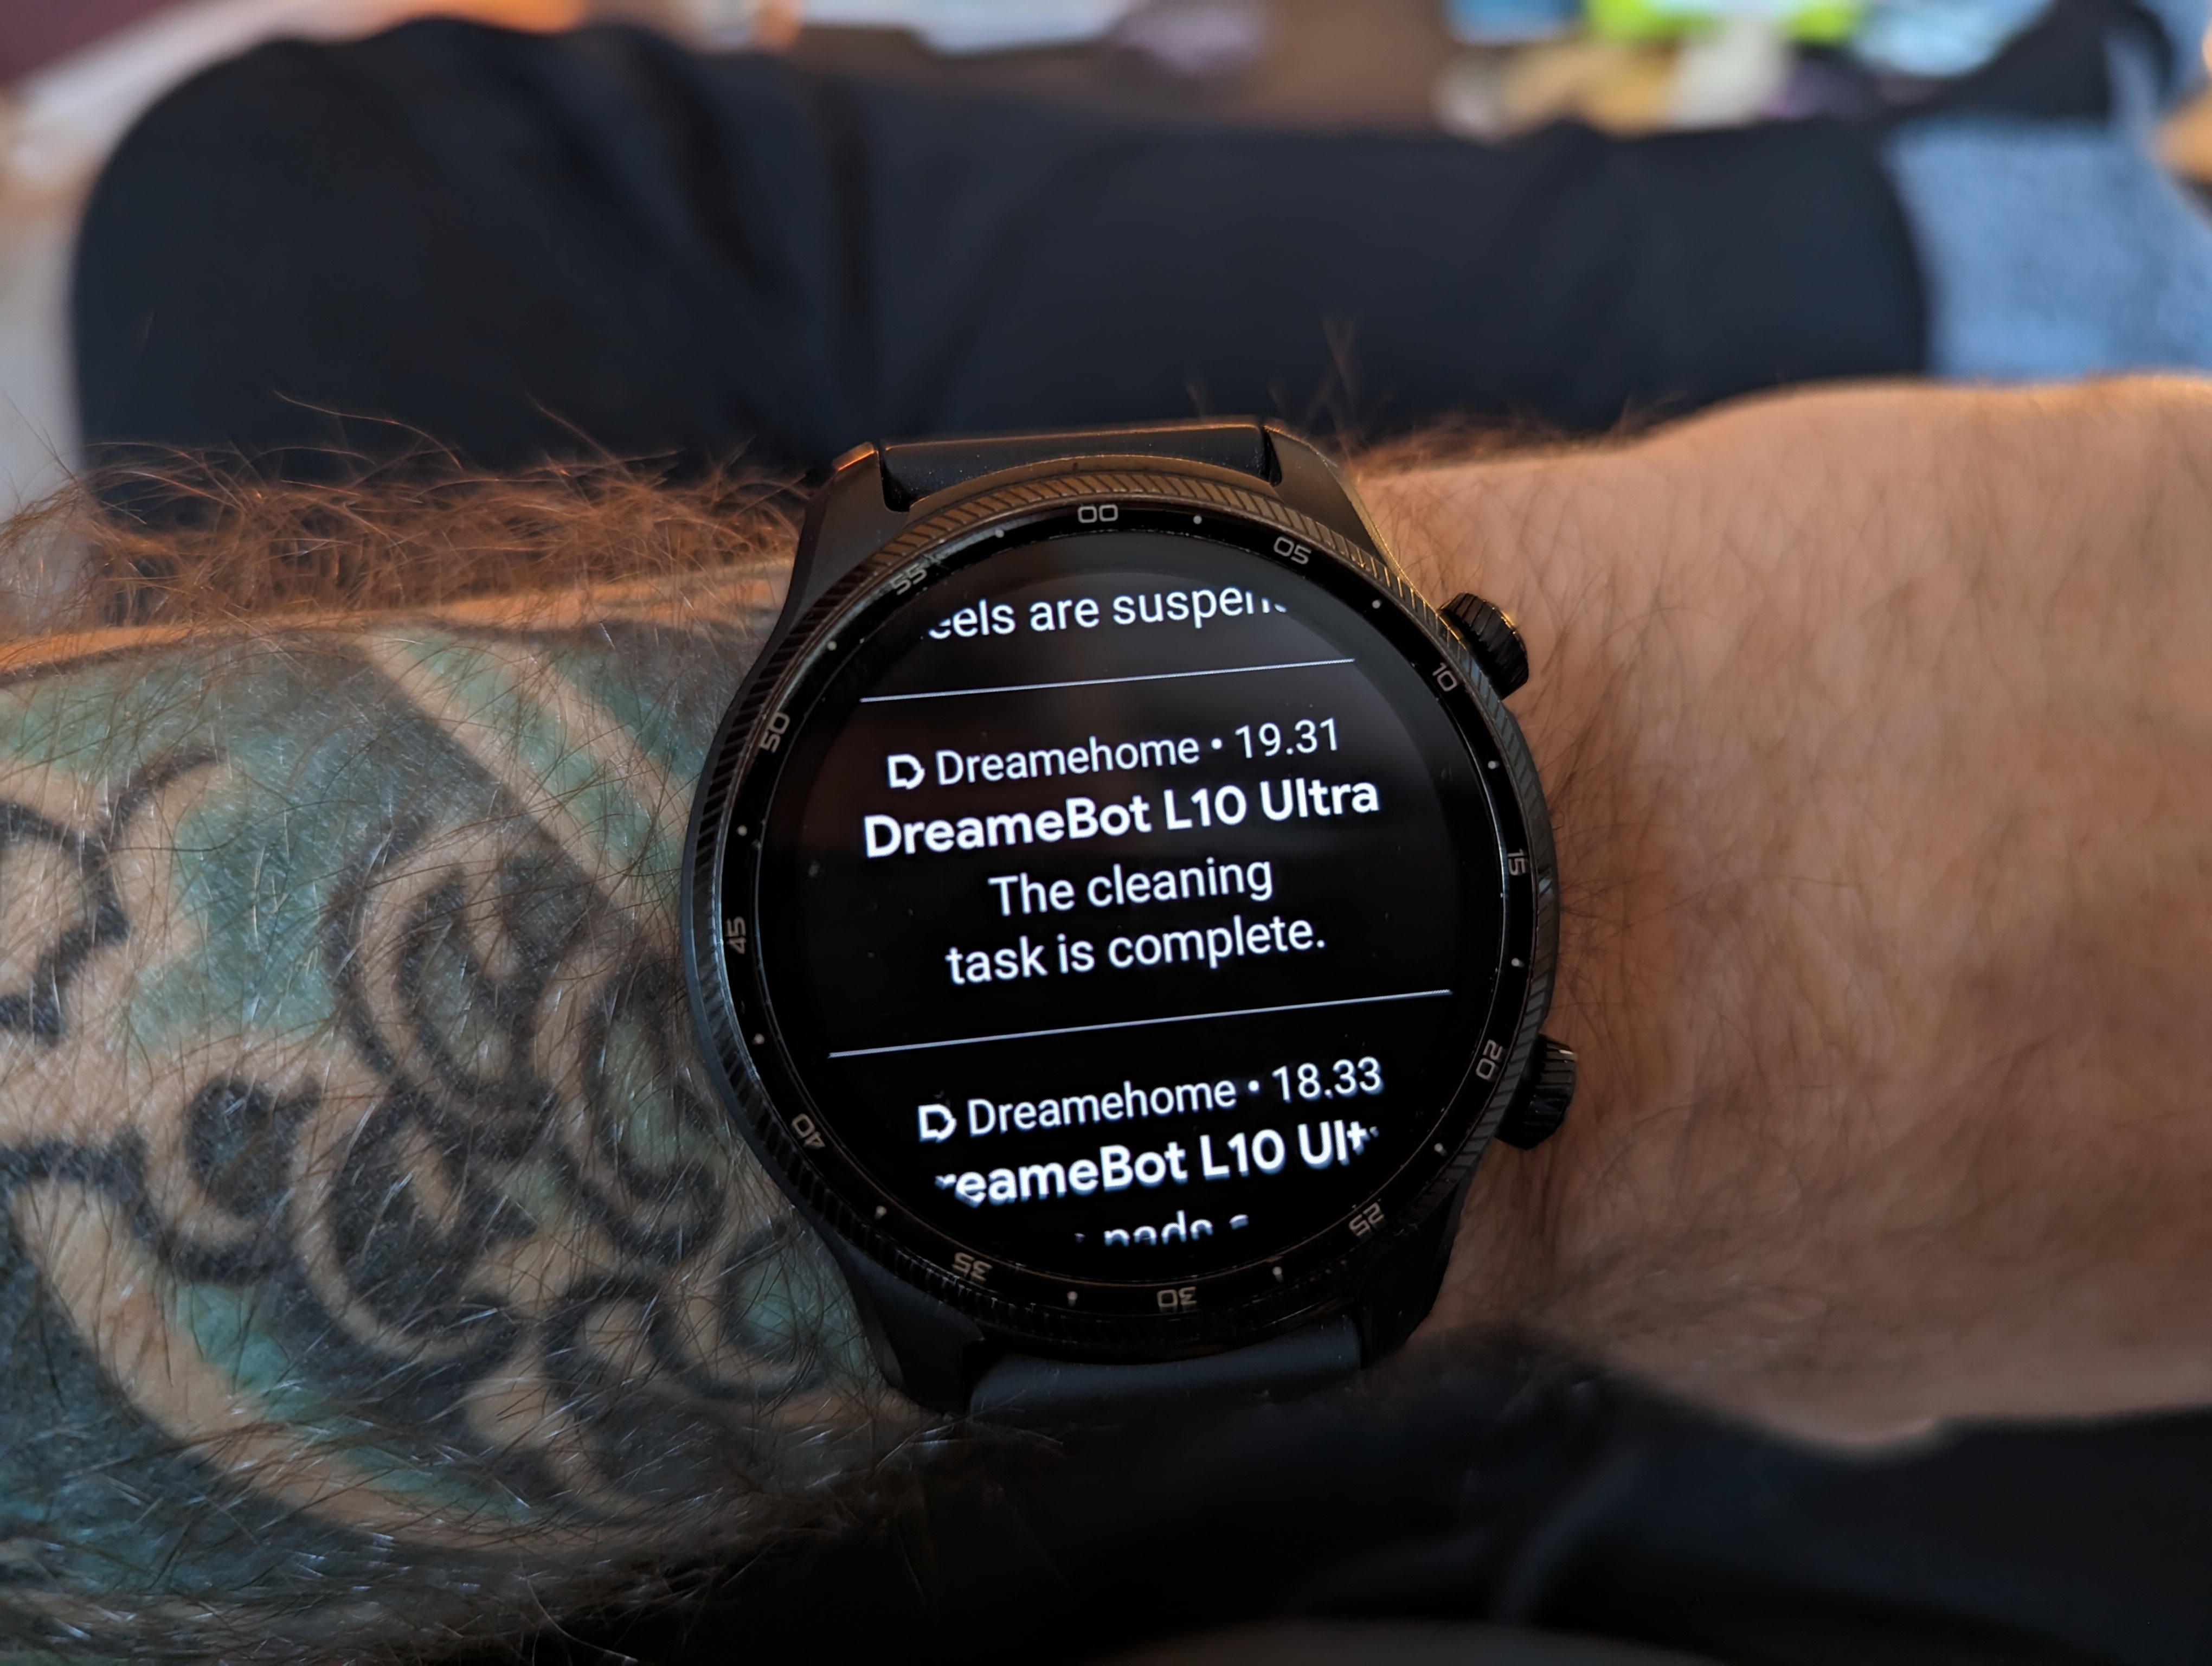
When all the cleaning is done, the robot drives back to the base station, where the mops are cleaned again and the vacuum cleaner is emptied into the large dust bag in the base station.
Dreame writes on their website that the mops are then dried, and it also sounds as if something is happening, which most of all sounds like a hair dryer.
However, my experience was that the mop pads were often quite wet, even after this cleaning.
Due to the design of our house, I had to use the "multi-Floor maps" option, where I made separate maps of one half of the ground floor and the first floor.
Once they are in place, you can switch to them, physically move the robot vacuum cleaner to the other area and start cleaning. Via the LIDAR system, the robot can itself scan its surroundings, and recognize the place and its own location in relation to the maps it has made.
However, there are few restrictions on cleaning in this way, if you do not move the base station with you. In part, washing will have a limited effect, as the robot cannot continuously drive back and clean and moisten the mops. For natural reasons, it must be able to get to the base station in order to do that.
It is also as if it doesn't quite know what to do when it has gone through its program. It tries to find its way back to the base station, which isn't there, and then it just drives around restlessly until you stop it yourself.
It's possible that it's possible to avoid it via the settings in the app, but I couldn't find an easy place to control that part. In certain areas, the DreameBot app can be a little unmanageable when trying to control it across multiple maps/floors.
If we ignore that and look at how it performed in the primary area, which would simulate a home in one plan, then I'd say I'm super happy.
As I said, there is still a bit of work involved if you want absolutely good results. Especially if you have children or generally just tend to mess up.
At the same time, the DreameBot L10 Ultra doesn't get all the way into the corners, so you'll probably have to use the regular vacuum cleaner to supplement it.
At the same time, there is also a bit of work involved in keeping the DreameBot L10 Ultra itself and the base station clean. The water must of course be regularly changed and so must mops etc.
At the same time, the lower tray in the base station must also be regularly cleaned. A lot of dirt accumulates there as the mops are cleaned. However, the tray is ready to take out and rinse under water.
That said, it's been a long time since we've had such a clean home with so little work.
Price
I can currently find the DreameBot L10 Ultra with an online price of just under 1000$. It is on the slightly more expensive end if you look at the market in general.
With the combination of functions with good rotating mops, auto emptying, etc., it lands quite well in the field, with comparable products.
Conclusion
There is no doubt that during my testing the DreameBot L10 Ultra has made my life a little easier. Cleaning takes up considerably less now, and the house is at the same time cleaner than it has been for a long time.
It's not a solution that manages everything without a little help, but you get really far. A little support must be provided in the form of general cleaning and a little maintenance, but it is not very much beyond the normal cleaning of toys, which is a regular part of everyday life.
Being able to leave vacuuming and even floor washing to a robot is one of the small things that creates a little low key joy in life.
There is no doubt that the DreameBot L10 Ultra is best suited for homes in one plan. It is possible to move it around between different parts of the house or floors, but it was never quite as easy as just starting it in the part of the house where the base station was also located.
Overall, however, it is a rather small price to pay for the or fairly good automatic cleaning. You cannot completely get rid of the manual vacuum cleaner, but it can be used much less than without the DreameBot L10 Ultra.
Whether the joy of getting rid of a large part of the cleaning is worth 1000$ will be very much up to the individual judgement.
We end up with a final grade of 8 for a robot vacuum cleaner with good features and a solid cleaning ability, but which still comes with a few problems.
Pros.
Cons: