24 Apr
printer


Central features
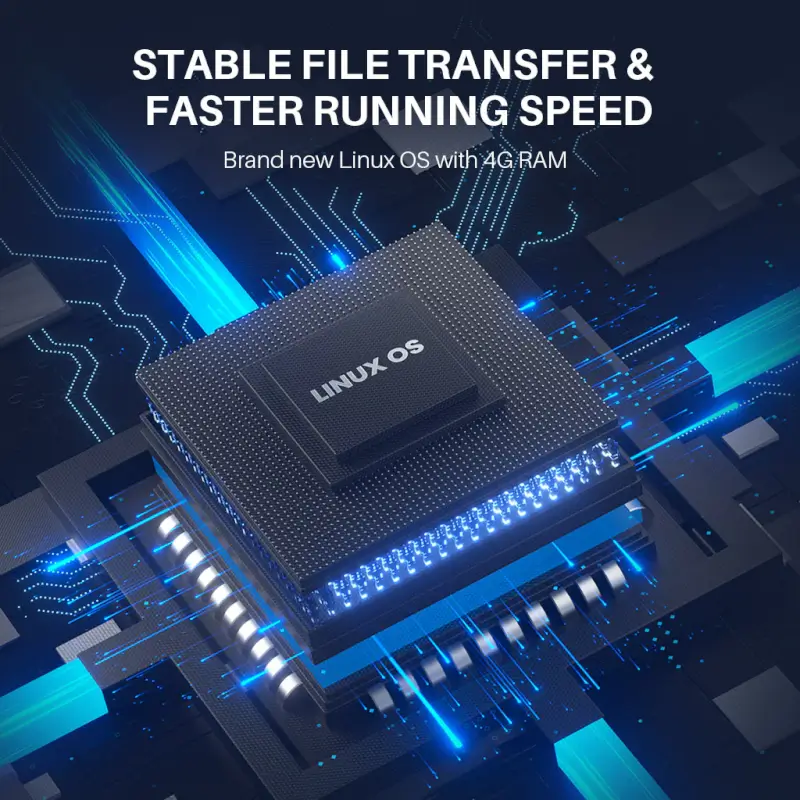
Good things to notice here is the reasonable build volume that still allows room for fairly large prints, even if it doesn't reach the side of the massive Jupiter SE that we've looked at previously from Elegoo. At the same time, it's also great to see that Elegoo has upgraded the internal hardware to a Linux-based system, which should mean that we get a more robust interface on the machine itself.
A tour around the Elegoo Saturn 3 Ultra
Elegoo Saturn 3 Ultra comes assembled and more or less ready to use in the box. It is all well secured with foam both around and in the machine.

The resin tub and build plate are wrapped nicely by themselves, and it would take a while for any of the parts to be damaged in transit, which is nice to see.
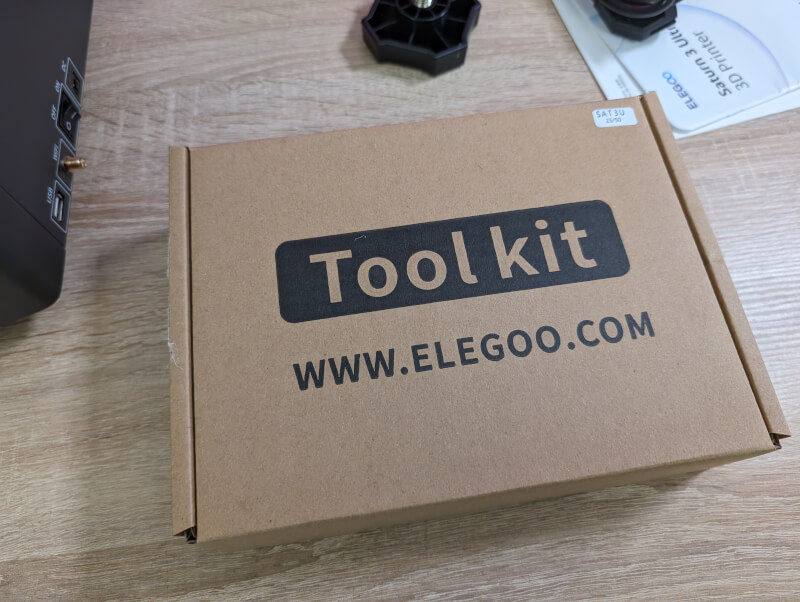
In addition to the printer itself, there is also a selection of accessories. These are both tools and personal protective equipment, such as gloves and masks. So there is little to start with, although of course you still have to go out and buy resin and cleaning agents.
The design of the machine does not particularly stand out. It is cut according to the same template as the majority of Resin 3D printers of this type.
However, Elegoo has shaken up the bag a bit with the Saturn 3 Ultra, which has slightly sharper and marked edges. The construction at the bottom is made of metal in a gunmetal gray color, which makes the whole thing feel more solid and complete than if it had been plastic as part of Elegoo's other machines. That's a nice little update in my book, and the machine looks delicious on the table.
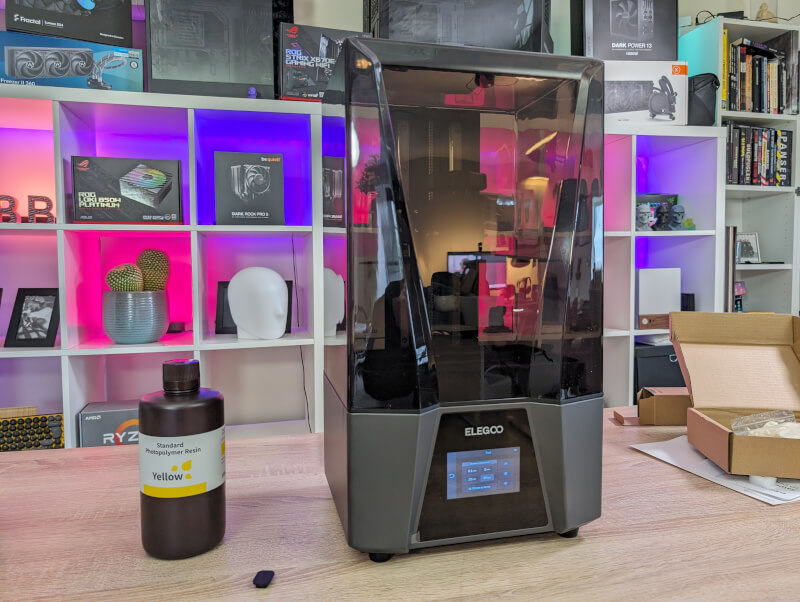
For the acrylic UV shield, Elegoo has also gone with a smoke-coloured material, instead of the classic red from Elegoo. However, it is still a shield that has to be lifted up over the machine to get it off.
On the right side of the machine we find the power plug together with the power button, the WiFi antenna and a USB A port. You can use the USB port to transfer files for printing via a USB Drive or you can transfer them via WiFi.
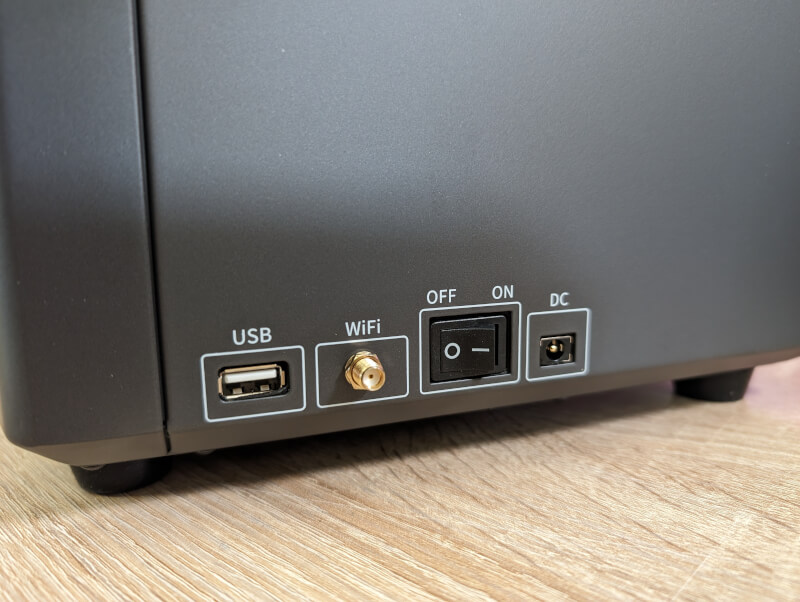
The machine has an internal storage, on which the files are saved when transferring via WiFi. It is also possible to transfer from USB storage to the internal storage. A good feature to have with you, as you avoid potential errors during a print if the USB drive is pushed loose or similar.
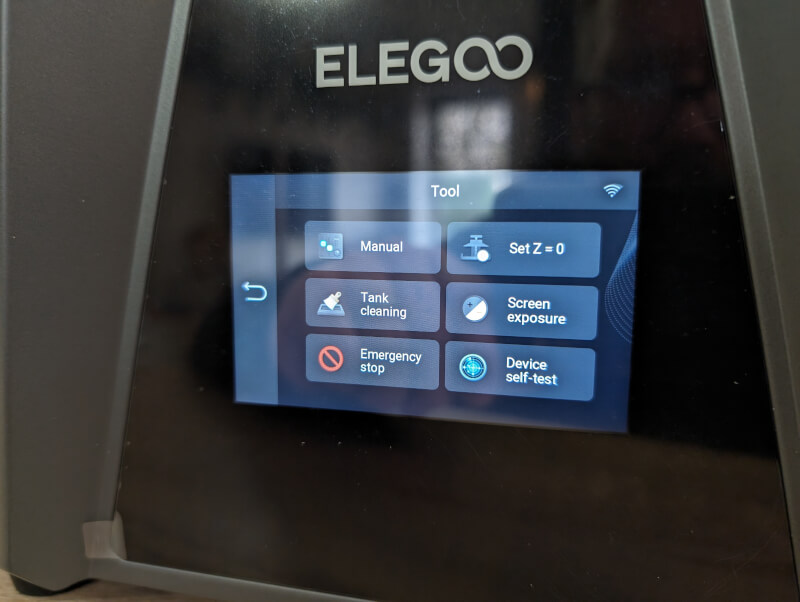
On the front of the machine we find the small 4" IPS Touch display, which is used to control the machine.
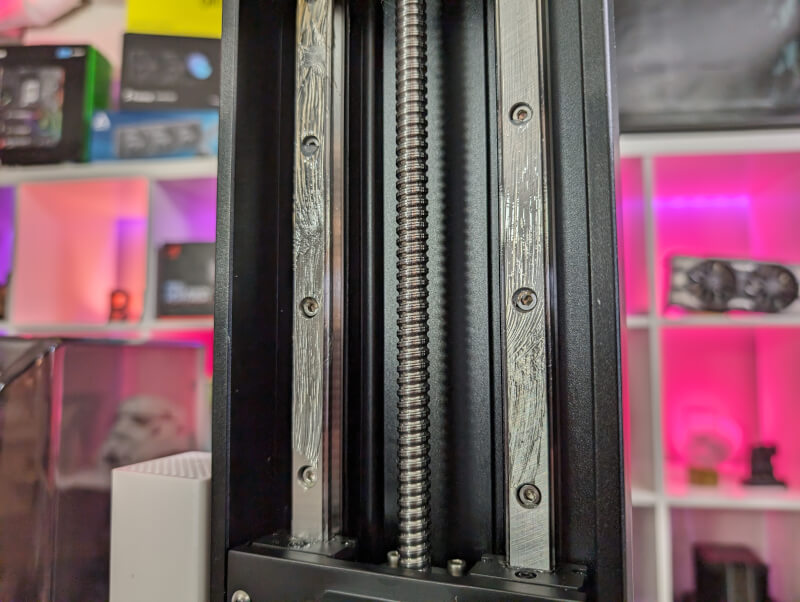
If we look at the inside, we can see that it is a dual rail system together with a stronger lead ball screw than I have seen on other Elegoos machines. Again a detail that makes things look and feel solid and well-built.
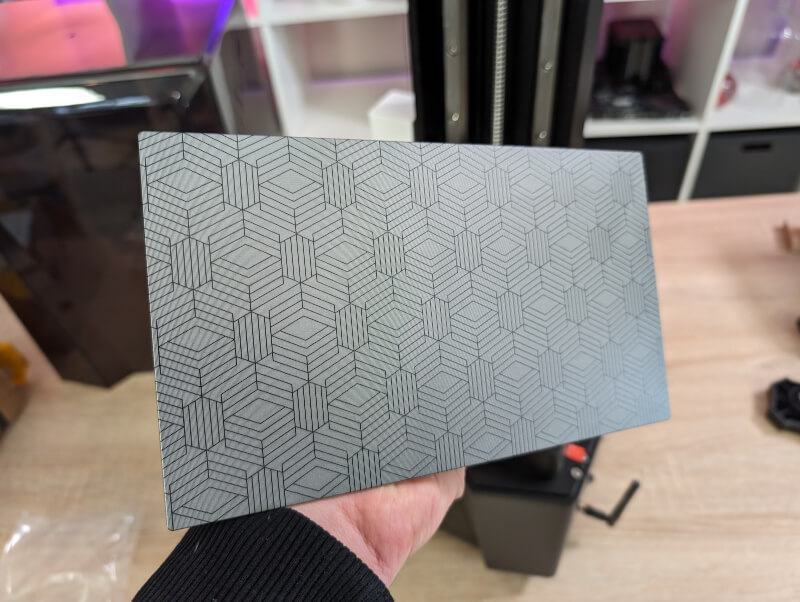
The build plate has the same pattern as we have seen on all of Elegoo's newer machines and it is screwed on with a strong screw.

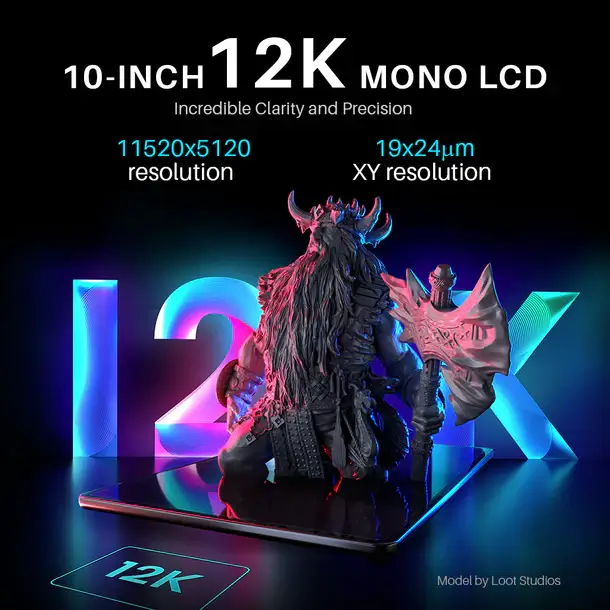
The space together with a 10" large 12K screen gives a total construction volume of 218.88×122.88×260 mm. All with an X/Y resolution of 19×24μm. That setup allows for variable layer thicknesses from 0.01 to 0.2 mm.
The light source under the Mono LCD screen is a COB+Refractive source that should help to ensure a more uniform distribution of the light and limit unwanted light leaks that can cause blurred details.
Included in the package we also get one of the well-known Elegoo air cleaners, which can be mounted inside the print chamber via the USB connector.
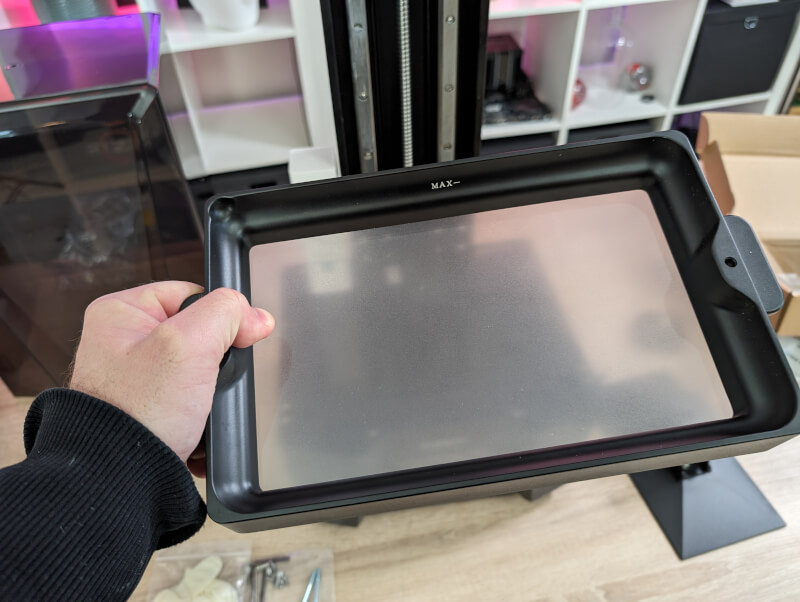
The film in the resin tank on the Saturn 3 Ultra comes with an ACF film instead of the FEP film that many others use. This can be seen clearly as the film looks "frosted" instead of clear. The advantage of the ACF film is that the print should come off easier, and this means that you can print at higher speeds.
The disadvantage, however, is that the ACF film can result in less sharp details due to the frosted surface. If you want, you can easily replace the ACF film with a normal FEP film.
Setup and software
Just like on an FDM printer, the setup of a Resin 3D Printer is also somewhat twofold. One side is the physical setup and the other is the preparation of your prints via software on your PC. On top of that, there is a cleaning process afterwards with resin print that you have to be aware of.
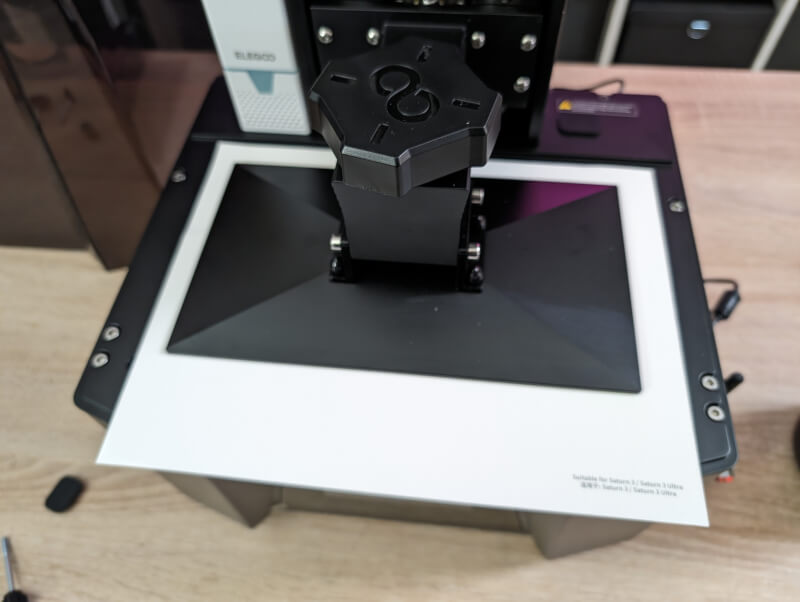
Before you can get started with your Resin printer, you must of course have it physically set up. The main thing in this connection is to make sure that your build plate is level. For that purpose, Elegoo has sent a large sheet of paper, as the Leveling Card. It is slightly stronger than normal printer paper.
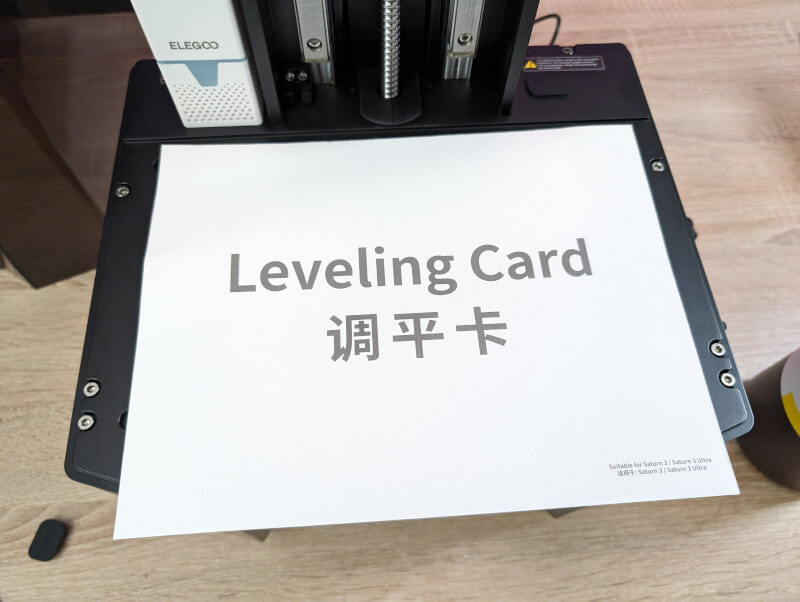
From here, you simply have to loosen all four screws on your build plate and then via the touchscreen ask the printer to run your build plate all the way down, while you have the paper lying between the screen and the build plate.
When that has happened, you hold your build plate in place, with a firm pressure on the plate, while you cross-tighten the screws again. After this, you ask the machine to save the new Home Position and you should be ready to print.
However, it wasn't quite that easy for me. It took a few tries to get things right. I found that I had to press down on my build plate quite a bit harder while tightening the screws before I got a good enough result out of it.
Here it will help if you have help so that one person can keep an even pressure on the plate, and another person tightens the screws.
However, it worked out in the end and I haven't had any problems during my test after that.
Connecting to WiFi was very easy via the touch screen on the front of the machine. Under settings you can choose WiFi and here it is simply a matter of choosing your network and then connecting it with the right code. Fortunately, Elegoo has made sure that there is a complete keyboard for your WiFi code and not like I saw on their Neptune FDM printer, where certain characters were missing.
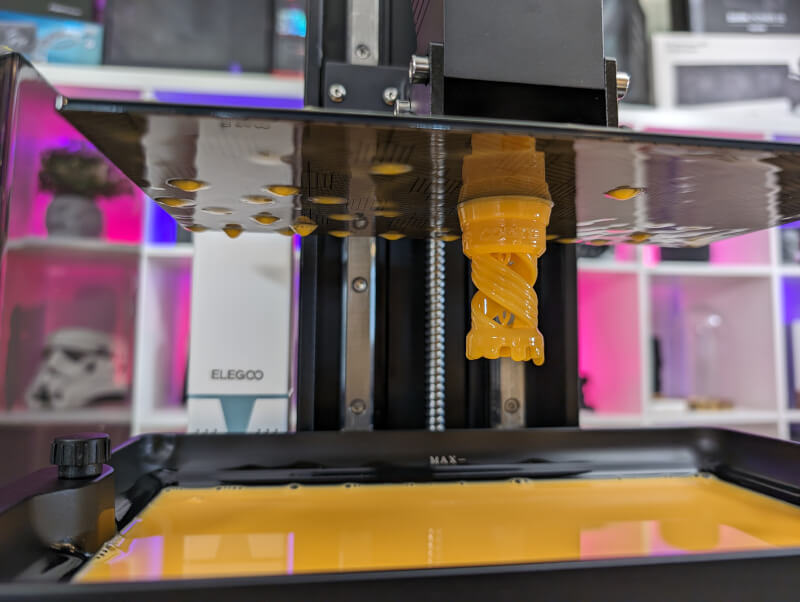
On the included USB stick, there are a few test files that you can use as an initial test before committing to larger prints. They are ready for printing and I gave the classic Elegoo chess piece a try.
The result was super fine and gave a good indication of what the printer is capable of.
Software
There is a multitude of different software you can use to prepare files for your Resin 3D Printer. Elegoo itself highlights Chitubox, Lychee Slicer and VoxelDance Tango. The first two are fairly widely used, while VoxelDance Tango is a bit newer on the market.
A lifetime license for VoxelDance Tango is included with the Saturn 3 Ultra.
I myself have the most experience with Chitubox and clearly prefer it for slicing my files. If you have to create supports on your files, then there are a lot of really good functions in Lychee Slicer.
Which one you prefer is of course a matter of taste, and I don't have the time and space here to review the pros and cons of the various pieces of software. Elegoo does not develop any of them, so in the end their performance does not fall back on Elegoo.
As I said, I myself prefer Chitubox, and it is primarily the slicer I have used during my test.
Conveniently, there was a profile ready in Chitubox that suited the Saturn 3 Ultra machine, so it was ready to go.
Testing
After the successful test file, I decided to test a little more on the machine. The standard exposure in the Chitubox profile was set to 2.5 seconds at 0.05mm layer height. I trimmed it down to two seconds and had no problems.
It would probably be possible to tune things a bit more, but I chose to stop here and then assess my upcoming prints.
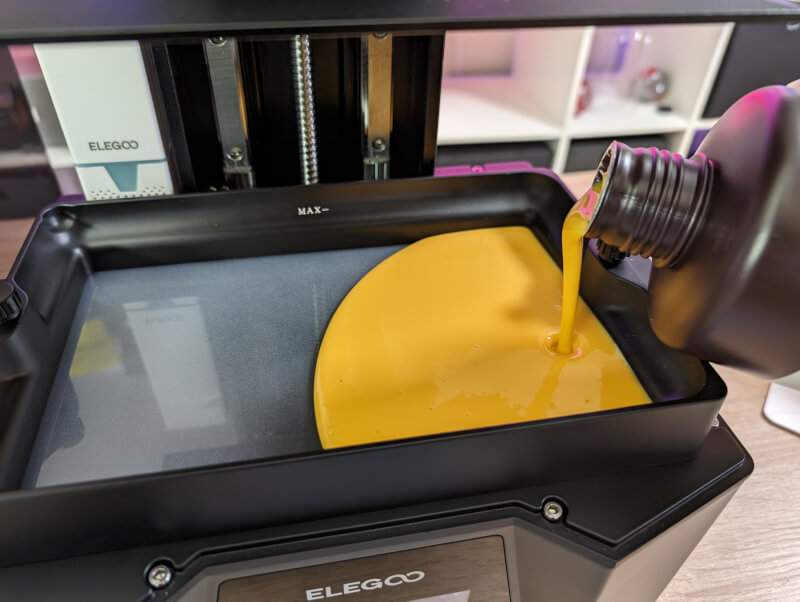
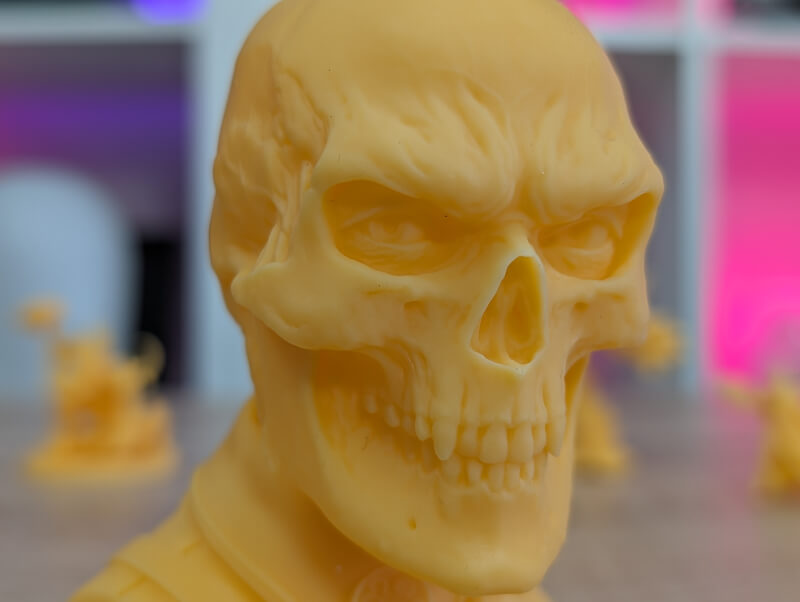
The next file in the machine was the Red Skull file, which I now regularly use in my 3D Printer tests. The print itself proceeded without problems with the Elegoo Standard Resin 2.0 that Elegoo had sent with the machine. However, it was in a yellow color instead of the gray that I normally prefer.
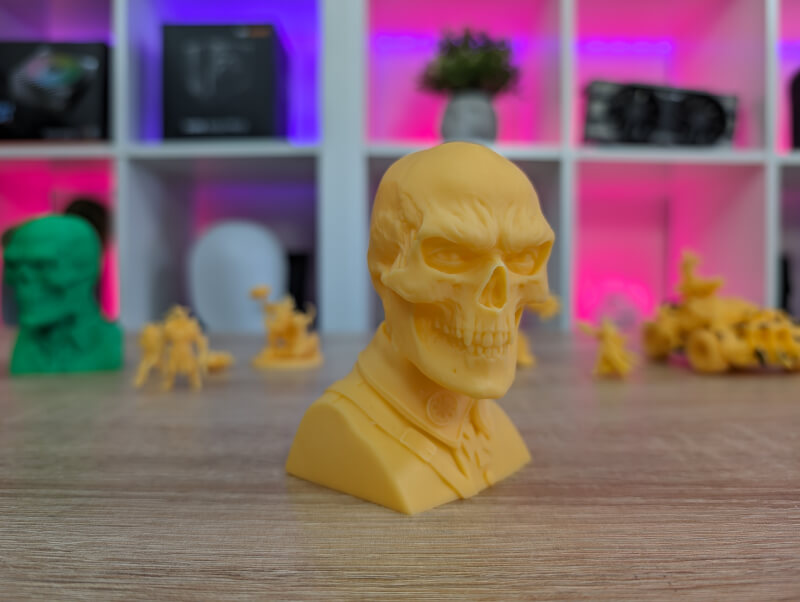
However, the color made no difference to the print immediately and I got a Red Skull bust, which was super fine and sharp. Nice to be able to stand with such good, sharp prints, without the need for much other than standard settings.
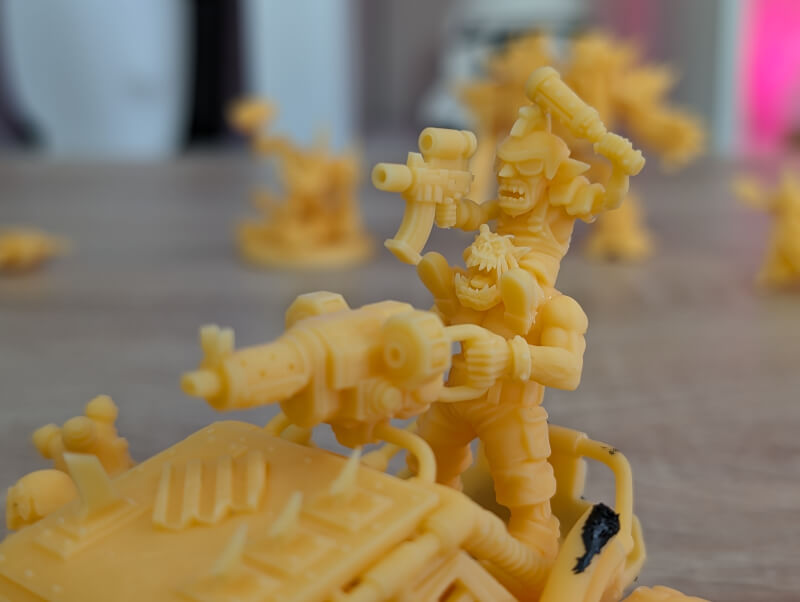
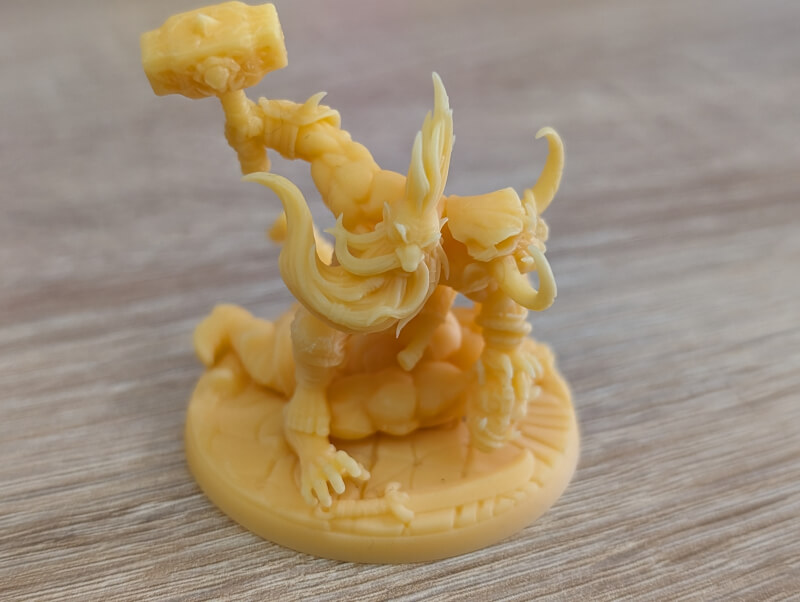
From here I moved on with some minor testing and printed some of the same 32mm figure files from the Artisants Guild from their December 2023 Rodburg Cultist of Melmora release. These were the same files I tested with the Elegoo Jupiter SE printers. So that way I could compare directly.
These are files intended for use in tabletop gaming games, such as Dungeons & Dragons or the like. Artisans Guild has also made their own Tabletop Skirmish game, in the style of Kill Team or Warcry from Games Workshop, where the characters can also be used.
These are files that come with supports, so I did nothing but drag them into the Chitubox slicer, and made them ready with the customized settings.
From here I chose to send them via WiFi to the printer, which can be done directly from the Chitubox software. There is a button for Network Sending and then it is just a matter of selecting your printer and then the files are sent off to the printer's internal storage. Once that is done, you can also start the print directly from Chitubox.
If you do this, it is of course important to be sure that the printer is ready and that you do not have a previous print hanging on the circuit board.
As expected, I also got really good results out of the Artisants Guild files. Although it was a little difficult to compare directly, since it was different colored resin.
On paper, the resolution on the Saturn 3 Ultra is higher than on the Jupiter SE machine, but with the files and settings I tested, I couldn't spot any noticeable difference in quality with the naked eye.
If you aim for hyper detailed printing, the possibilities are better on the Saturn 3 Ultra due to the higher XY resolution.
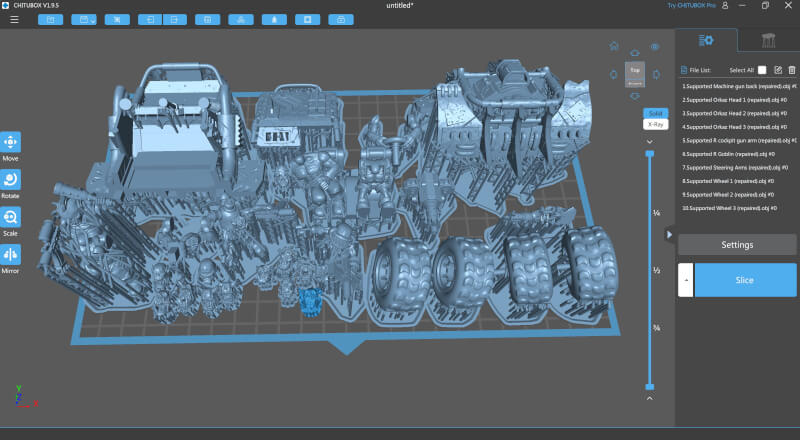
I tested further with several gaming files to test a print of where I utilized the entire circuit board. So I found an Ork Buggy file from Station Forge. It consists of a lot of separate files which must be collected after it has been printed and it is naturally faster if they can be printed all at once.
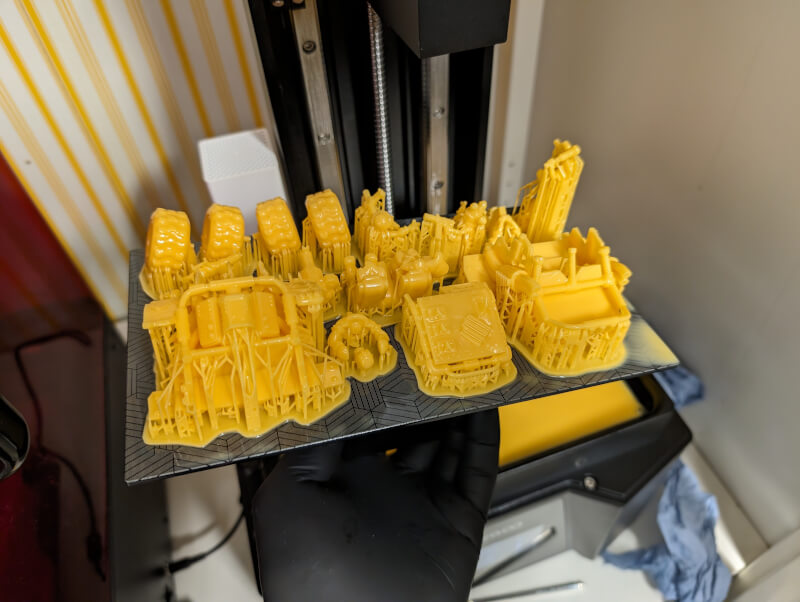
Fortunately, it was possible with the reasonably sized printed circuit board that is included in the Saturn 3 Ultra.
Off with the files over WiFi and a few hours later I had all the parts ready for assembly.
All files I printed during my test came out with good results and sharp details. I experienced a few misprints along the way, but it was, to the best of my knowledge, more about supports not being sufficient than it was about the settings or the printer.
In relation to the question of whether the ACF film resulted in less sharp and detailed prints, I would say no. It was not something I could see on the prints that I printed. I printed several files that I had also tested on the Jupiter SE printer, which has a FEP film, and I could not see any difference in the prints with the naked eye, in terms of detail and sharpness.
Price
At the time of writing, I can find the Elegoo Saturn 3 Ultra with an online price of just under 390$
Conclusion
With their Saturn 3 Ultra, Elegoo has made a resin 3D Printer that feels well built and completed. The upgraded materials in the form of metal casing, ball screw and solid adjustable rubber feet mean that it feels like a clear upgrade from other Elegoo machines such as their Mars series.
When you add the possibility of internal storage and WiFi functionality on top, the Saturn 3 Ultra stands strong.
Setup and use is easy and straightforward, and even though I just had to give it a try, everything else was just as easy to get the level in place and start printing.
The fact that you can get started with the standard settings found in Chitubox and still get good, sharp prints out of it is a big plus that will make life easier for people new to the 3D Print hobby.
We end up with a final grade of 9 for a solid and well-built resin 3D Printer which is easy to use and which gives good results even with standard settings.
Advantage:
Disadvantages: