27 May
printer


Central Features
The very central differences between the P1S printer that I am looking at today, and then the A1 and A1 Mini that I have also visited, is that with the P1S we are dealing with a Core X/Y printer. This means that only the print head moves and not the machine's build plate.
On top of that, the P1S is also a closed 3D Printer, which enables printing with more demanding materials such as ABS.
We have been visited by Bambu Lab P1S in a Combo version, which means that it comes with Bambu Lab's AMS system, which makes it possible to print with several different colors and materials in the same print.
A tour around the Bambu lab P1S Combo
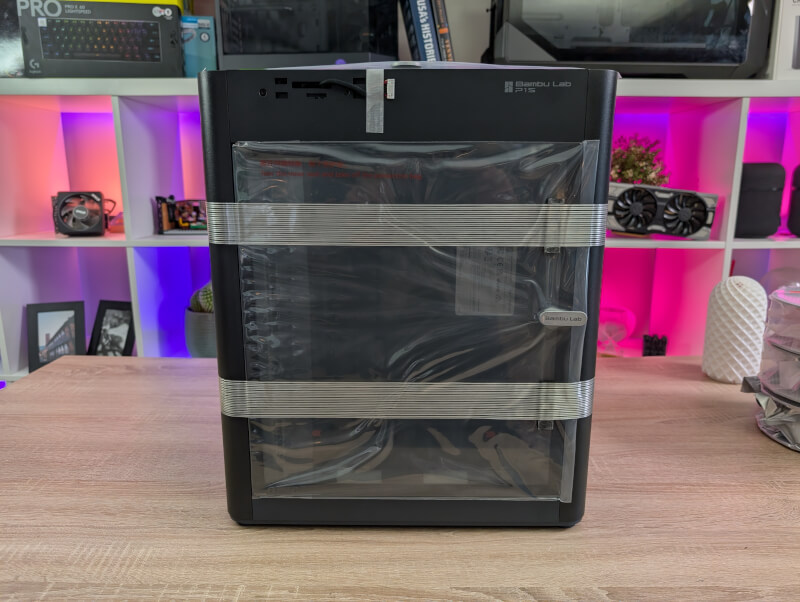
The printer comes virtually 100% assembled in a single box. Bambu Lab itself writes on their website that you can start printing on approx. 15 minutes.
There are a few steps you have to go through in connection with unpacking and setting up the machine. However, Bambu Lab has made sure that there is a very detailed guide that takes you through the whole process step by step.
As we saw with the A1 and A1 Mini, all the screws you have to go through in connection with the setup are also clearly marked in the machine, to make it all easier.
Everything is packed super nicely and securely in the box and when you get the Combo version, the AMS part is packed inside the print chamber.
There are a few things that must be physically assembled and assembled during the process. It is, among other things, the operating display, which must be mounted together with the parts for the AMS system, of course. However, it was nothing that was difficult, and I was well guided through the whole thing.
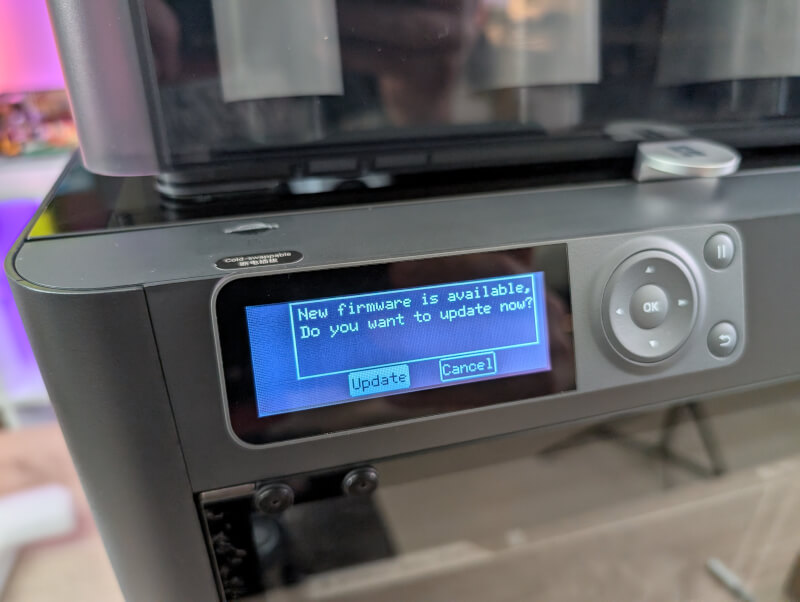
When you start up the Bambu Lab P1S machine, it is connected to your WiFi and the Bambu Handy app. In this connection, firmware updates are also checked. In my case, there was a new update that the machine handled itself over the web.
The machine also runs a self-test as part of startup to make sure everything is as it should be.
It took me about 20 minutes to unpack as I had to take pictures along the way. So you have to say that Bambu Lab hit the mark very well with their assessment of time. It was a very streamlined process and in no time I was ready to start a print.
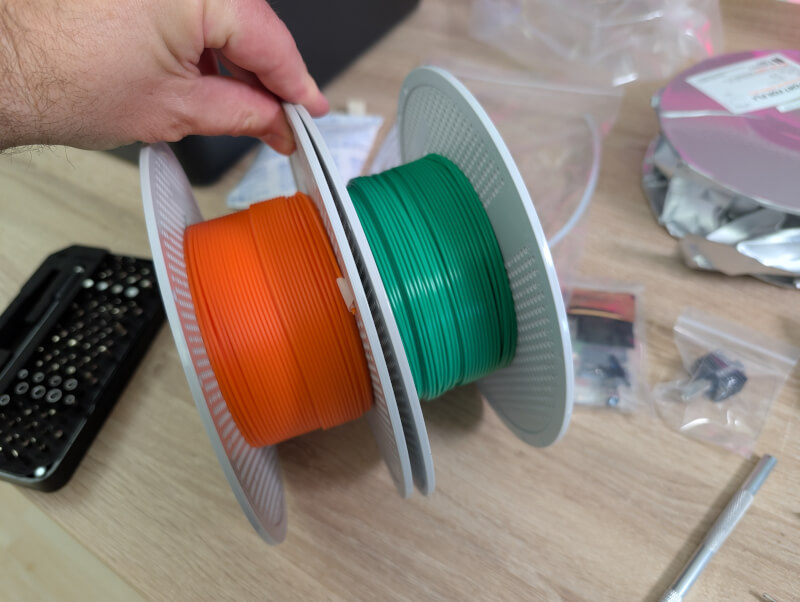
Included in the box were two PLA filament samples, so you have something to get started with. In my case it was a green and an orange. They were supplemented by a roll of 250 gram Support material.
The big difference between the P1S and the two other Bambu Lab printers we have looked at, with the A1 and A1 Mini, is of course that, as I said earlier, we are dealing here with a Core X/Y printer. On top of that, it's also an enclosed printer.
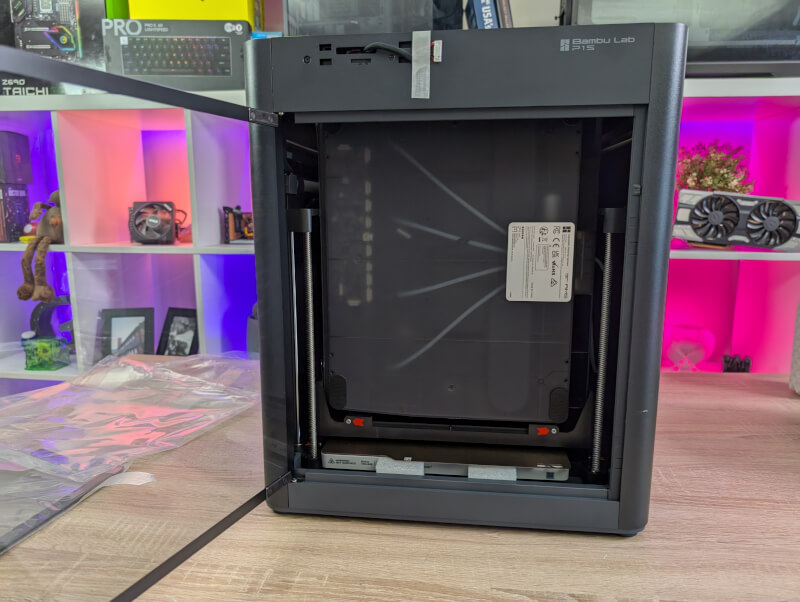
There is a glass door on the front of the print chamber which gives access to the interior of the printer. At the top of the printer there is also a glass plate. It is simply on top of the machine and can be removed if you want access from here or if you need to regulate the temperature of the chamber.
Operation of the machine takes place via navigation buttons and a small LCD display on the front of the machine. Unfortunately, here it is not, as on the A series of printers, a touch display. This also means that the user-friendliness and options are not quite as great as on the A series.
However, via the display it is possible to check the status and settings of an ongoing print or navigate between the files on the machine's memory and start printing.
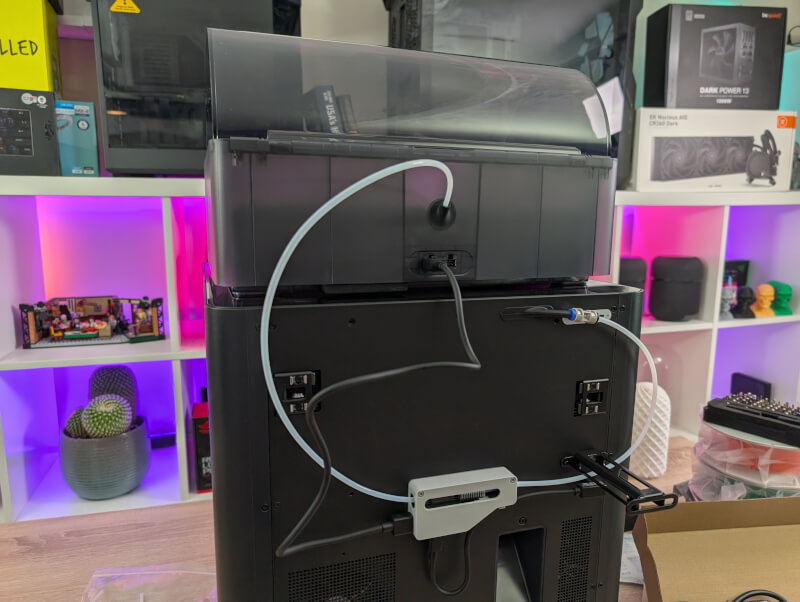
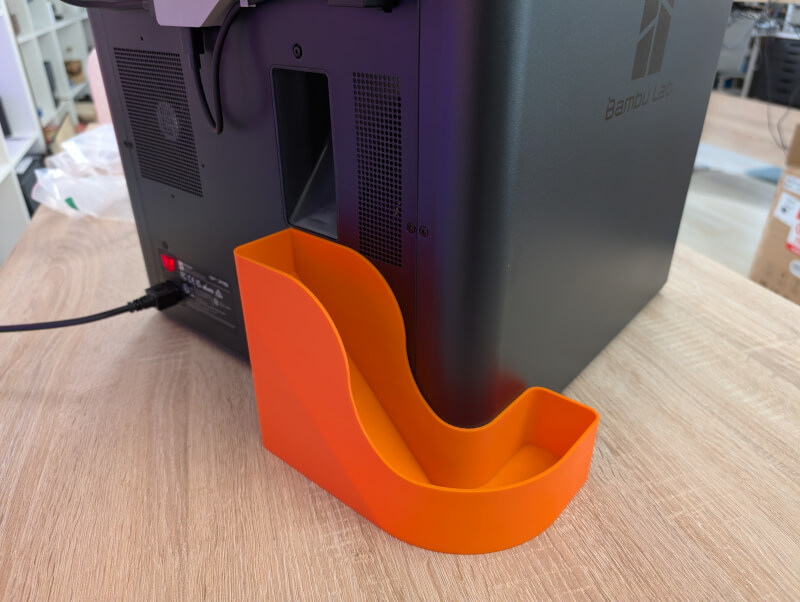
On the back of the machine we find the power button and then the machine purge shute. Just like the A series, the P1S gets rid of a small "puddle" of filament every time you start a print, or it changes color via the AMS system.
It falls out on the back of the machine, which you must of course be aware of. It is somewhat impractical to have both the output and the power button located on the back of the machine. However, we will find a solution to some of that later in the test.
The AMS System can be placed anywhere as long as it can reach with cables and Bowden tubes, but in my test I just placed it at the top of the machine. However, this means that you cannot easily access the glass plate on top of the machine.
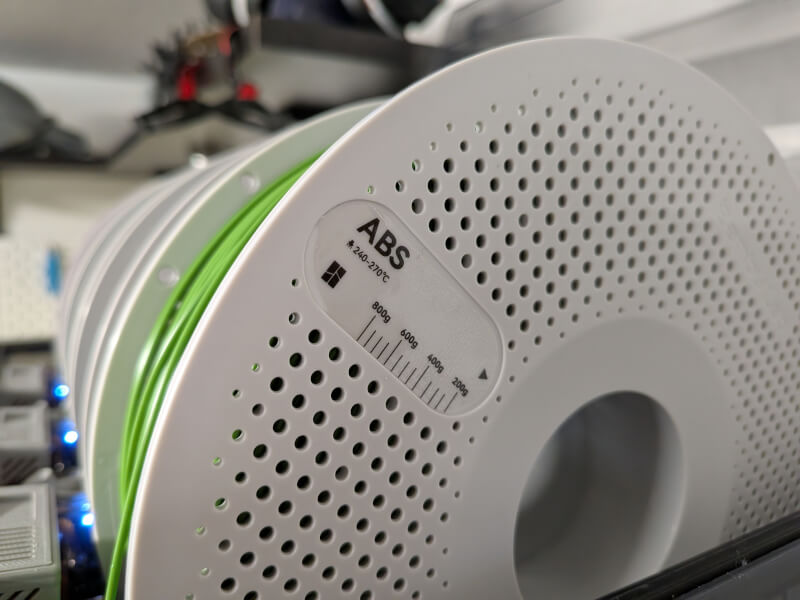
The AMS system can contain up to four rolls of filament at a time. If you use Bambu Lab's own rolls, they come with RFID chips, so the system itself reads which material it is and the color.
If you have several rolls of the same type in the machine, the system can also automatically switch to the next roll when the first one runs out.
If you want the very large selection of materials and colors, you can combine up to four AMS units to one machine, so you can have a total of 16 rolls to choose from at a time.
If the AMS system is not to be used, a single roller can be mounted externally on the machine. Here, however, the holder is also located on the back of the machine, which does not exactly make it easy to get to if you have the machine placed against a wall.
If we look into the machine, we can see that it uses exactly the same flexible PEI build plate as we saw on the A1 printer. Incidentally, it is also the same one that can be used on the Bambu Lab X1 Carbon printer. So on that front there are good opportunities to trade around.
This also means that with P1S we can use the same 3D Effect Sheets that we have tested with Bambu Lab A1 printers here.
The P1S also has a built-in camera that you can use to monitor your prints or to make a timelapse video of your prints. On top of that, there is a built-in light, so it's easier to see what's going on in the closed box. There is also a built-in air filter with active carbon.
The entire construction of the P1S feels super solid and the combination of materials and build quality gives a good impression of quality all around.

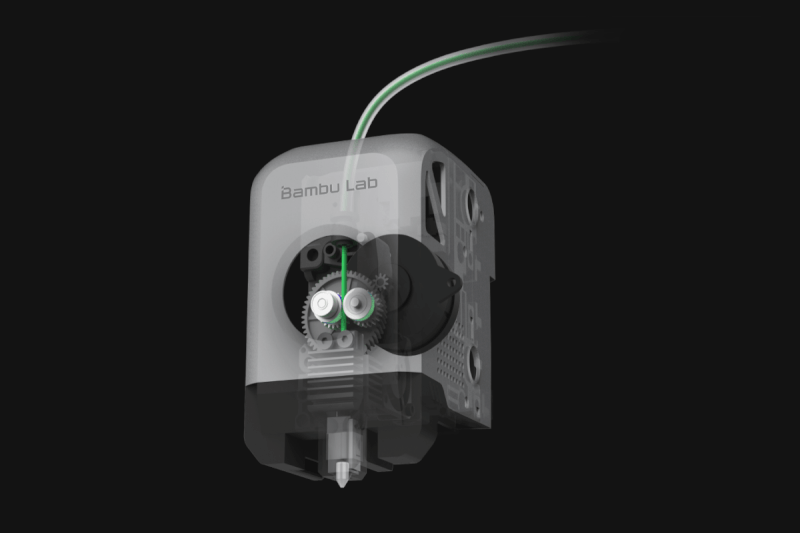
The print head on the P1S has a Direct-Drive extruder and comes with a built-in sensor that detects if you run out of filament.
It is quite easy to access your hot-end and nozzle, as the front of the printhead can be easily peeled off. It is not quite as easy to change e.g. the nozzle as on the A series of printers, but it is still a fairly easy task.
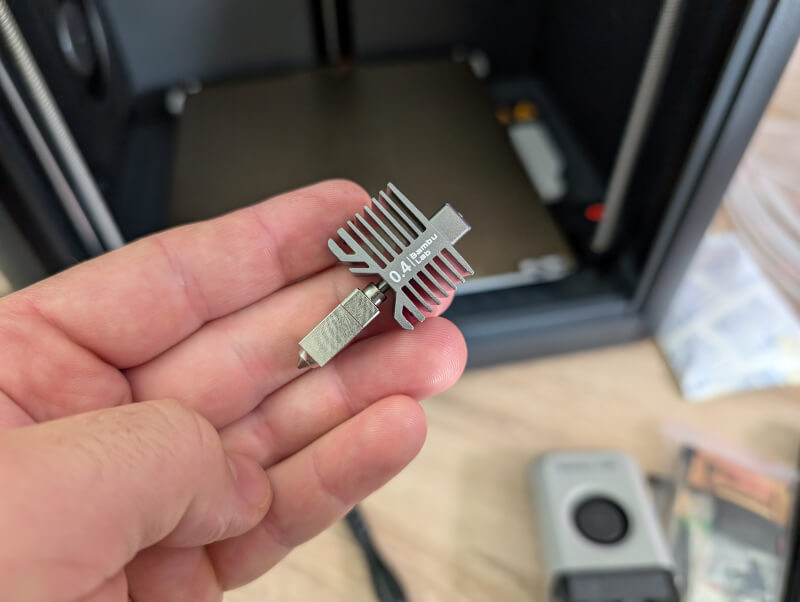
Everything is easily accessible and is made to be replaced if necessary. In fact, Bambu Lab has done a lot on that front. They also sell virtually every spare part you could need directly via their website.
Software
On this front, there is not much difference from my experience with the A1 Mini and the A1. Bambu Lab has a well-connected ecosystem of software. So if you've read those reviews, this chapter will sound familiar.
On the software side, you can use both the Bambu Handy app and the Bambu Studio slicer on your PC. You can of course also use other slicer software such as Orka Slicer etc. For the test here, however, I have stuck to the Bambu Handy app and the Bambu Studio slicer
If we start with the app, which we have already covered briefly in connection with the setup, it works on the one hand as an easy way to monitor your printer.
You can open the app at any time and check the progress of the print you have running. You even get a notification on your phone when a print is finished. So if you print a lot, it is a good way to optimize time.
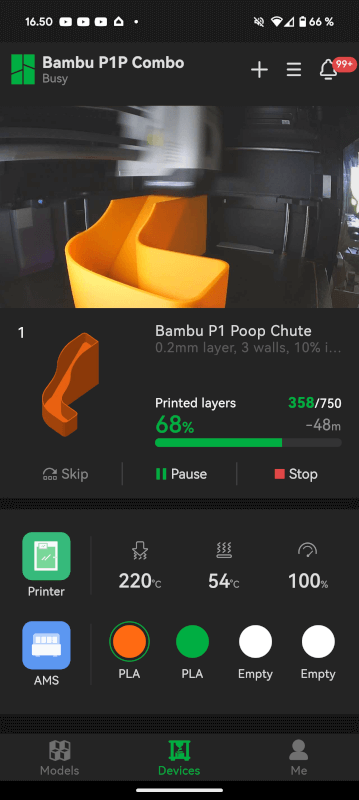
Via the app, you can see how far your print is and see the temperature of both the hotend and printbed. You can even access the built-in camera and see if everything is working as it should.
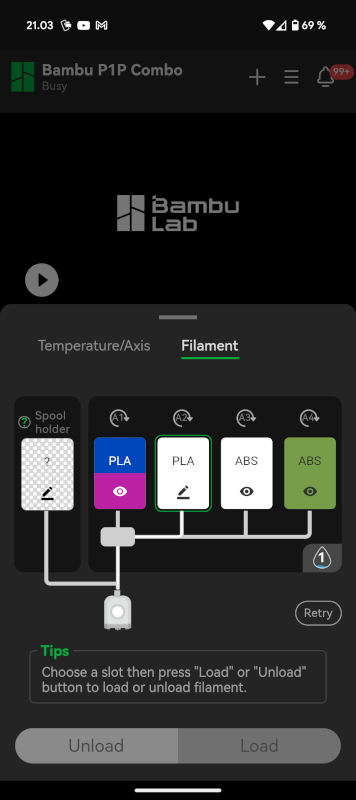
If you have an AMS connected, you can also see which materials and colors you have mounted on the four spaces. There is also an indicator for the humidity in the AMS unit.
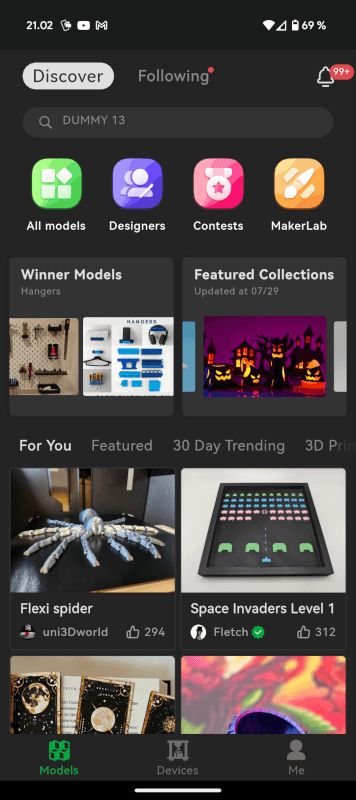
The other side of the Bambu Handy app is as a source of files to print. There is a sea of files in a multitude of different categories with everything from toys and wacky figures to practical prints of all shades.
If there are any of the many models that require payment, I have not been able to find them, and this means that you already have a huge library of files to go on board when the printer is unpacked.
In addition to browsing the files via the app, you can also start the prints directly from the app with a few clicks. All it requires is that the file is available with a P1S profile. If it is, you get an overview of how long the print will take, as well as how much material will be used, and then just press print.
The files are then sent via Bambu Lab's cloud service to your printer and even sliced as part of that process.

If you have your own files and would like a little more detail with settings etc., then you can skip your PC and use the Bambu Studio slicer to prepare the files.
Normally I use Orca Slicer for my FDM prints, but a large part of the functions it contains are taken precisely from Bambu Studio, so the software feels very familiar to me.
There is of course a built-in profile for the P1S printer in Bambu Studio and from here you have access to adapt and browse virtually all imaginable parameters in relation to your print.
In relation to my test, however, I have tried to keep it as simple as possible. This means that I have used the default settings that came with the P1S profile in the software.
Testing
I have had the Bambu Lab P1S Combo for a month. During that period I have tested a selection of different files and materials.
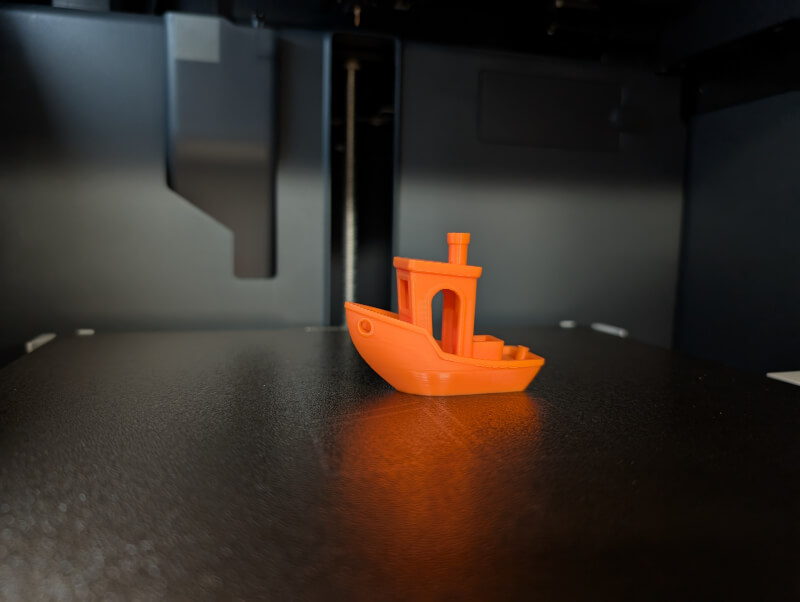
As so many times before, I started with the classic Benchy boat, which lay on the machine. It was printed with the orange PLA that came with the machine.
Here, as expected, there was not the slightest hint of problems and I got a fine result out of it.
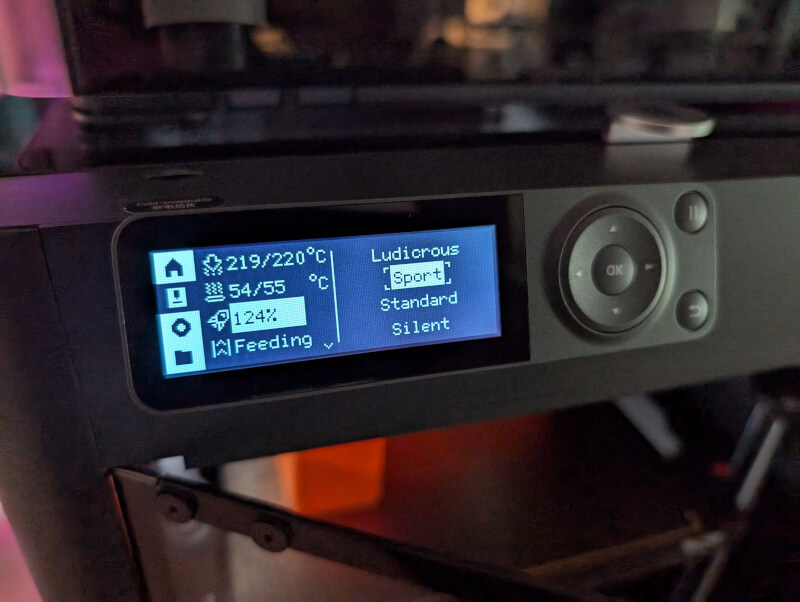
Just like on the A series from Bambu Lab, you have the option to tune the speed directly on the machine, and can choose between Silent, Standard, Sport and Ludicrous speeds.
After the first successful Benchy print, I tried another one, this time with the speed set to Sport, which equates to 124% speed. Here everything also went without problems, and the result looked no different than the Benchy I printed at the Standard speed.
From here I went on to print a "Poop Shute" file, as I was already tired of the machine spitting out the filament "puddles" on the back of the machine, where they just lay and floated.
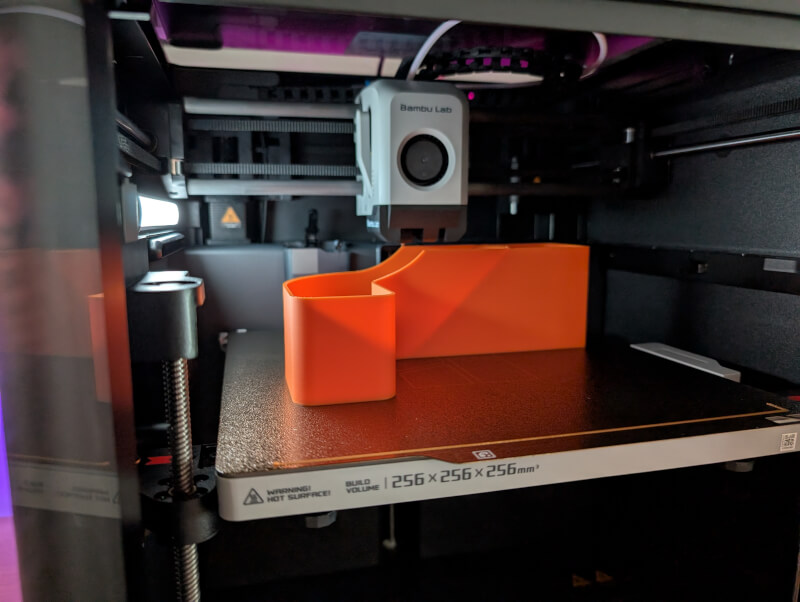
So via the Bambu Handy app I found a file that suited the P1S and pressed print. From here the file was sent wirelessly to the printer. Easy and simple.
The result was problem-free here too, and it then meant that 90% of all material was caught and was somewhat easier to clean up.
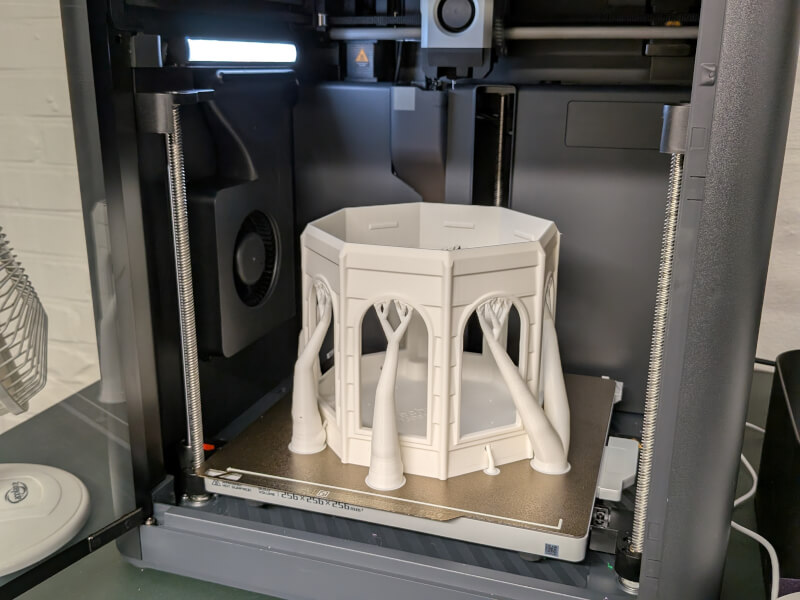
With a "Poop Chute" in place, the trip continued to the by now classic Red Skull bust, which I have used as a benchmark in our 3D Printer tests. Here I had the file through the Bambu Studio software on my PC. The file was sliced with default settings and automatic Tree Supports.
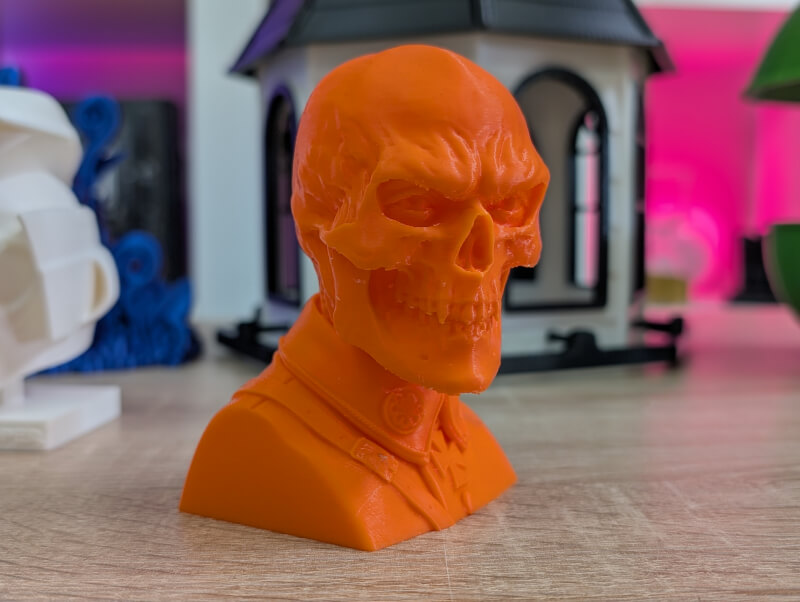
Once again the Bambu Lab P1S gave me a result that looked super nice. It was a little tricky to get some of the support parts off, but overall it was a very satisfactory result, considering the amount of work and tuning.
From here I changed the material, as one of the advantages of a closed printer like the P1S is that you can print with materials like ABS. It is a material that is very temperature sensitive and requires either a VERY stable heated room or a closed printer.
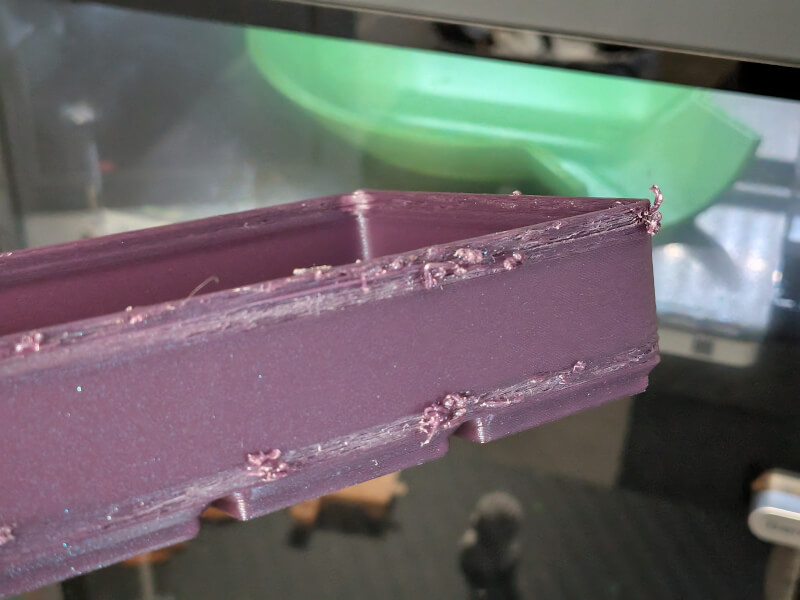
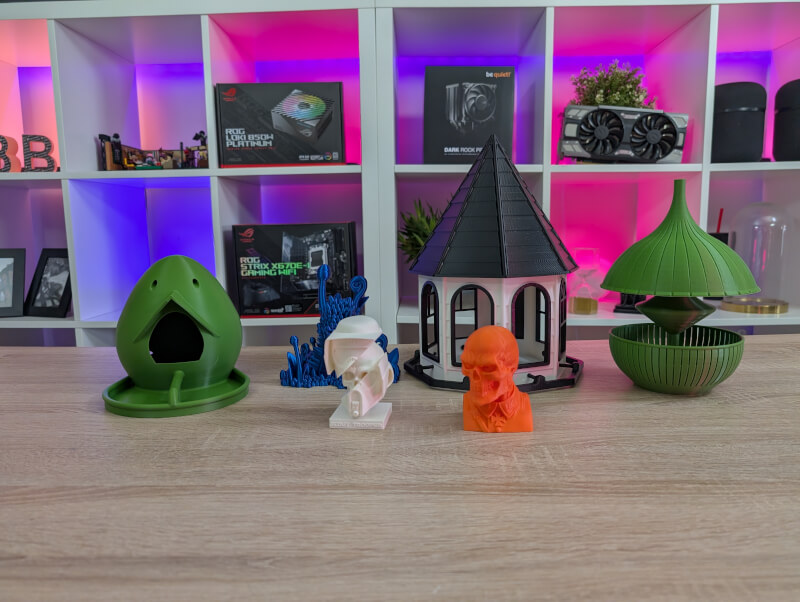
ABS is also a material that is better suited to be used outdoors than, for example, PLA. In this connection, I chose to test ABS print, by printing a selection of models for feeding birds, now that winter and autumn are approaching.
I printed three different prints, all of which I found through the Bambu handy app, and set to print from there. So no trip past my PC or a dedicated slicing program.
A few of the models were spread over more than one print, but in all cases I ended up with usable results.
There were a few parts of one print that didn't quite come out as they should, but the finished model was still usable despite these flaws. These errors could probably be avoided by fine-tuning the settings, but since it all worked, I chose not to print that part again.

So here the closed chamber on the printer was more than enough to give good results with ABS filament.
However, the closed chamber can also cause problems with, for example, PLA, which needs to be cooled down more. Here I experienced on the unusually hot late summer days that it simply got too hot in the chamber to print PLA without error.
Normally this would be remedied by removing the glass plate at the top of the machine to allow the hot air to come from your print. However, that was not an option for me as I had the AMS unit standing there.
Instead, I opened the door in the front of the machine and circulated some extra air with a fan set on low. Not a big problem, but a detail to be aware of with materials like PLA in a closed printer.
To test the accuracy of the P1S, I also printed a Face Hugger model from the Alien movies. It is a movable "print in place" model. These kinds of prints are good for showing whether a printer is tuned accurately enough.
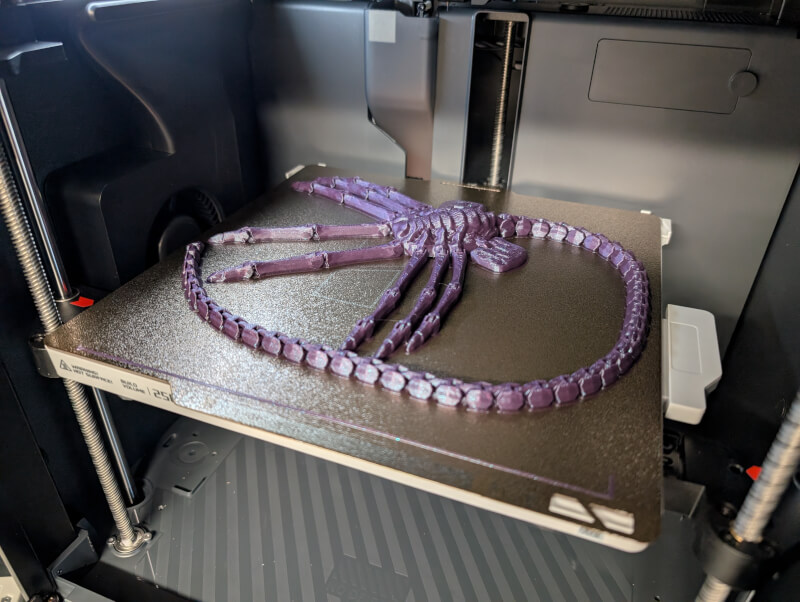
Here I once again got a good result without any problems or errors. The model had nice movable legs and tail.
I also tried several files through the Bambu Studio software on my PC. Here, everything was run with the default settings in the software through the included profiles.
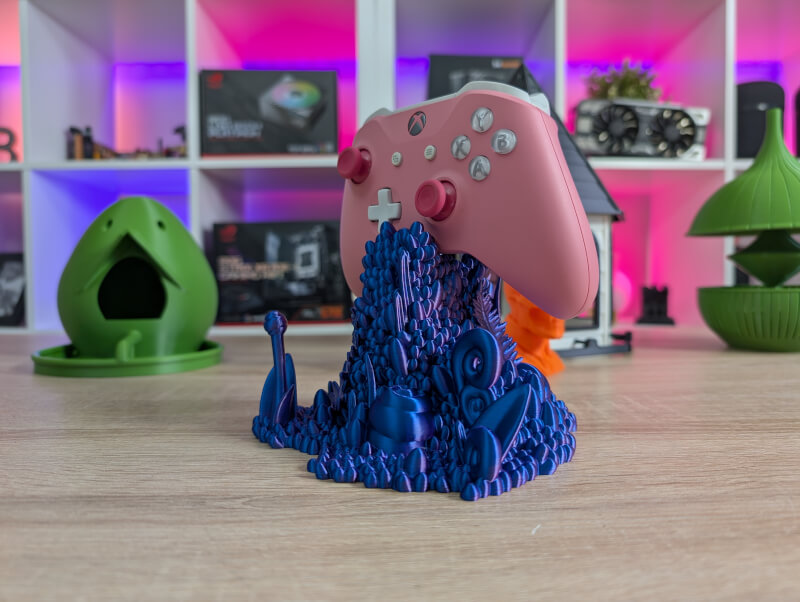
One of them was this gaming controller holder from Holo Props. It was printed with Bambu Lab's own Neon City PLA Silk Dual Color filament. Again, the result was super fine, without me having to do much other than drag the file through Bambu Studio and from there send it via WiFi to the printer.
I can still marvel at how easily accessible and user-friendly the whole experience is with the Bambu Lab printers. Apart from the heat issues with PLA on the hot days, I haven't experienced any challenges with my prints, regardless of whether they came from the Bambu Handy app or Bambu Studio on my PC.
Price
At the time of writing, you can find Bambu Lab P1S Combo on offer on Bambu Lab's own website with a price of 850$. If you can manage without the AMS system, you can get the P1S for a price just under 600$.
Conclusion
As I touched on a little while ago, ease of use is one of the things that remains in my mind after spending a month with the Bambu Lab P1A Combo.
Everything from setting up to printing, changing materials and general operation has been easy and straightforward. At no time during my test did I need to run calibrations, mess with manual settings or the like.
It has been as close to a drag and drop experience as I imagine you can have with 3D Print right now.
The only errors I have experienced during my testing stemmed, as I said, from heat problems with PLA print in the closed chamber on very hot days. There was an easy solution for that, and even one that would have been very easy if I had taken the lid off the machine.
The possibilities with a printer like the Bambu Lab P1S are really great, as it allows for stable printing with more difficult but hard-wearing materials such as ABS and ASA. If you combine that with the options that the AMS system can provide with several colors and materials in the same print, you have a very versatile solution.
It is a solution that should cover the vast majority of hobbyist needs, and which at the same time does so in an easily accessible and user-friendly way.
The only minus I have in terms of user-friendliness is the interface on the P1S. All things being equal, the small LCD screen and buttons are nowhere near as useful as the touch screens on the A series or the X1 Carbon printers from Bambu Lab.
The good software integration and app make up for it a bit, but it is still the big minus compared to the other printers from Bambu Lab.
We end up with a final grade of 9 for a solid and versatile 3D Printer with a high degree of user-friendliness.
Advantages:
Disadvantages