05 Dec
complete system


The summer is upon us. In case you’ve grown tired of the sharp sun outside, there’s fortunately some entertaining things to do indoors. One of those things could be to build a gaming PC, and that’s exactly what we’ll be doing today. Based on a small challenge given to us by MSI, we’re going to have a look at what you can get for less than $1,150 without having to compromise too much.
This project is completed in collaboration with MSI, whom, together with Corsair, has supplied us with some of the parts for this build, such as RAM, case etc.
Follow the entire process in our video over on our YouTube channel.
The main goal of the challenge from MSI was an AMD based system that works in both 1920x1080 and 2560x1440. MSI has sponsored most of the main components of the system, whilst Corsair has provided the rest.
As mentioned, we are building an AMD based platform, and the motherboard will be an MSI X470 Gaming Pro Carbon, which provides a good foundation for a solid and upgradeable system.
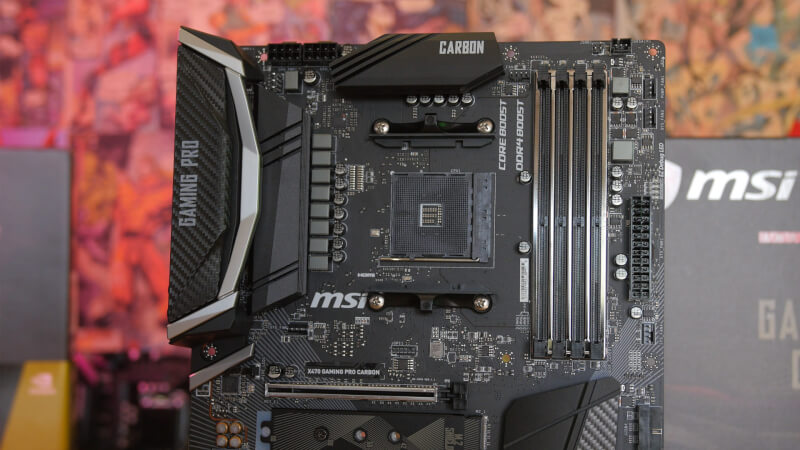
The robust X470 chipset has full support of AMD’s Ryzen 2000 series, and with a BIOS update, it should be fully capable of handling Ryzen 3000 as well.
An advantage of selecting components from MSI and Corsair is that MSI’s motherboard comes with integrated support of Corsair’s RGB light products via a connector on the motherboard.
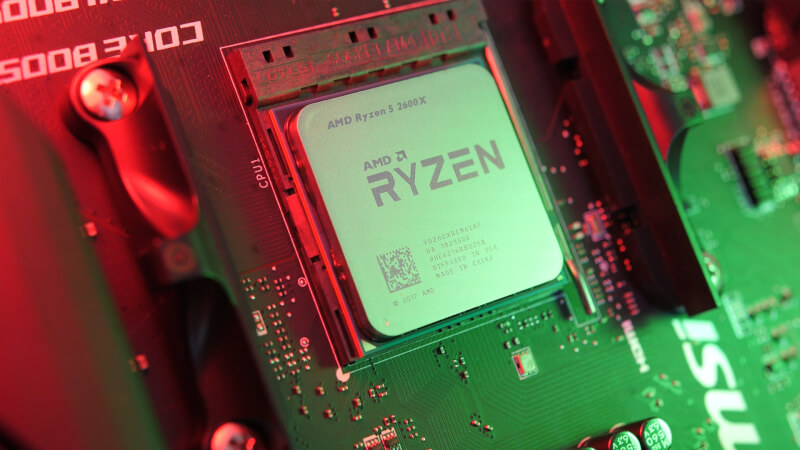
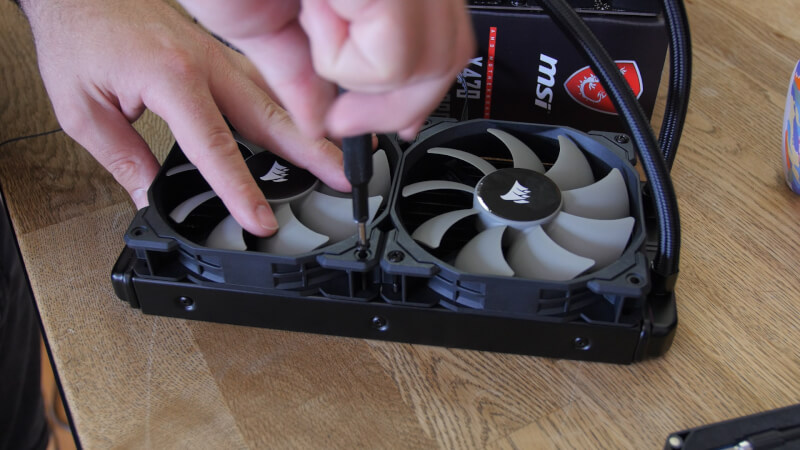
The brain of the motherboard will be an AMD Ryzen 5 2600X processor, which gives us 6 cores and 12 threads and a max. boost speed of 4.2 GHz. This should be perfect for gaming. The accompanying Wraith Spire cooler will stay in the box as we will instead be adding a Hydro H100X from Corsair, in order to ensure even better cooling performance.

Our Ryzen 5 2600X is assisted by 16 GB Corsair LPX DDR4 RAM running at 2,666 MHz. This is a sweet-spot in terms of price-performance ratio of our system. The RAM consists of 2x 8 GB modules, so there’s room for a future upgrade, in case more RAM is desired.
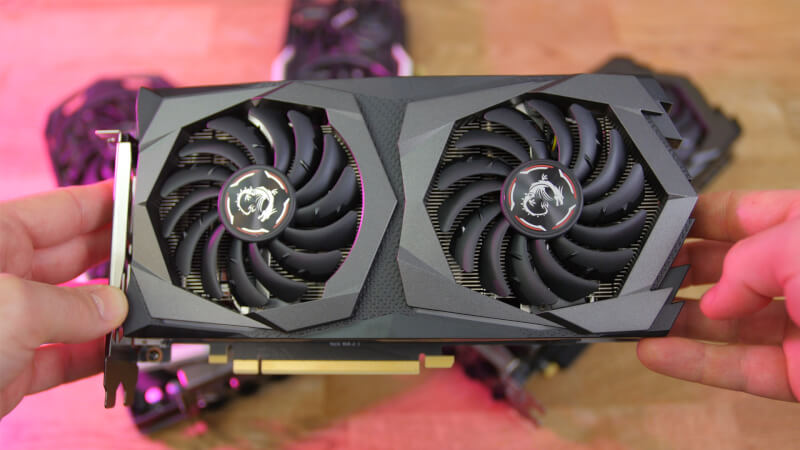
The graphics card will be an MSI GTX 1660 Ti Gaming X, which we’ve also reviewed previously here at Tweak.dk. It gives us a very good starting point for 1080p gaming, well above 60 fps, in most titles, and should also do quite well in 1440p.
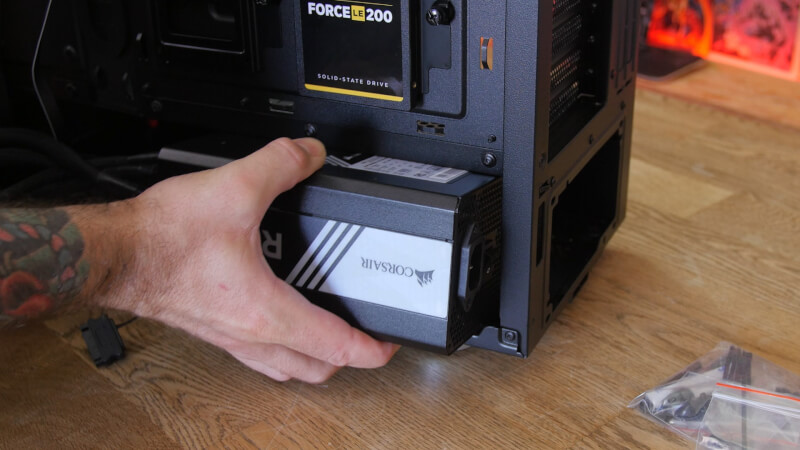
The operating system and games will be stored on a Corsair Force LE200B SSD, which means we avoid any mechanical drive.
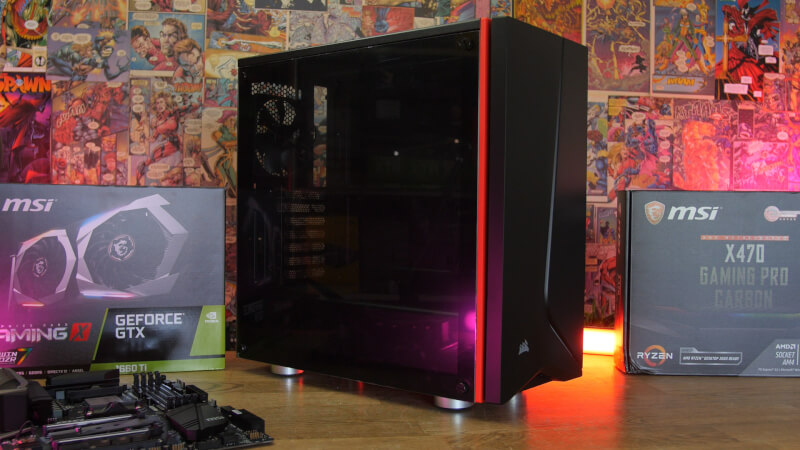
All of these cool components will be housed in a Corsair Spec 06 case, which offers both a bit of RGB bling, as well as a display of the hardware through the tempered glass side panel. The system will be powered by a Corsair RM850x - or, that was the plan to begin with. The Corsair RM850x didn’t make it to us in time, so as a replacement, we went with the older RM850i, which technically is a similar power supply.
This might seem like a quite beefy power supply for a system of this caliber, but this is due to the need of two eight-pin EPS connectors for the motherboard.
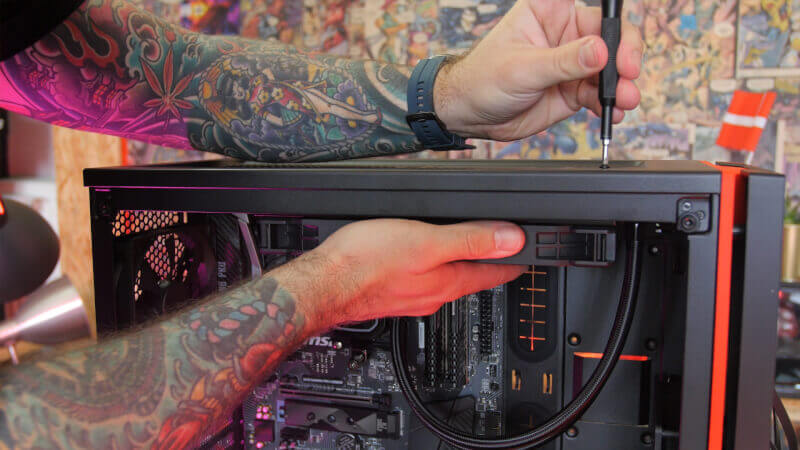
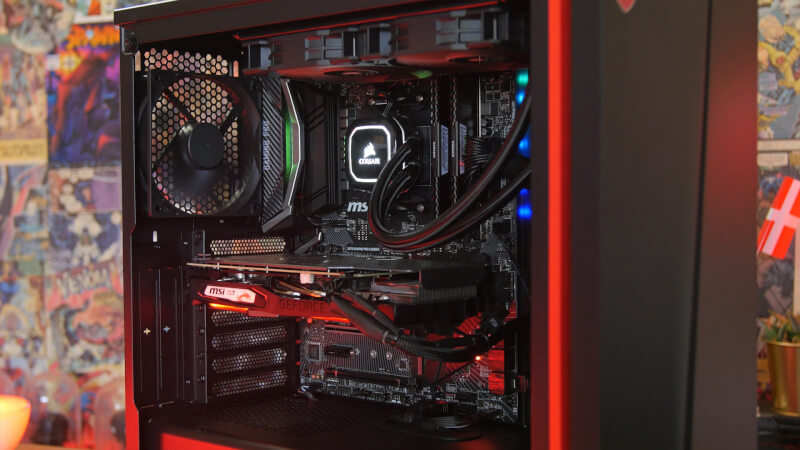
Installing all of the hardware was easy and offered no issues. In some areas, the available space was limited, but in general, all of the hardware fitted in nicely. The processor, RAM and CPU cooler were installed outside of the case in order to have as much room as possible to work with. These parts were subsequently moved into the case. The radiator for our Hydro H100x was installed in the ceiling of the case. This way, fresh cool air is taken in via the front, which then passes the graphics card, and the hot air is then exhausted via the fans in the top and on the rear.
We then installed the SSD, power supply and graphics card, and the cables were then routed and hidden, leaving nothing to be desired. The whole process took about an hour. The combination of hardware leaves us with a system that is very nice, and without too many bells and whistles.
We started things off with an upgrade of the BIOS of the MSI Gaming Pro Carbon motherboard, which features an easy built-in BIOS flash function. With just a few clicks, we also had adjusted our RAM to run at the rated speed without any problems. We then spend a couple of hours testing the system in various games, and we managed to reach our goal of a solid gaming build for both Full HD and 1440p resolutions just fine. We performed three game benchmarks in order to give you an idea of the level of performance that is achievable with a system in this price range.
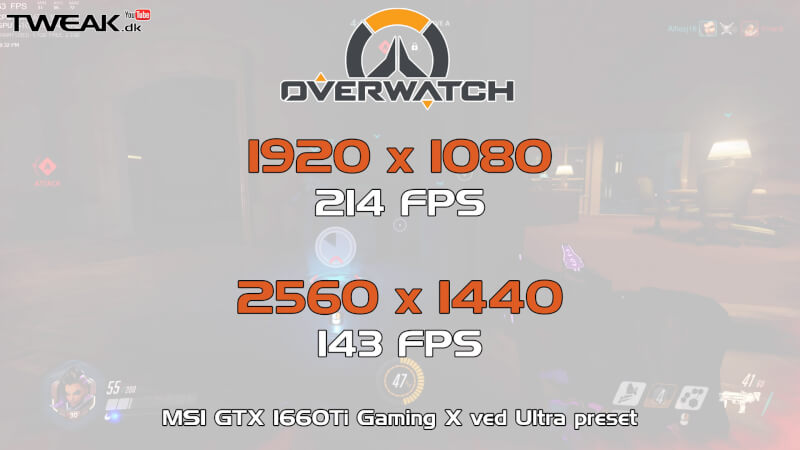
If we start with the most lightweight title, Overwatch, we achieved an average fps of 214 in 1920x1080 at ultra settings. If we take the jump to 2560x1440, the average fps was 143 fps. So, we’re doing very well here.
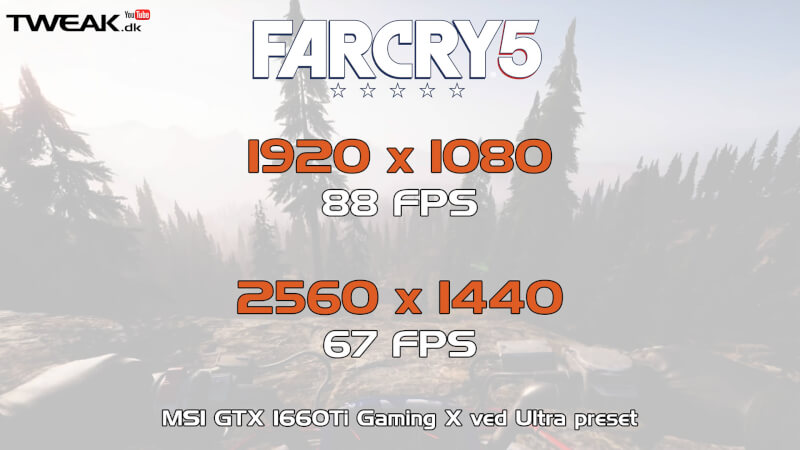
Far Cry 5 is quite a bigger challenge in terms of graphics. Here, the results are also quite satisfying. In 1920x1080 the average fps was 88, and in 2560x1440 it was also above the magical 60 fps with an average of 67 fps.
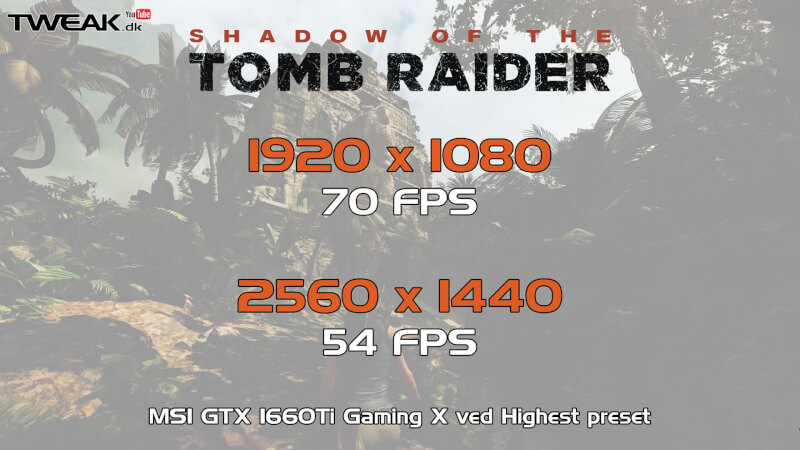
The last game on the menu is Shadow of the Tomb Raider, which is an even heavier game in terms of graphics, which also was evident on the results that we achieved. In 1920x1080 we got an average of 70 fps at the highest settings. This is quite a nice results, all things considered.
In 2560x1440 we were met with a real challenge, and for the first time we found ourselves below 60 fps with an average fps of 54 fps. Not too far below, and by all means still highly playable. With just a few adjustments to the graphical settings, we should be able to get even better results without having to compromise too much in terms of the visuals.
![]()
Overall, we’re very satisfied with the performance provided by our system, at a price less than $1,150. Do keep in mind, though, that this is without Windows, a monitor and whatever other peripherals you might want. It would definitely be possible to come up with a slightly different configuration, if needed. The Gaming Pro Carbon motherboard from MSI is one of their top of the line X470 boards, and you could save a bit of money by opting for their B350, which MSI also offers as a Gaming Pro Carbon variant.
In a system like this, which is aimed at gaming, the difference will not be significant and hardly noticeable.
You could also save a bit by using the stock cooler that comes with the Ryzen 5 2600X, and those changes would leave us with around $170, which could be spent on a larger SSD, faster RAM or even an upgrade to an RTX 2060 graphics card.
There’s still plenty of available adjustment options to be made, if one wants to focus in different direction than what we’ve done here. We believe that our build is a good example of what can be achieved with a budget of around $1,150 in today’s market.
We’ve ended up with a solid computer that chews its way through most tasks without a drop of sweat, and with some good options in terms of future upgrading potential.