Cooler Master ML240P Mirage
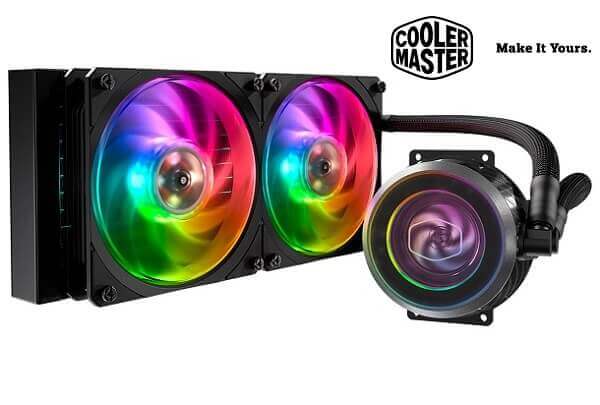
Cooler Master has asked us to take a look at their new MasterLiquid (ML) 240P Mirage cooler, which is a 240 mm cooler that features ARGB on both the fans and on the pump head. Let’s see if all of the attention has been spent on fancy RGBs or if it can still deliver satisfying cooling performance.

Specifications
We note that the cooler supports all of today’s sockets from both Intel and AMD. The fans spin at 2000 RPM and produce a noise level of 27 dBA. They also feature ARGB. Strangely, Cooler Master has not specified the TDP of the cooler, so I don’t really know what to expect of it in terms of performance. That’s something I’m looking forward to finding out. The radiator is made of aluminum and it can fit two 120 mm fans.
The particular cooler goes by the following product number: MLY-D24M-A20PA-R1
CPU Socket:
Intel: LGA2066, LGA2011-v3, LGA2011, LGA1151, LGA1150, LGA1155, LGA1156, LGA1366, LGA775
AMD: TR4, AM4, AM3+, AM3, AM2+, AM2, FM2+, FM2, FM1
Waterblock Dimensions: 85 x 80 x 41.7 mm
Radiator Dimensions: 277 x 120 x 27 mm
Radiator Material: Aluminum
Fan Dimensions (L X W X H): 120 x 120 x 26 mm / 4.7 x 4.7 x 1 inch
Fan Speed: 2000 ±10% RPM (Max)
Fan Air Flow: 60.95 CFM (Max)
Fan Air Pressure: 2.33 mm H2O (Max)
Fan MTTF: 160,000 Hours
Fan Noise Level: 27dBA (1m)
Fan Power Connector: 4-Pin (PWM), ARGB 3-Pin
Fan Rated Voltage: 12V DC
Fan Rated Current: 0.30 A
Fan Power Consumption: 3.60W
Fan LED Color: ARGB
Pump MTTF: 160,000 Hours
Pump Noise Level: < 20 dBA (1m)
Pump Rated Voltage: 12 VDC
Pump Power Consumption: 3.96W
Connector: 4-Pin
The Box and Contents
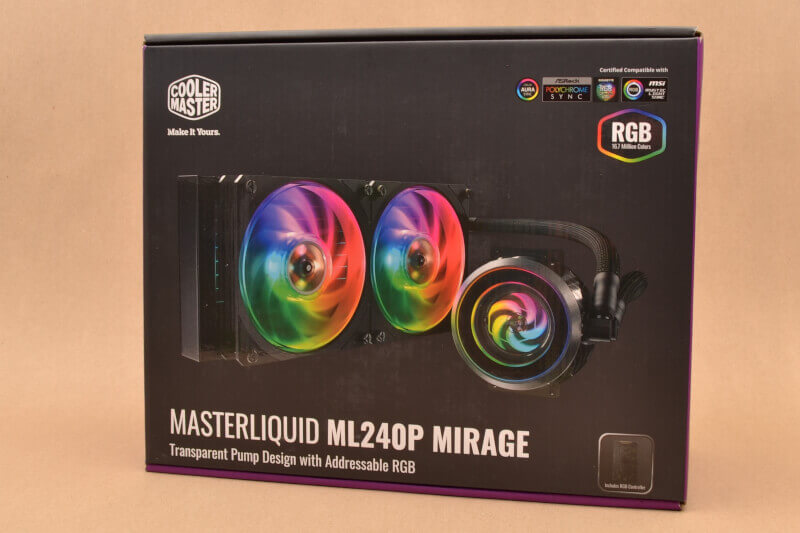
The box has some fine illustrations on it and all of the specifications and features are shown as well. Inside, all of the content is well protected by the cardboard inserts.
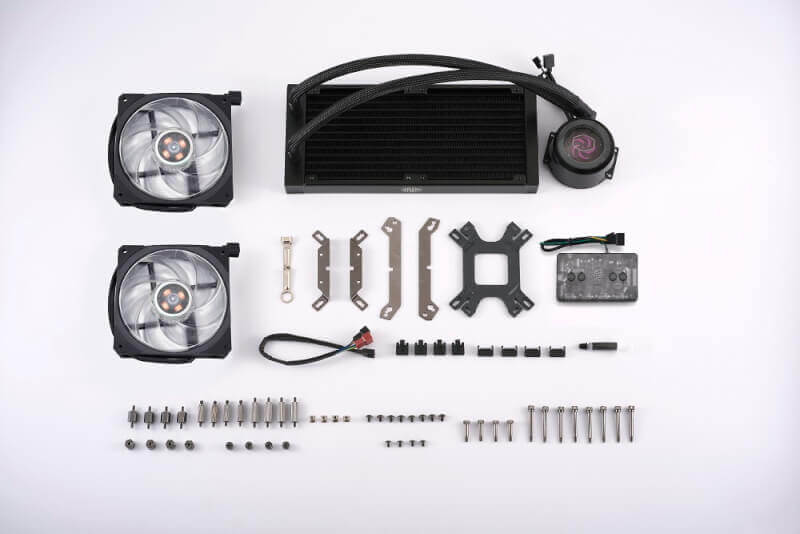
Let’s have a look at the parts before installing them
We’ll start with the fans. They are a couple of pretty fans with rubber corners. The fins are quite translucent, so I’m rather excited to see how well the light will be distributed when in use. Do note that the fins are connected at the tips, which should lead to less noise and better air flow, by improving the efficiency of each fin. It’s not the most common solution, but some brands have been using it for a while.
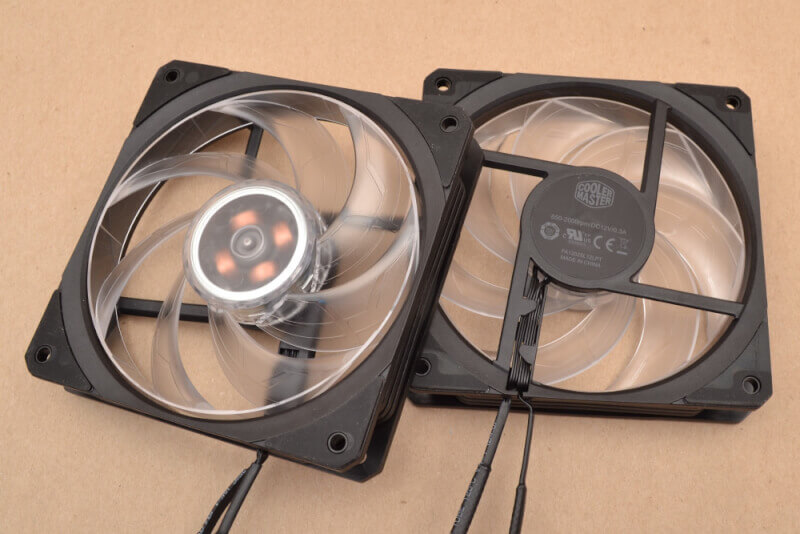
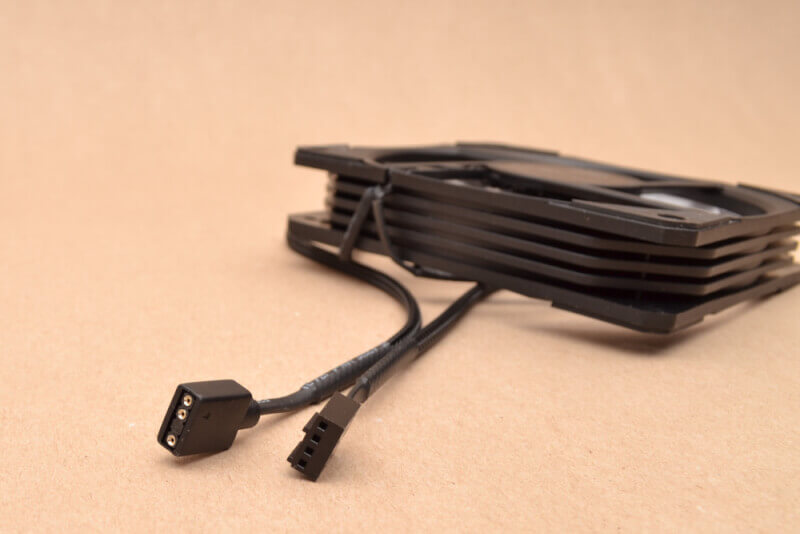
The fans have ARGB connectors, as we know them from motherboards, and PWM power connectors. They seem quite sturdy, maybe due to the grooves on the sides as depicted below. This helps with stabilizing them.
Now, let’s look at the cooler. It’s a neat cooler with durable tubes and a transparent pump head. The pump head also features ARGB, and also a PWM power connector.
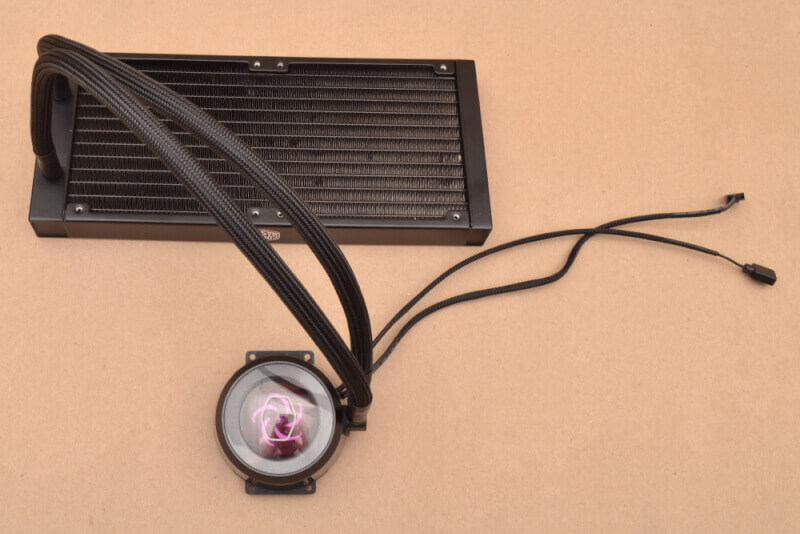
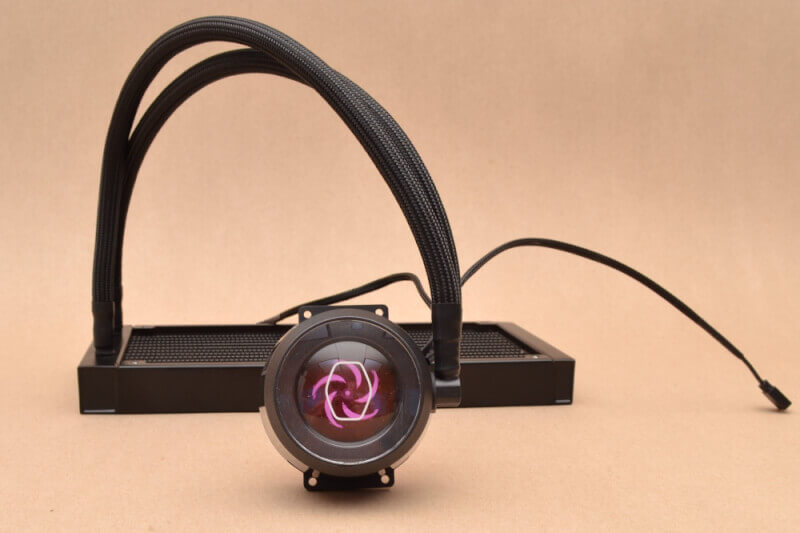
Here, you can see the impeller more clearly inside the pump. When activated, it starts spinning, which is a good indication that it works.
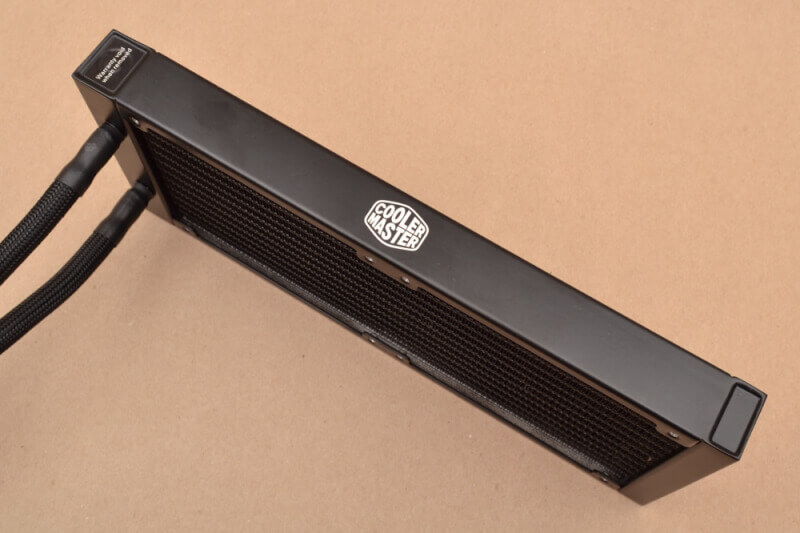
The heat sink radiator features your typical ribbed design with a bent aluminum plate between aluminum pipes. Everything is made in aluminum in order to achieve the best possible heat conduction.
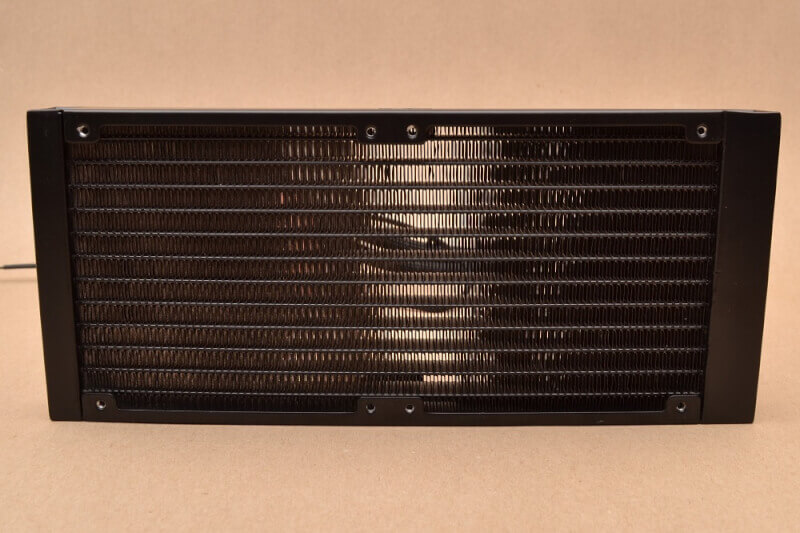
Printed on the side of the radiator is a Cooler Master logo. As you might be able to see, the tubes are neatly attached to the radiator with some heat shrink sleeving. On either end of the radiator are some covers that hide the interior parts neatly.
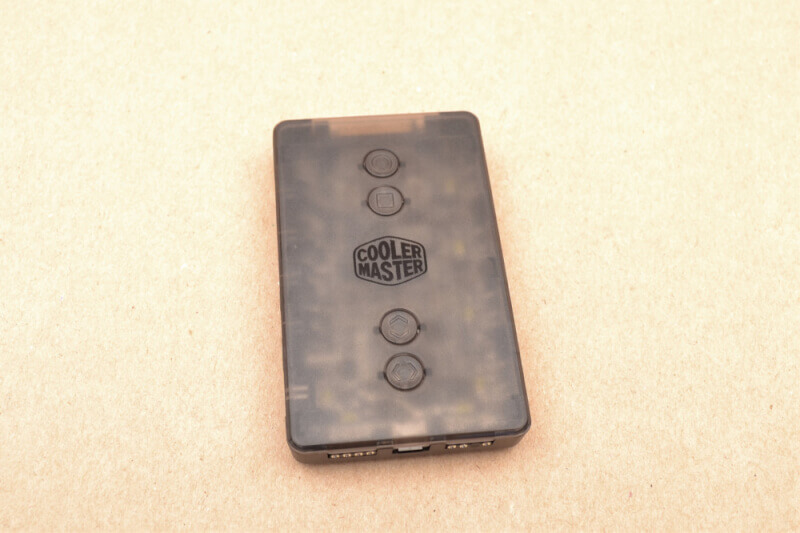
Lastly, a photo of the controller that comes with the set. It can be run independently, if you don’t have ARGB or RGB in your motherboard. It can also be used as a hub, and be attached directly to the motherboard. It has buttons that allow you to switch between different effects and colors. You can also run your reset-button through the controller and thereby use it to control the lighting, and at the same time use it to reset the system. It’s a pretty fancy feature and I’ve never seen this solution offered on any other similar product.
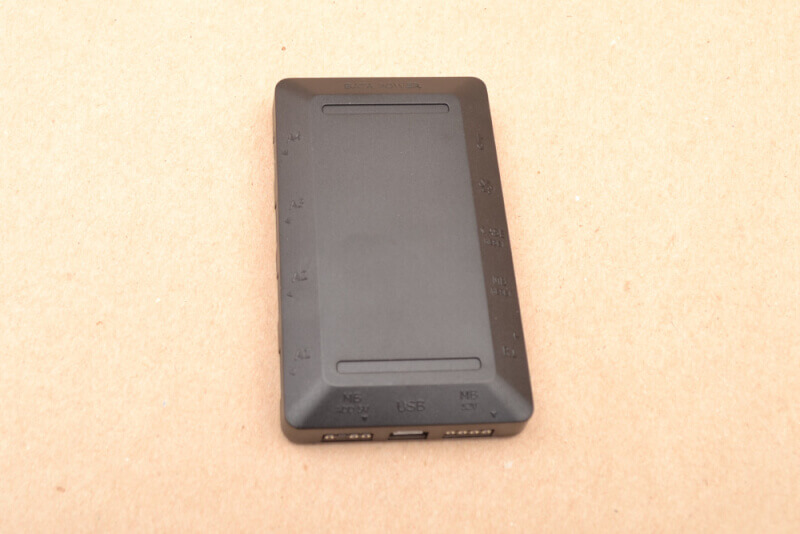
The controller has four ARGB ports and a single RGB port, in case you have some older RGB equipment that you want to include. There’s the option of USB in case you want to control the controller directly via Cooler Master’s software. The controller also supports 5 or 12 volt ARGB connections, and it comes with a SATA power connector.
Installation
In order to install it on an AMD Ryzen, you need the following bracket. It’s installed atop the pump head and the screws are then inserted from underneath. There’s an indentation on the pump head that will help guide it into place.
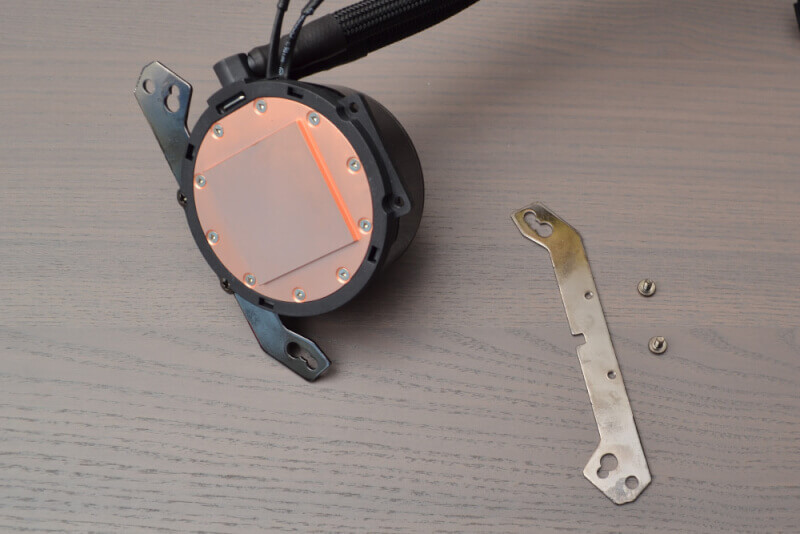
The backside bracket is prepared and attached on the back. Threaded bars are then attached in order to hold the bracket in place. It’s not all that tight, but rather quite loosely attached.
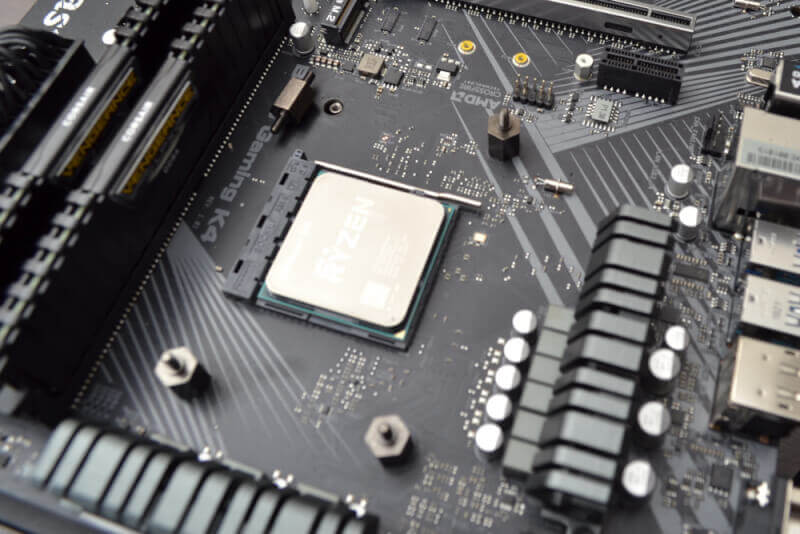
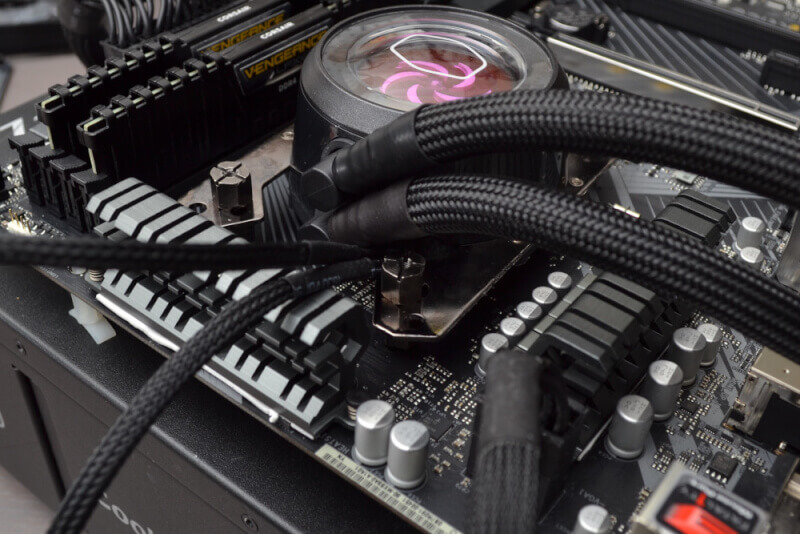
Lastly, the pump head is mounted onto the bracket. It wasn’t that easy since there wasn’t much thread for the nuts to work with. However, it came together in the end. The nuts are screwed all the way in until they are tight, which then leads to the pump head being secured tightly onto the processor.

No matter how you rotate the pump head, the tubes are kind of in the way. A key is included so that you can tighten the nuts, but it’s a bit cumbersome. Definitely not the easiest cooler to install.
Lighting
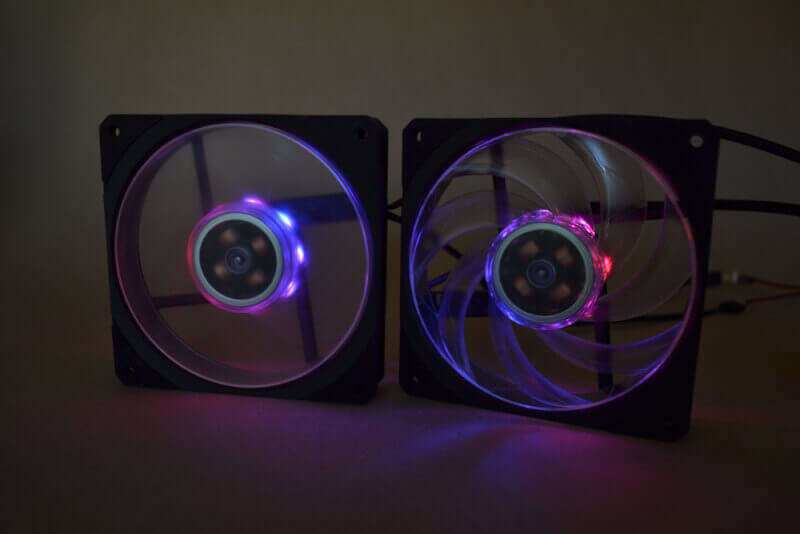
The lighting of the fans is not the most impressive that I’ve seen. Sure, it’s a subjective thing, but I don’t find that the fins spread the light very well. It’s probably because they are translucent and not white.
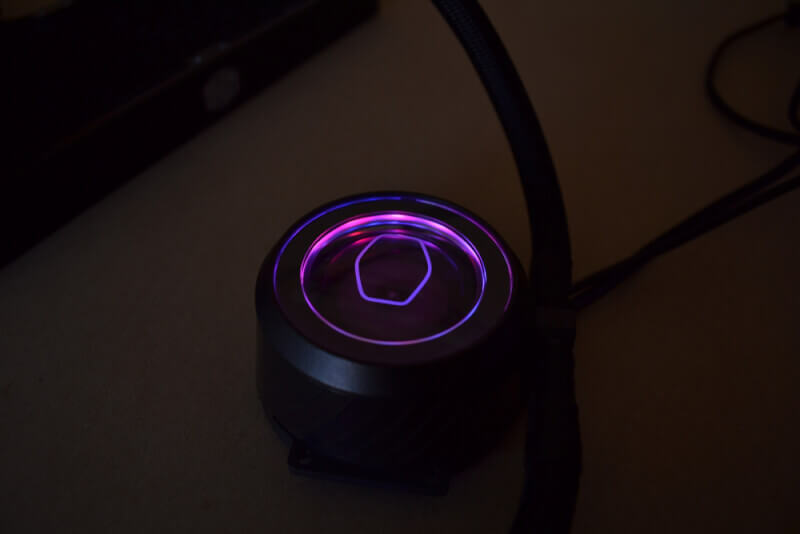
The same applies to the pump head. The light is visible, and the impeller is also lit up. However, not much. You do get a nice and shiny border circulating the pump head, which looks pretty cool.
Benchmark Procedure
CPU: AMD Ryzen 2700
Software (Benchmark): CPU-Z
Software (Monitoring): HWiNFO64
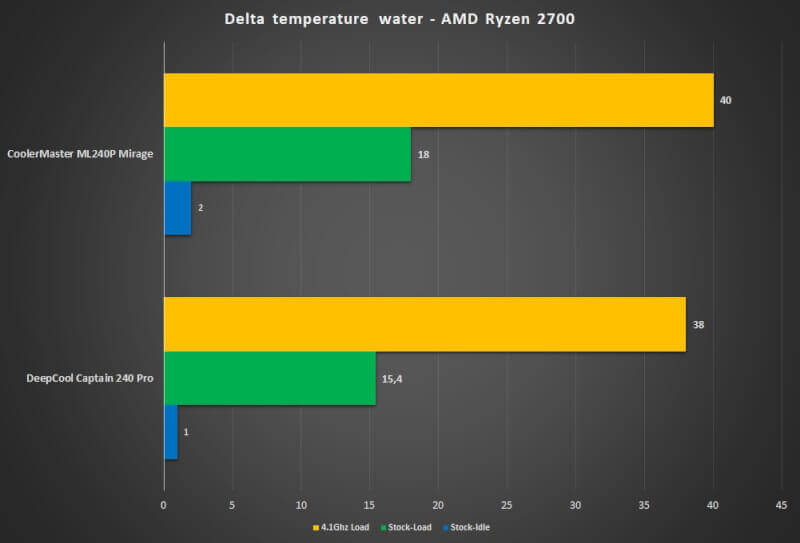
Our test procedure involves warming up the system with a CPU-Z stress test for 10/30 minutes (air/water). After that, we let it continue for 2 minutes, whilst measuring the average temperature in HWiNFO64. We then subtract the room temperature at that given time and arrive at a delta temperature in order to provide as neutral a result as possible. The fans and pump are set to run at full speed so we get an idea of the maximum performance. This should provide us with a good indication of what the cooler is capable of and whether it can handle more or less than what we throw at it.
Temperatures
Room temperature: ~ 26 °C
Fan speed: 2000 RPM
Pump speed: 8300 RPM
As can be seen, the cooler maintains some quite decent temperatures. They are slightly higher compared to the previous cooler that I tested, but still within the same range, with a difference of +2 degrees at the most, which is very acceptable. Even when overclocked, the temperature isn’t that higher compared to the other cooler, which also sports a 240 mm radiator.
Noise Level
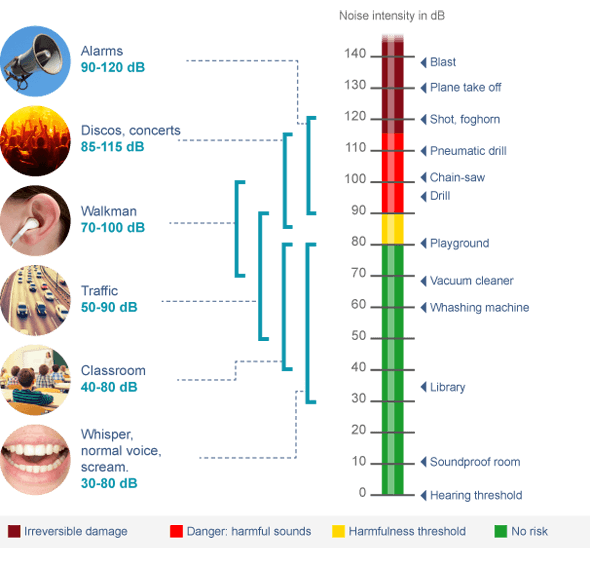
In terms of the noise level of this cooler, it definitely can be heard when it runs at full speed. It’s not noisy, as such, but definitely noticeable. The pump head is pretty silent so you won’t notice that. If we look at the specified values, each fan produces 27 dBA, which is quite common for a 120 mm fan at that speed. There’s two of them, afterall, so it makes sense that they can be heard. The pump head produces less than 20 dBA, which easily is drowned out by the fans.
Conclusion
Cooler Master has aimed to create a nice cooler with full RGB support. However, I feel that they haven’t managed to accomplish this perfectly. In their pursuit of flashy RGB features, it feels as if the customer has been forgotten in the process.
The ARGB controller is really smart, and it offers a lot of features. It can manage both ARGB and RGB, and the fans and pump head support full ARGB, which is really cool. However, you quickly drown in all the wires that must be connected and hidden away, if you want a nice and tidy system. That can be a bit tricky to say the least.
The lighting of the fans and the pump head is very low-key. You don’t really get the most out of the RGB effects, which nearly demands a pitch black environment in order to really pop. This is probably not the case for most rooms and home offices, though.
The cooling performance of the cooler lives up to what you might expect from a 240 mm radiator cooler. The CPU that we have in our system is no challenge for this cooler, and not even when you add a bit of overclocking on top. The temperature is a bit higher than with the DeepCool cooler that we also reviewed using this setup. However, it is by no means a bad result, but rather well within the expected performance of this class of cooler. The noise level is, however, in the higher end of the scale, compared to similar coolers. But it shouldn’t really be a problem when using the system for average gaming tasks and especially not when wearing a headset.
Installing the cooler was a bit cumbersome, so it requires a bit of attention and care. It is not an impossible task, though, it just requires a bit of focus.
Price
I’ve quickly checked online in order to retrieve the MSRP of this ML240P, and it currently is $159.99. You might argue that this is in the steeper end compared to other offerings with ARGB. I tend to agree. You don’t really get much better cooling performance here, so I guess it has to make up for it in terms of features. Sure, the ARGB Controller V2 is fancy, but is it really worth the extra price?
Pro:
Good performance
Nice cooler and radiator
ARGB Controller V2
Good options for RGB connectivity
Pros:
Not so impressive RGB lights
Cumbersome to install
Noise from the fans
High price
With all things considered, we arrive at a final score of 8 out of 10. Cooler Master could’ve improved the installation process, made the fans less noisy, and priced it a bit lower. Still, I find it deserving of the Great Product Award, since the cooler works great once installed, and you get a lot of options with the included ARGB Controller.


Latest water cooling
-
09 Junwater cooling
-
14 Aprwater cooling
Fractal Design Celsius+ S36 Prisma
-
02 Decwater cooling
Deepcool Castle 360EX
-
02 Sepwater cooling
Cooler Master ML240P Mirage
-
29 Janwater cooling
Review: ASUS ROG Ryujin 360 CPU cooler


