17 Mar
computer case


Key specifications
The MAX series from Cooler Master are enclosures that include a power supply and cooling solution. This is of course also the case here. So it is a total solution where you "simply" have to add the rest of the hardware.
However, it is worth noting that this is only a 120mm AIO solution, in contrast to, for example, the 280mm solution which is part of the NR200P MAX cabinet.
A tour around the Cooler Master NCORE 100 MAX
I got my first look at the Cooler Master NCORE 100 MAX when we visited Cooler Master at their headquarters in Taipei this summer during Computex 2023. Back then it was an early prototype, and since then a lot of fine-tuning has taken place towards the final version that we are testing today.
NCORE 100 MAX is a vertical cabinet. This means it has a fairly small footprint on your desktop. It only takes up slightly more than a folded piece of A4 paper on your desk.
This is naturally compensated for in the height, where the NCORE 100 MAX protrudes just over 48 cm.
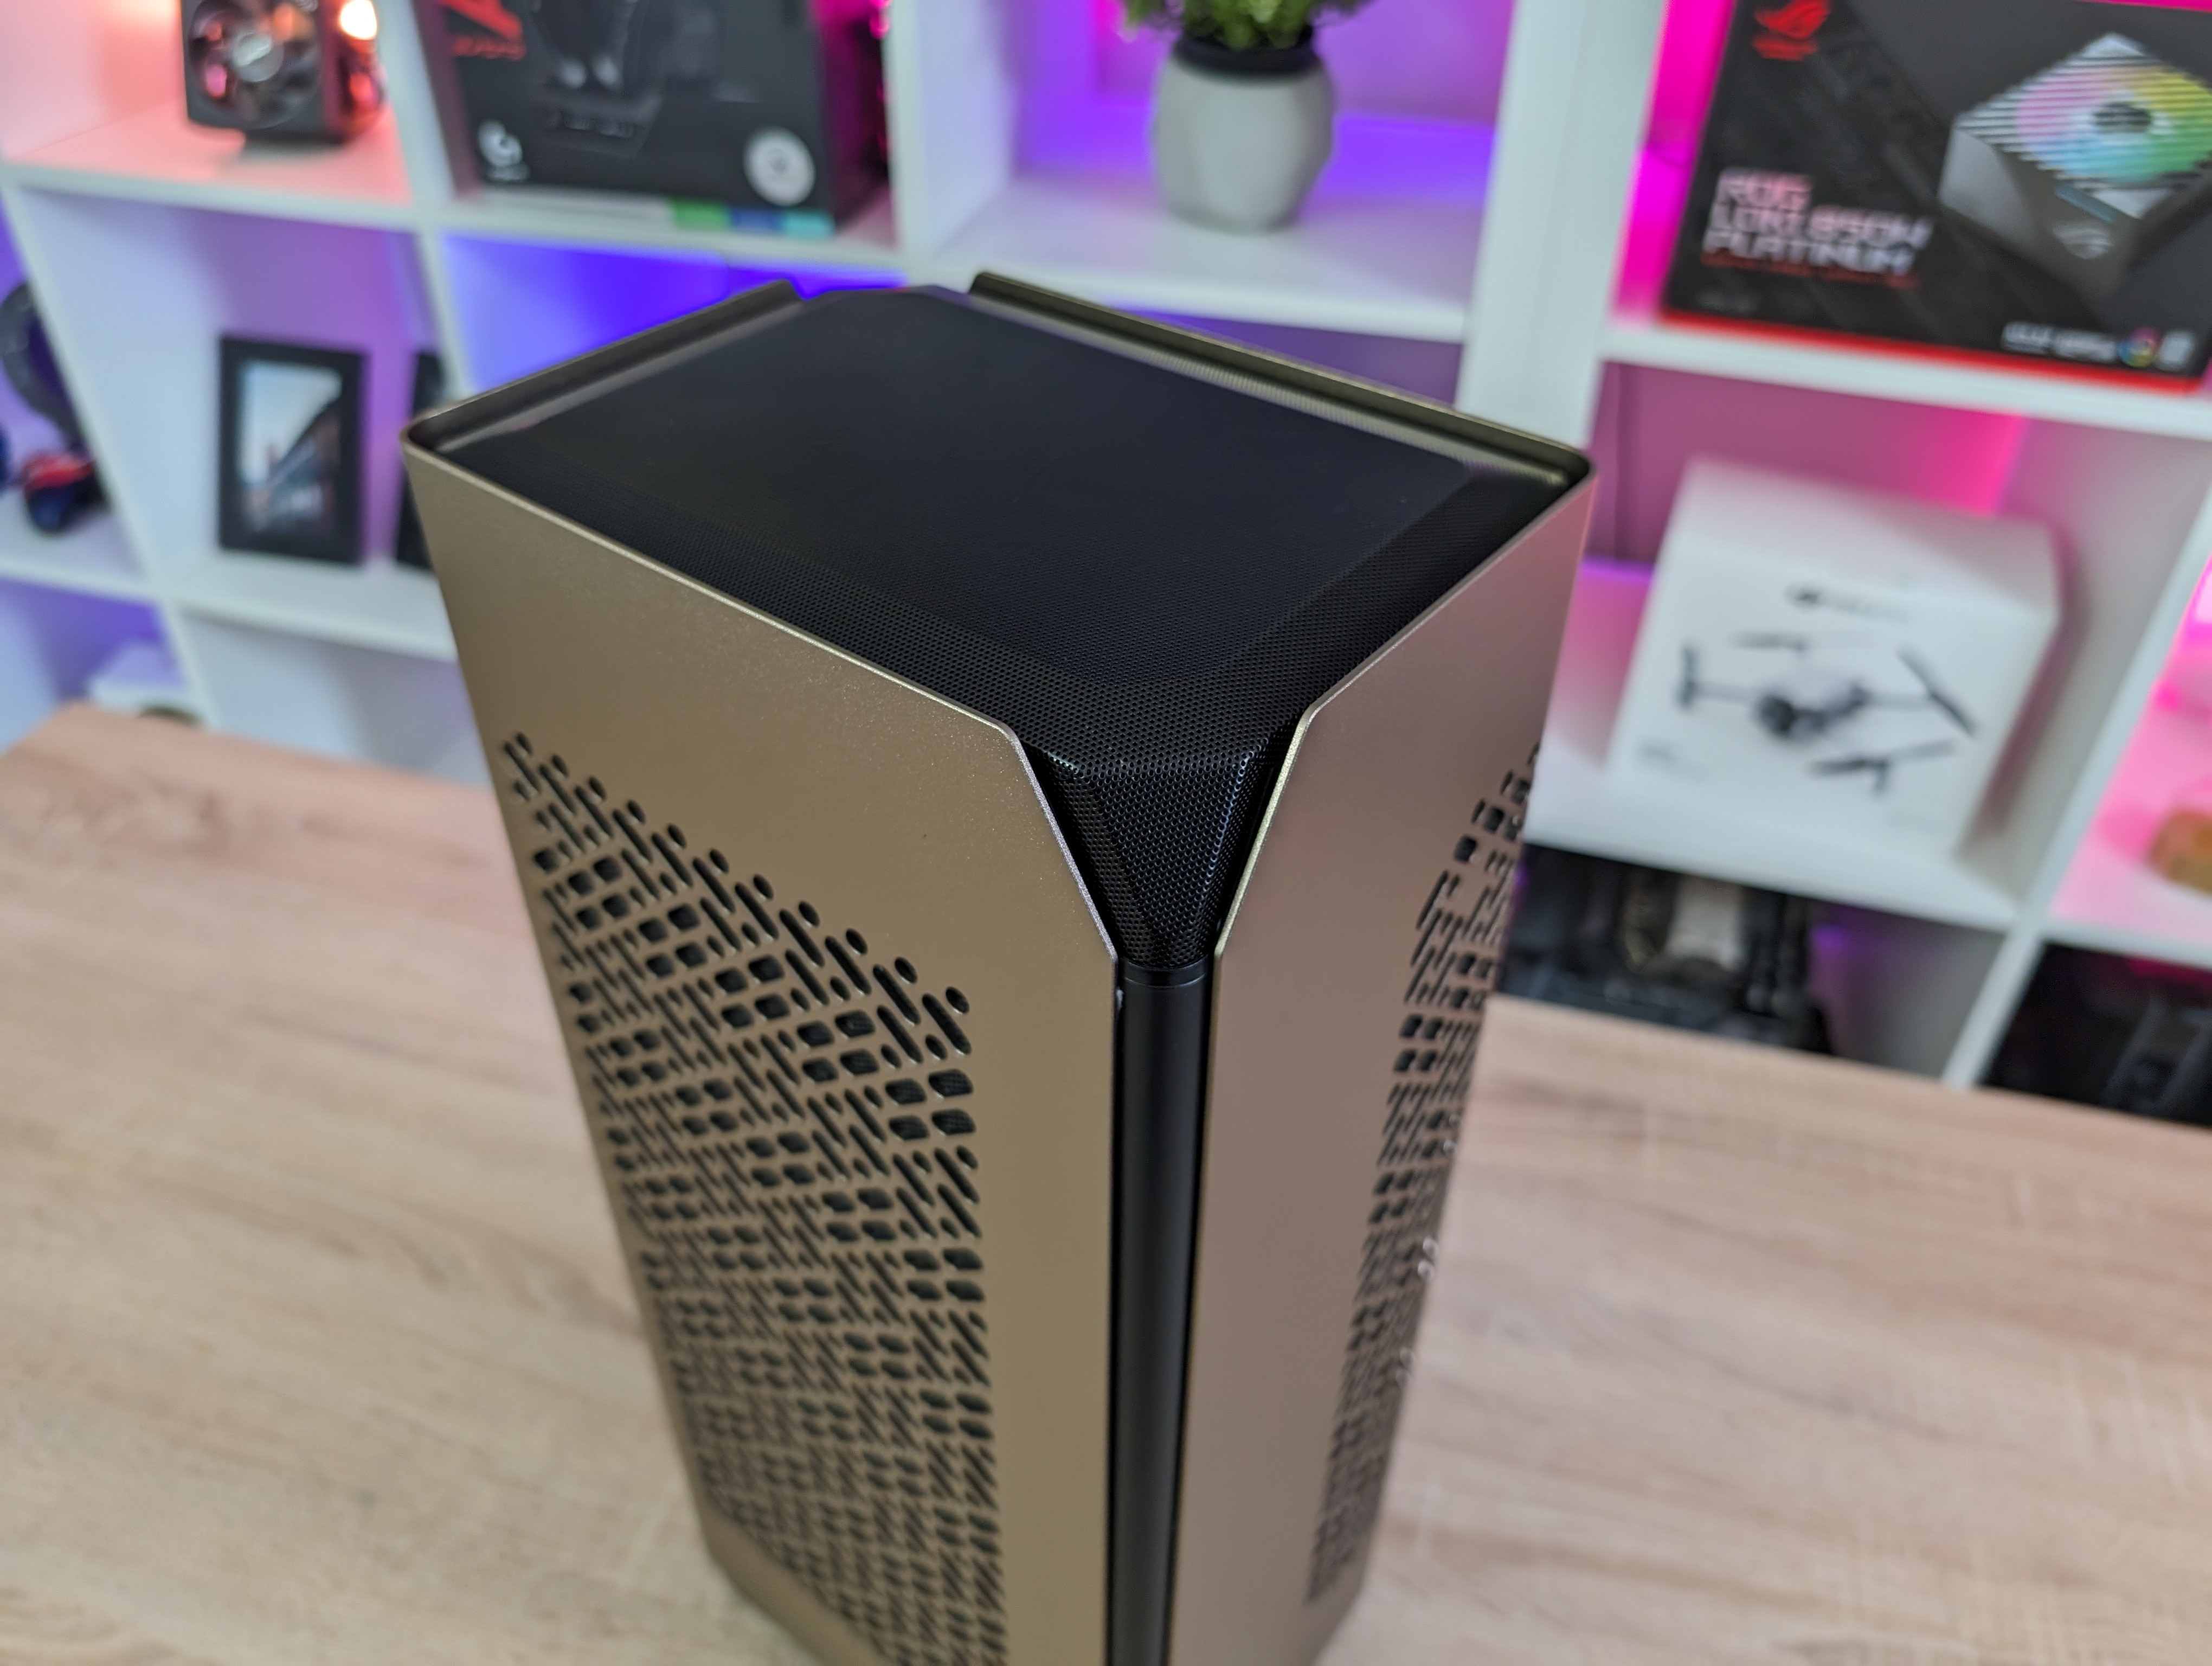
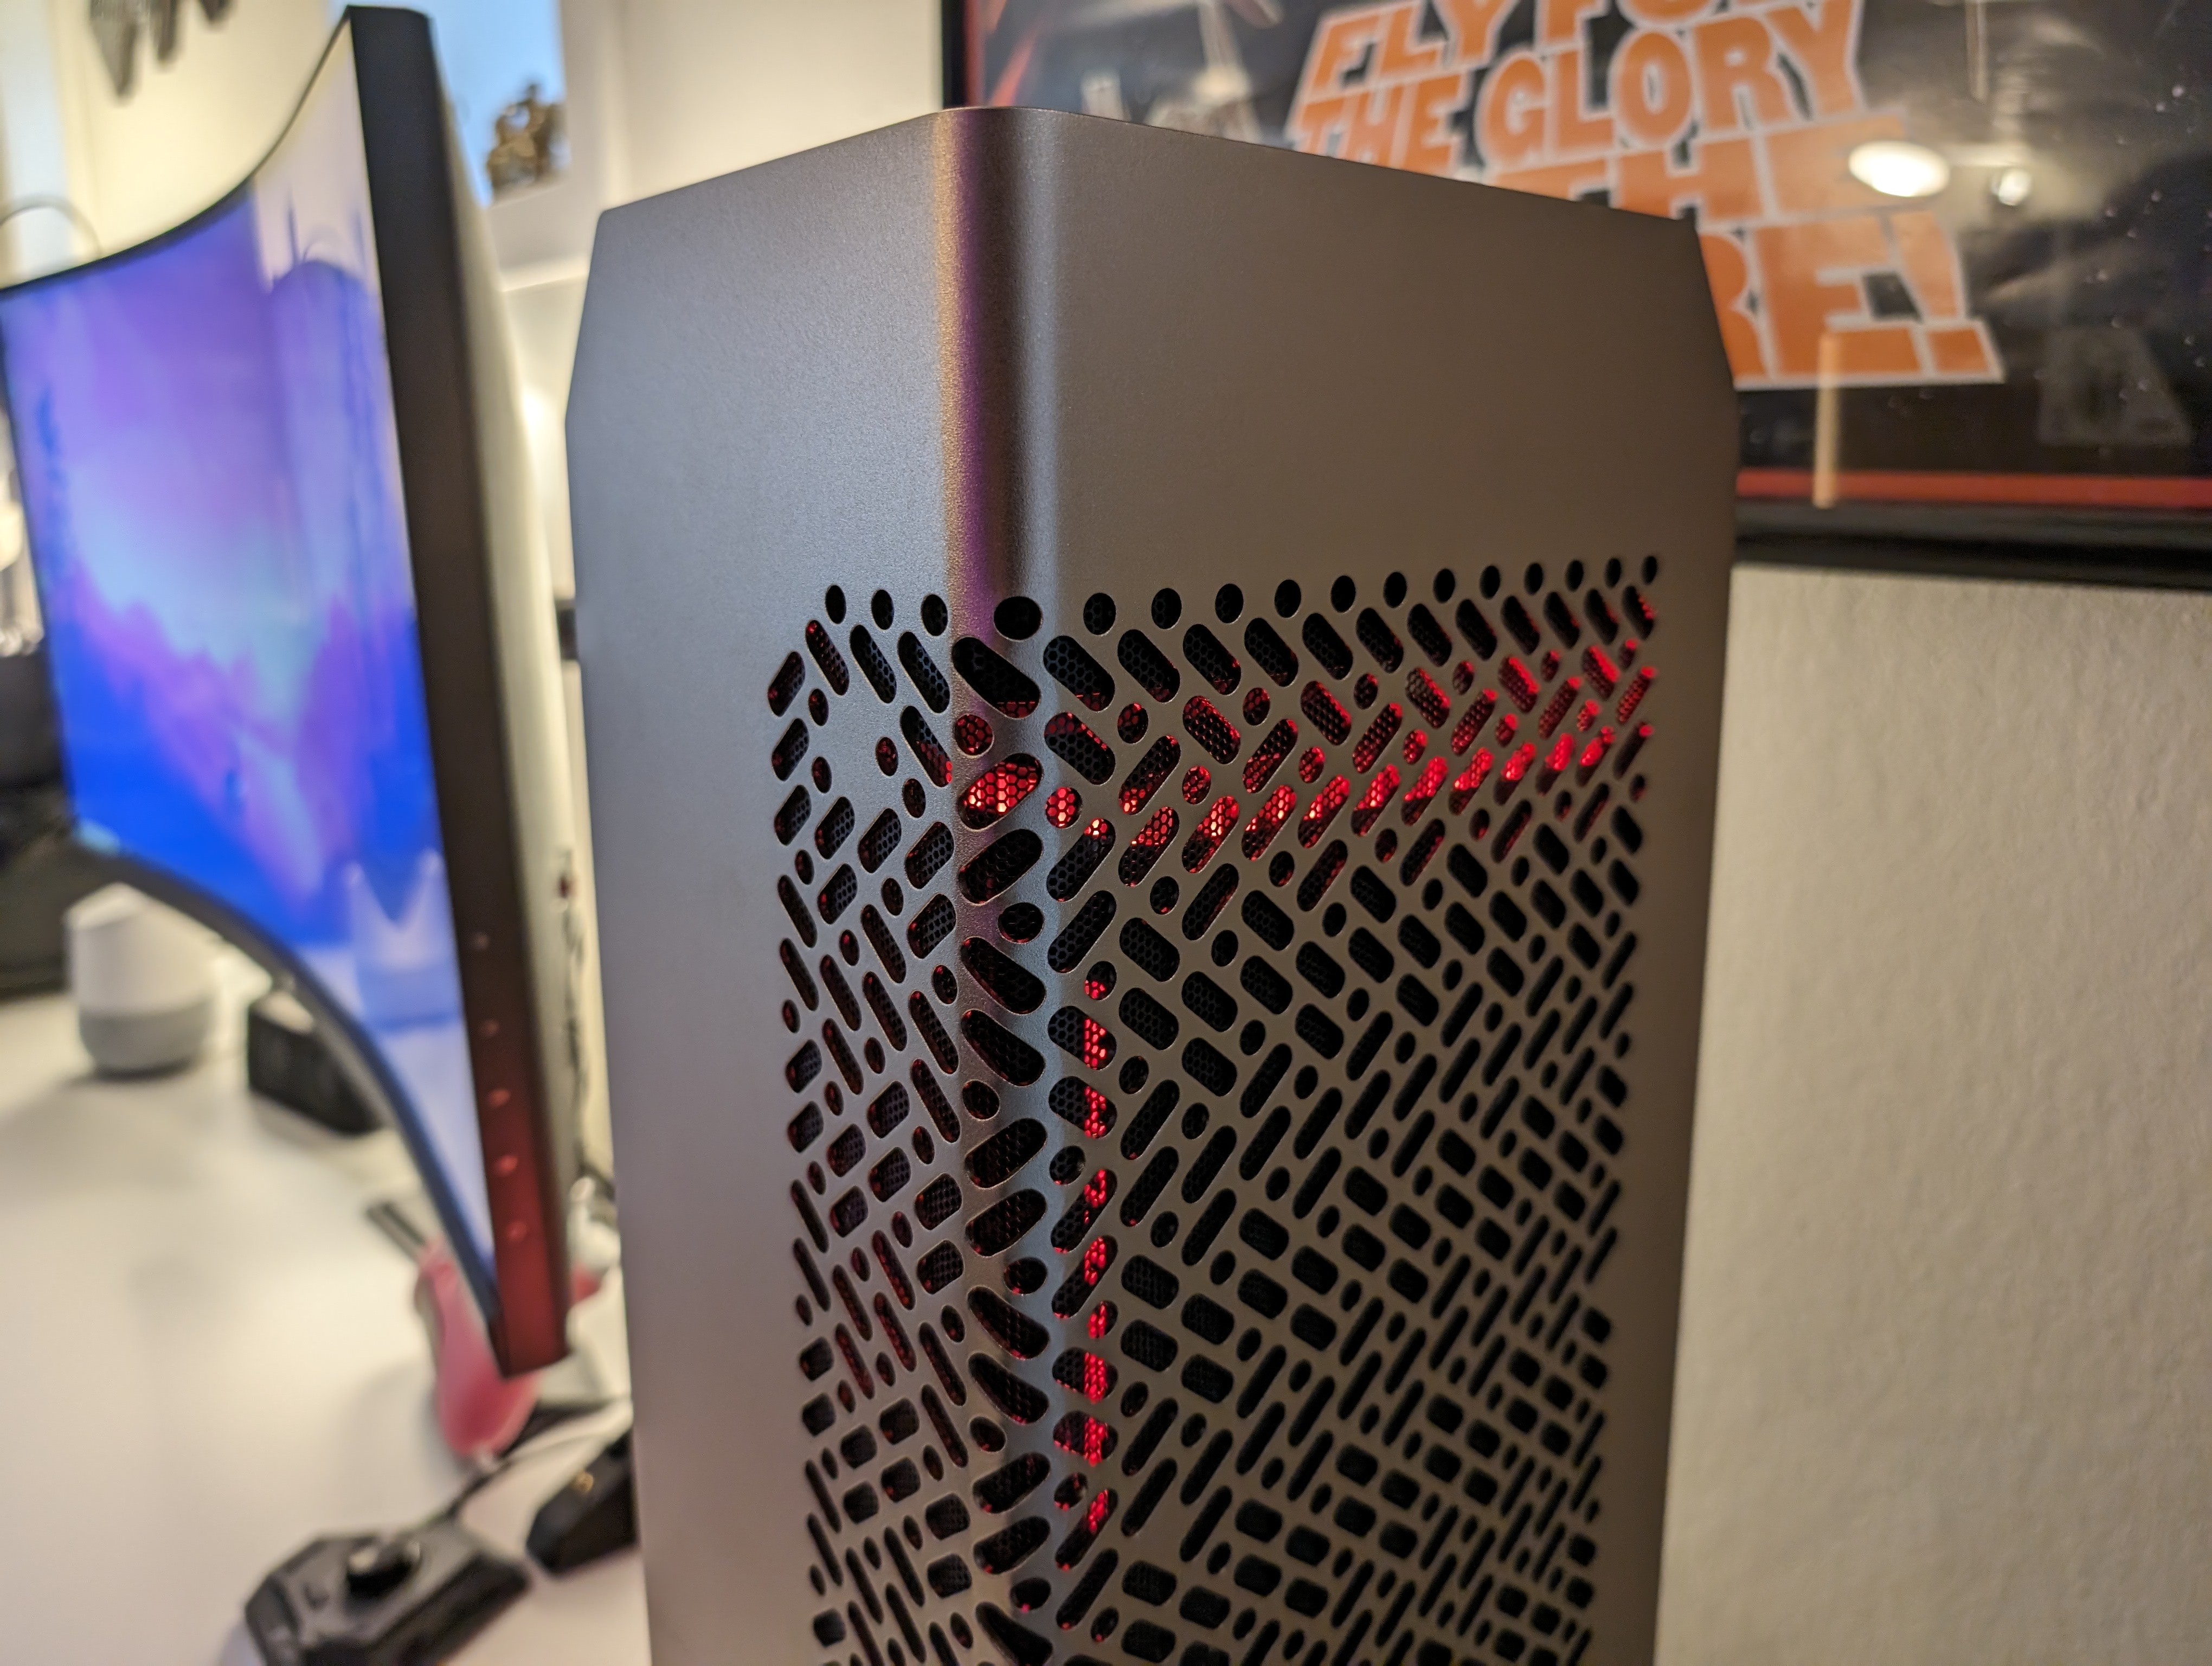
The exterior is characterized by the two aluminum side panels, with a design that draws threads to Cooler Master's large new building in Taiwan. Nice little design detail to have there.
NCORE 100 MAX is available in two colors. The regular silver/gunmetal gray version, and then the Bronze version that we have had for testing.
At the top there is a mesh material and this is where the hot air from the AIO radiator is blown out.
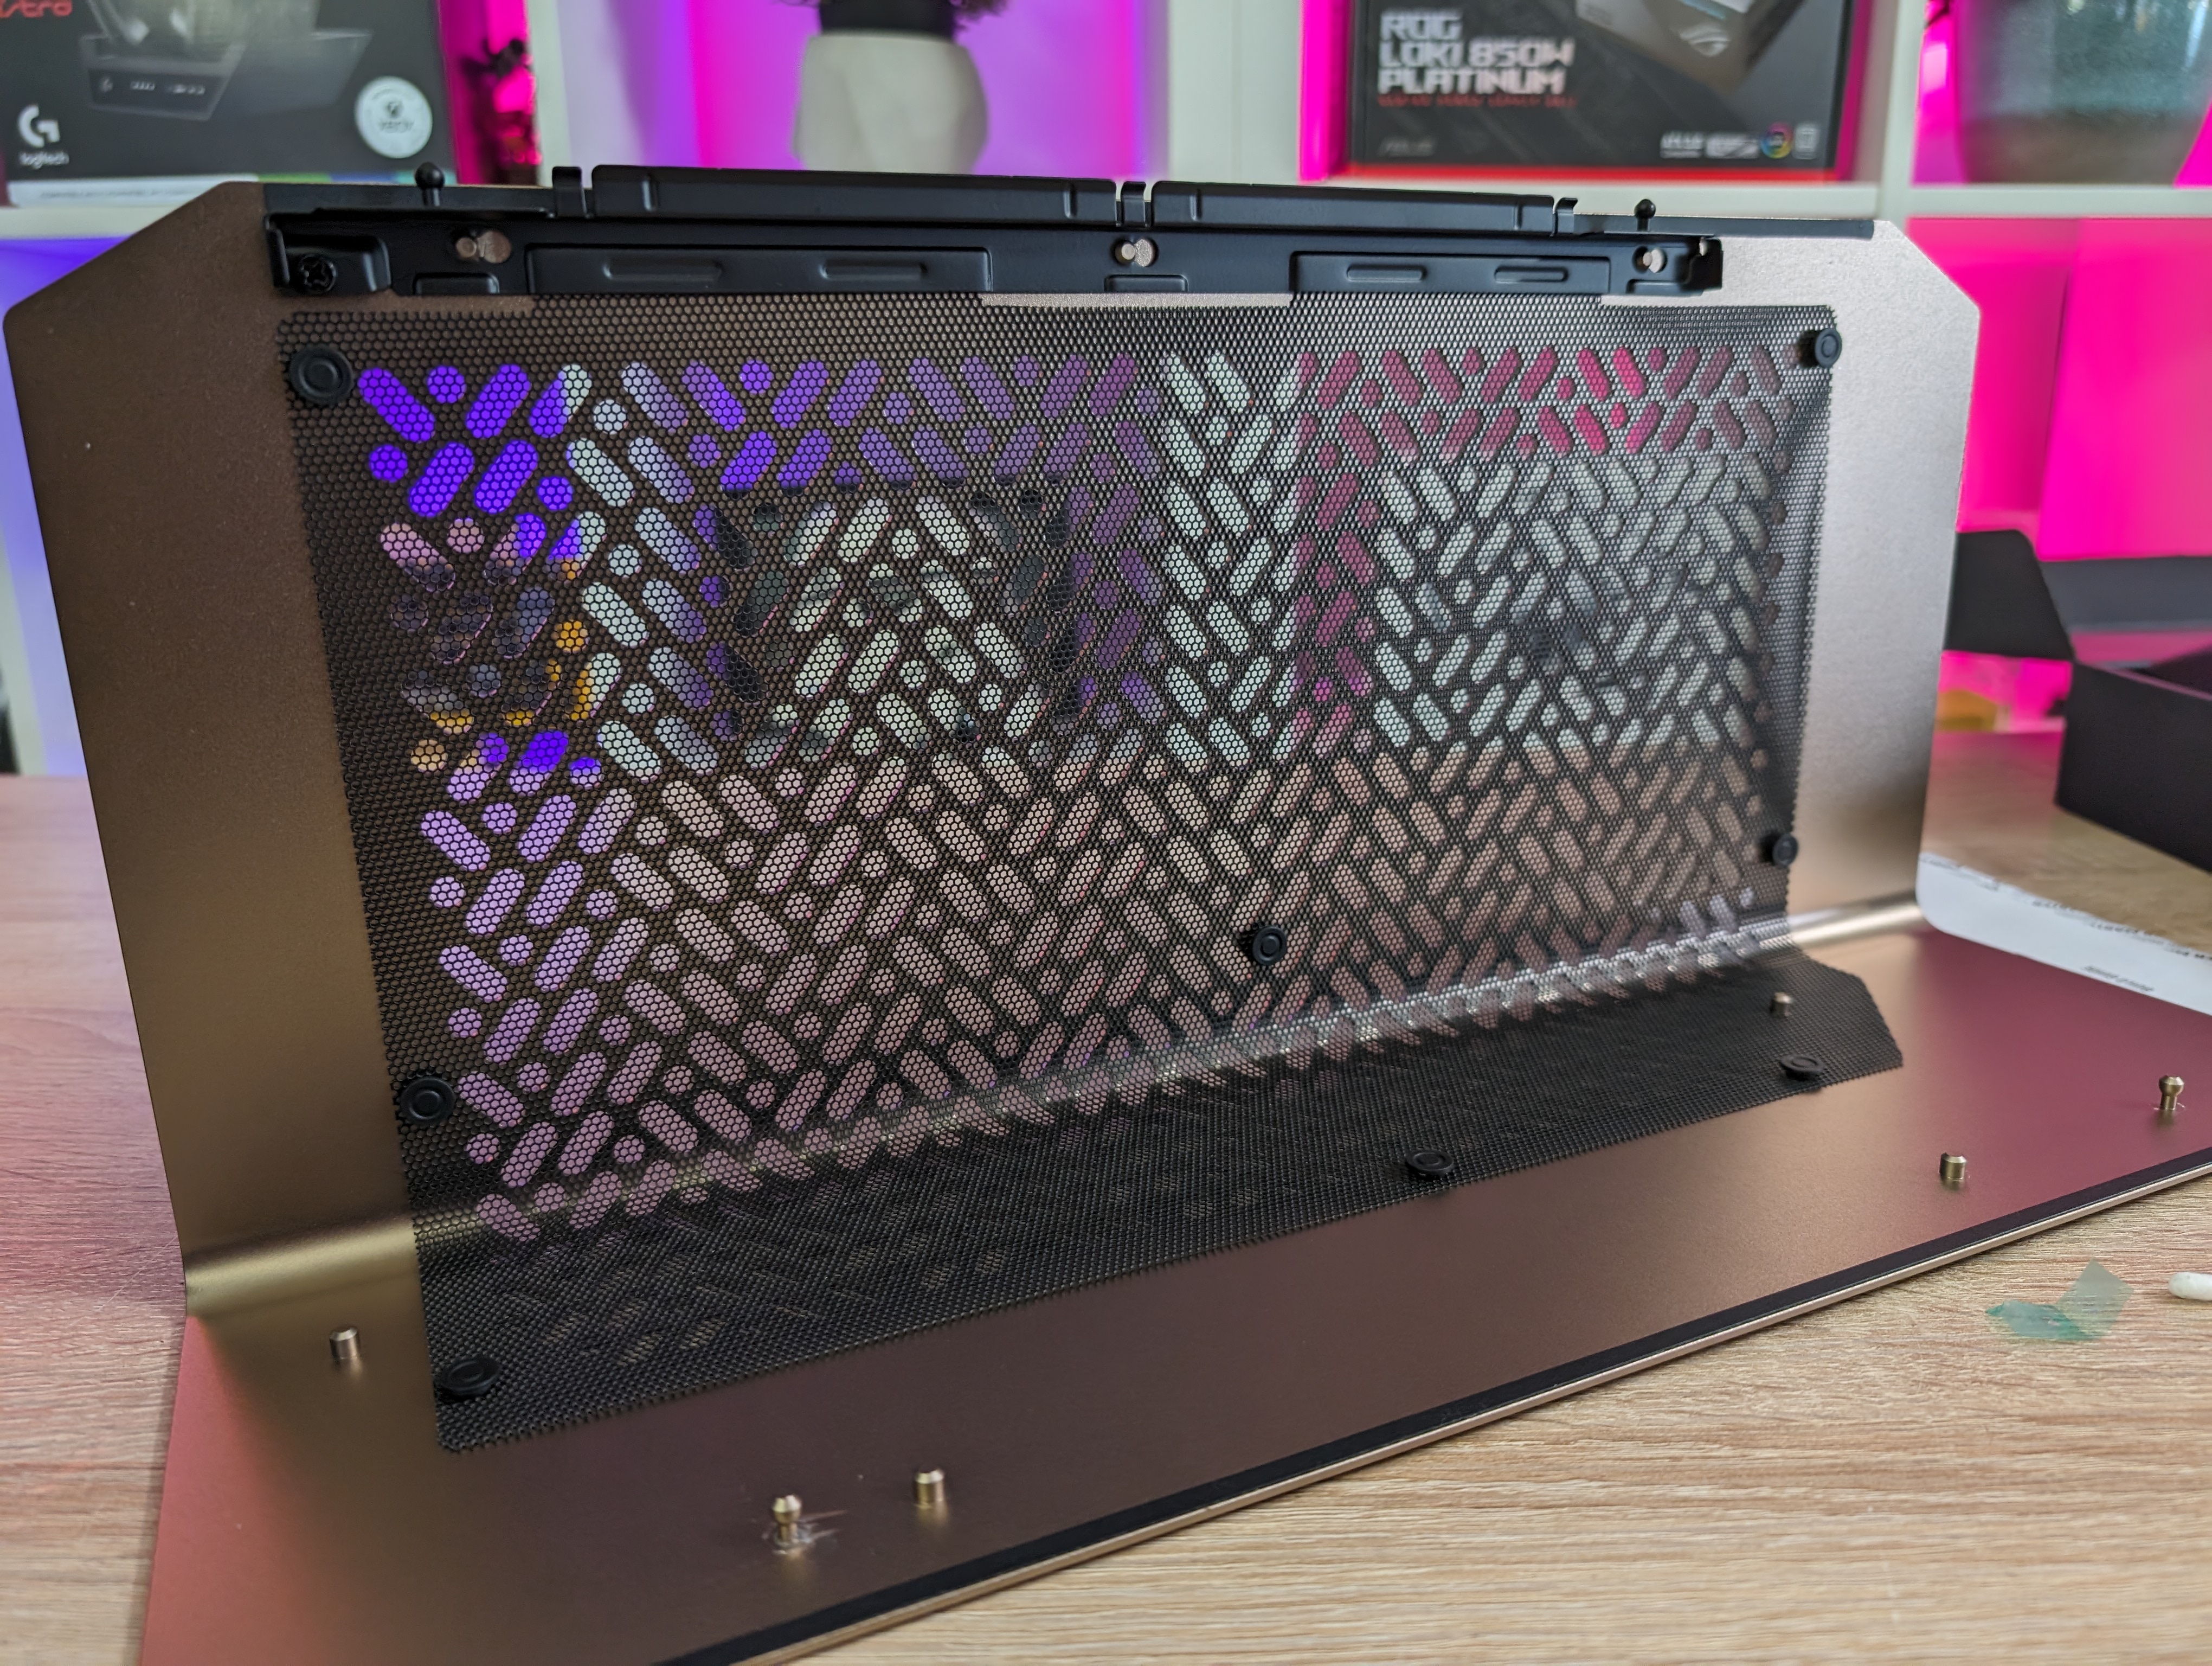
Both the top panel and the two side panels can be removed without removing screws. They are all clicked into place using a push-pin solution. You just have to trick the technique with the side panels, but it's great to be able to get quick access to the interior without having to get tools out.
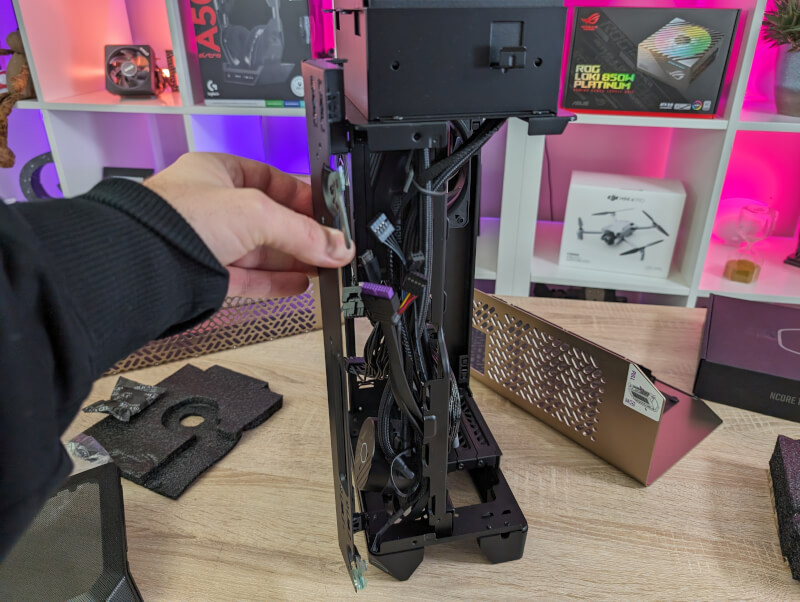
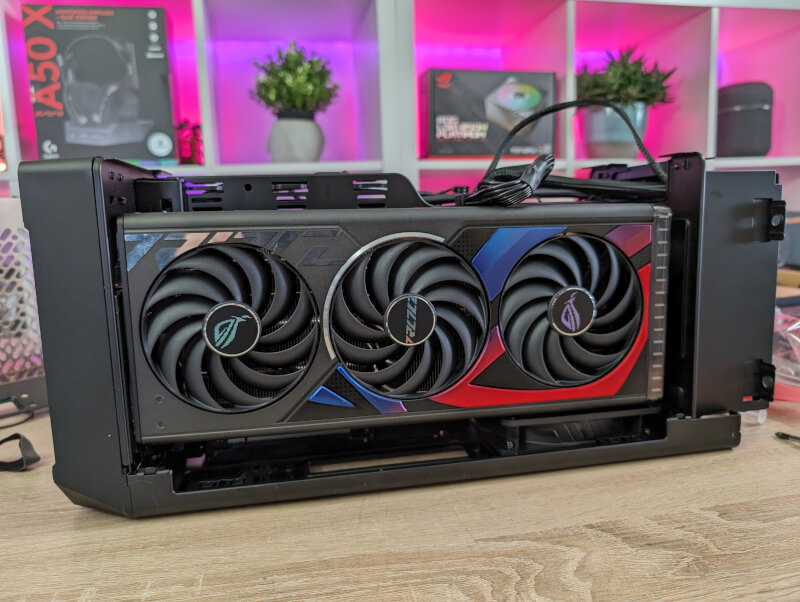
If we look at the interior, it is naturally a somewhat different layout than the average cabinet. It's a two-part layout with the power supply and motherboard on one side and the graphics card on the other. The graphics card is connected to the motherboard via the supplied and pre-installed PCIe Riser cable.
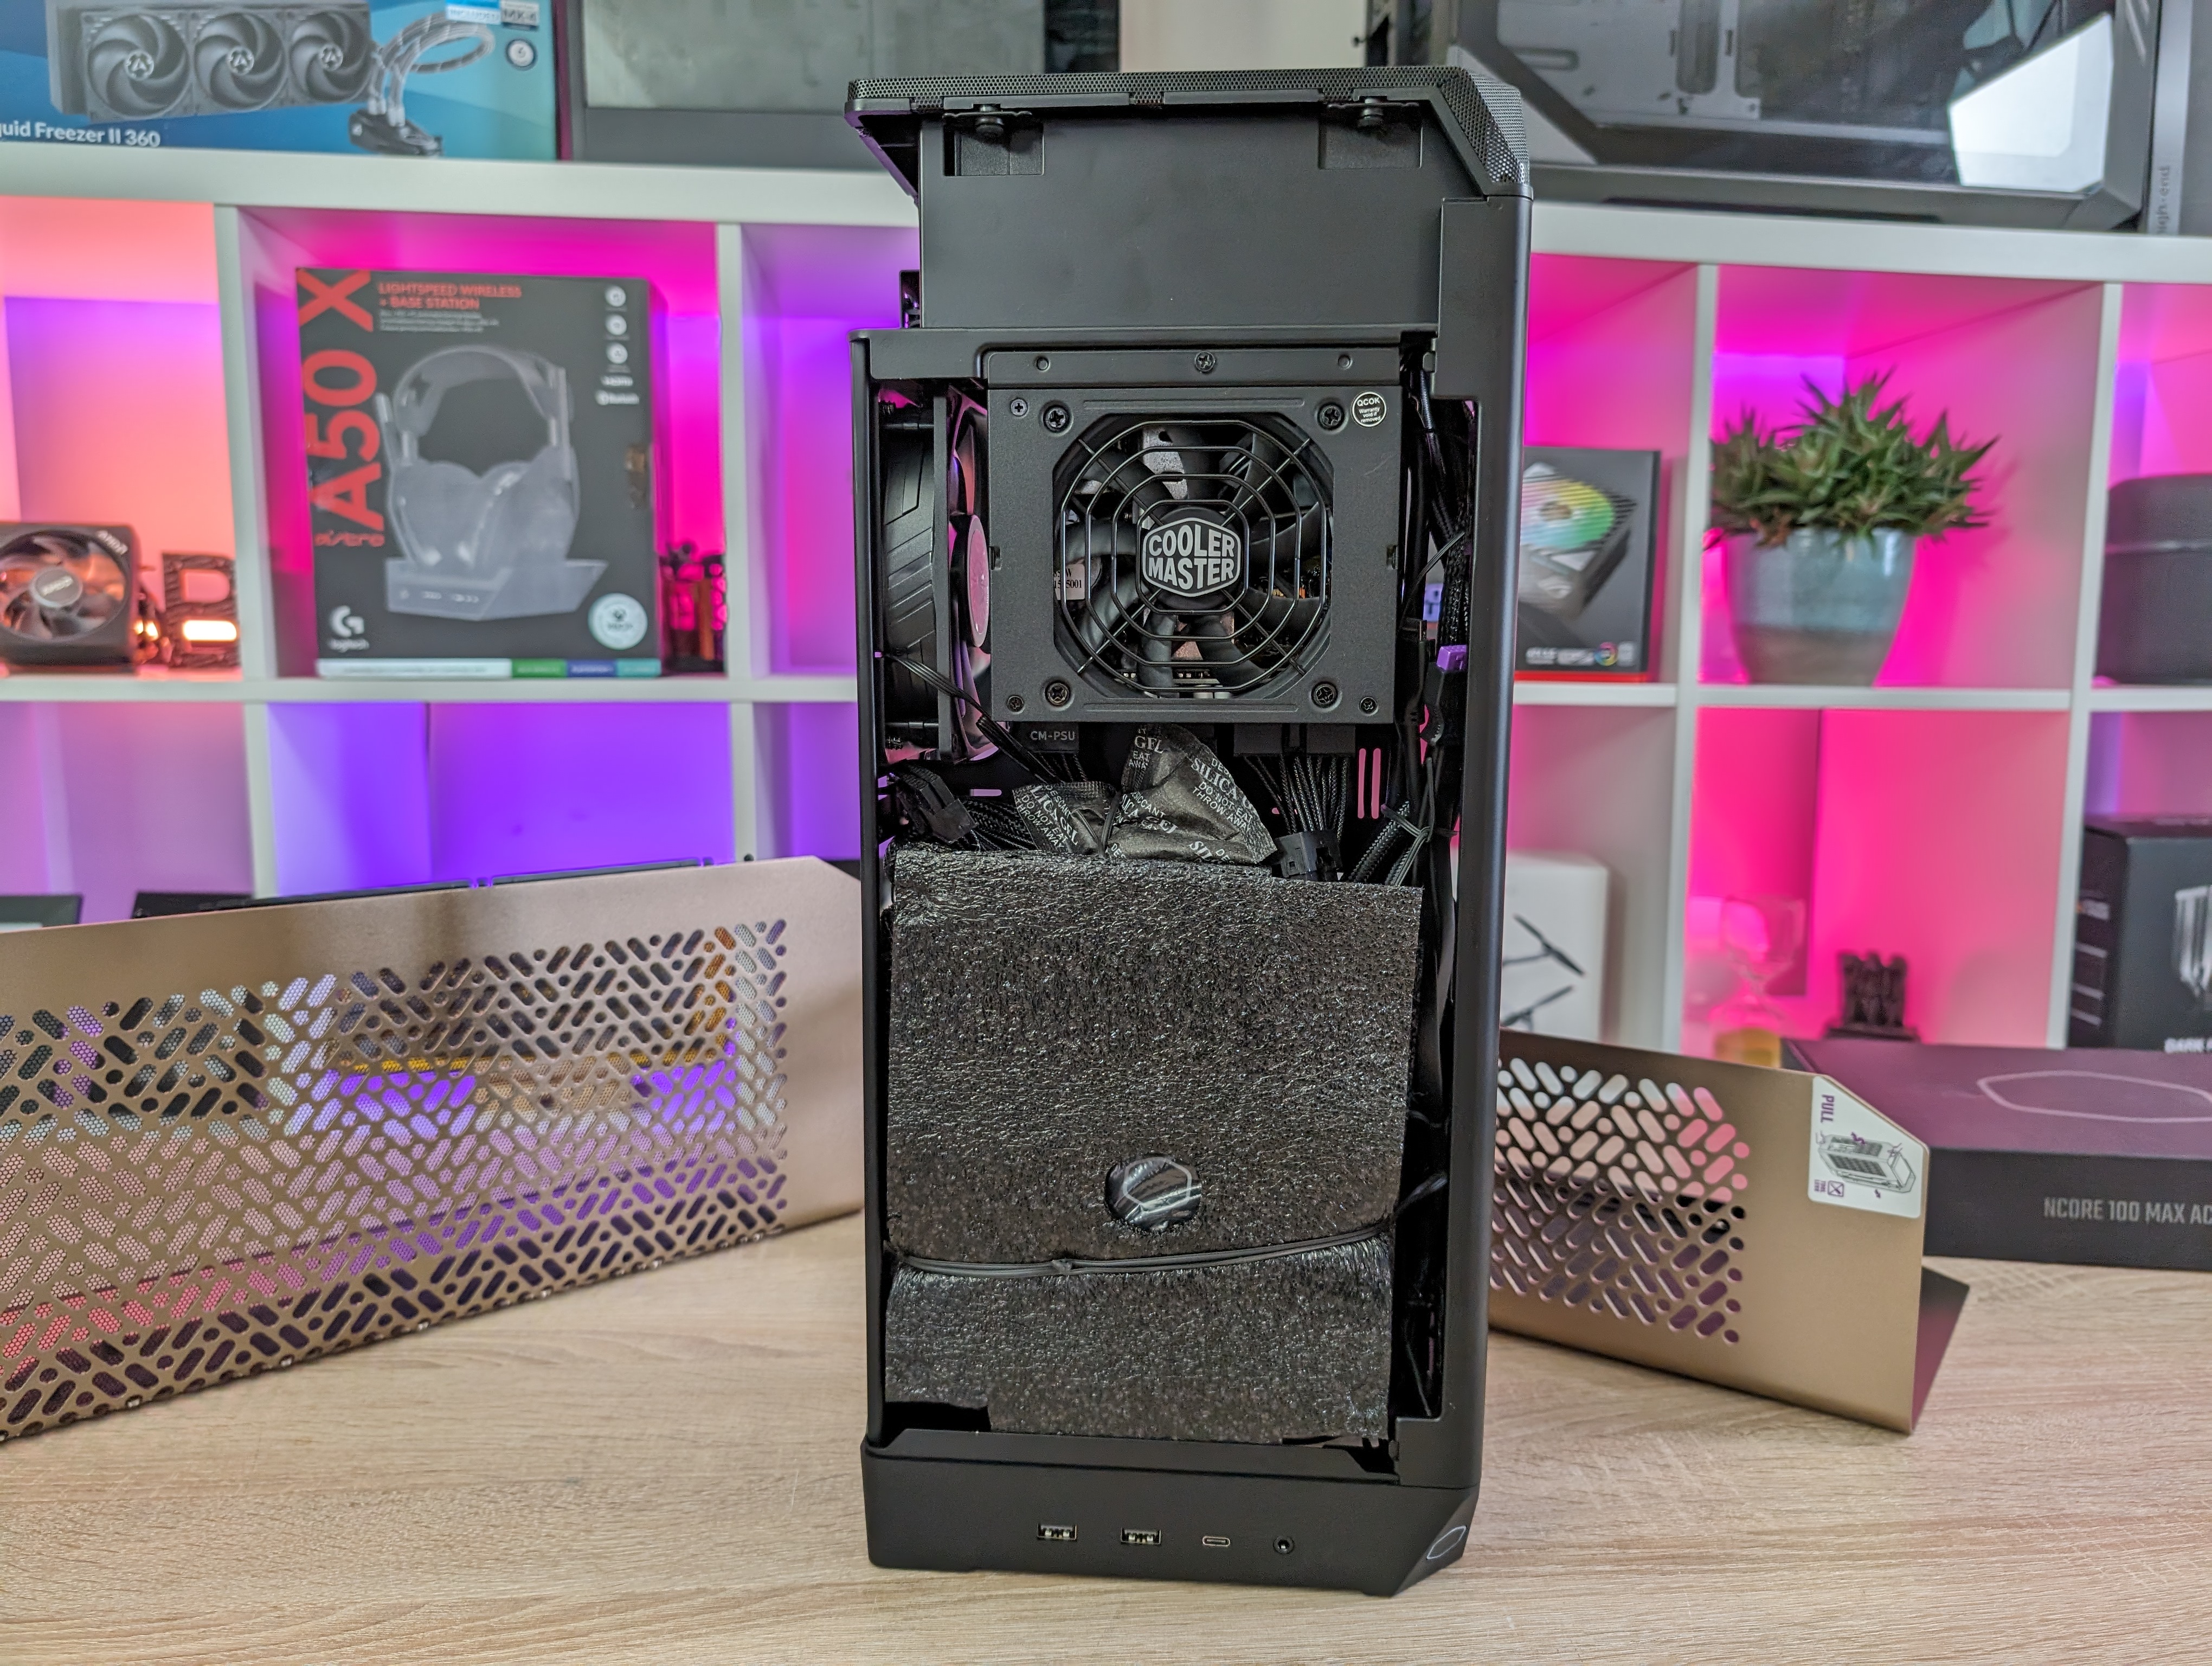
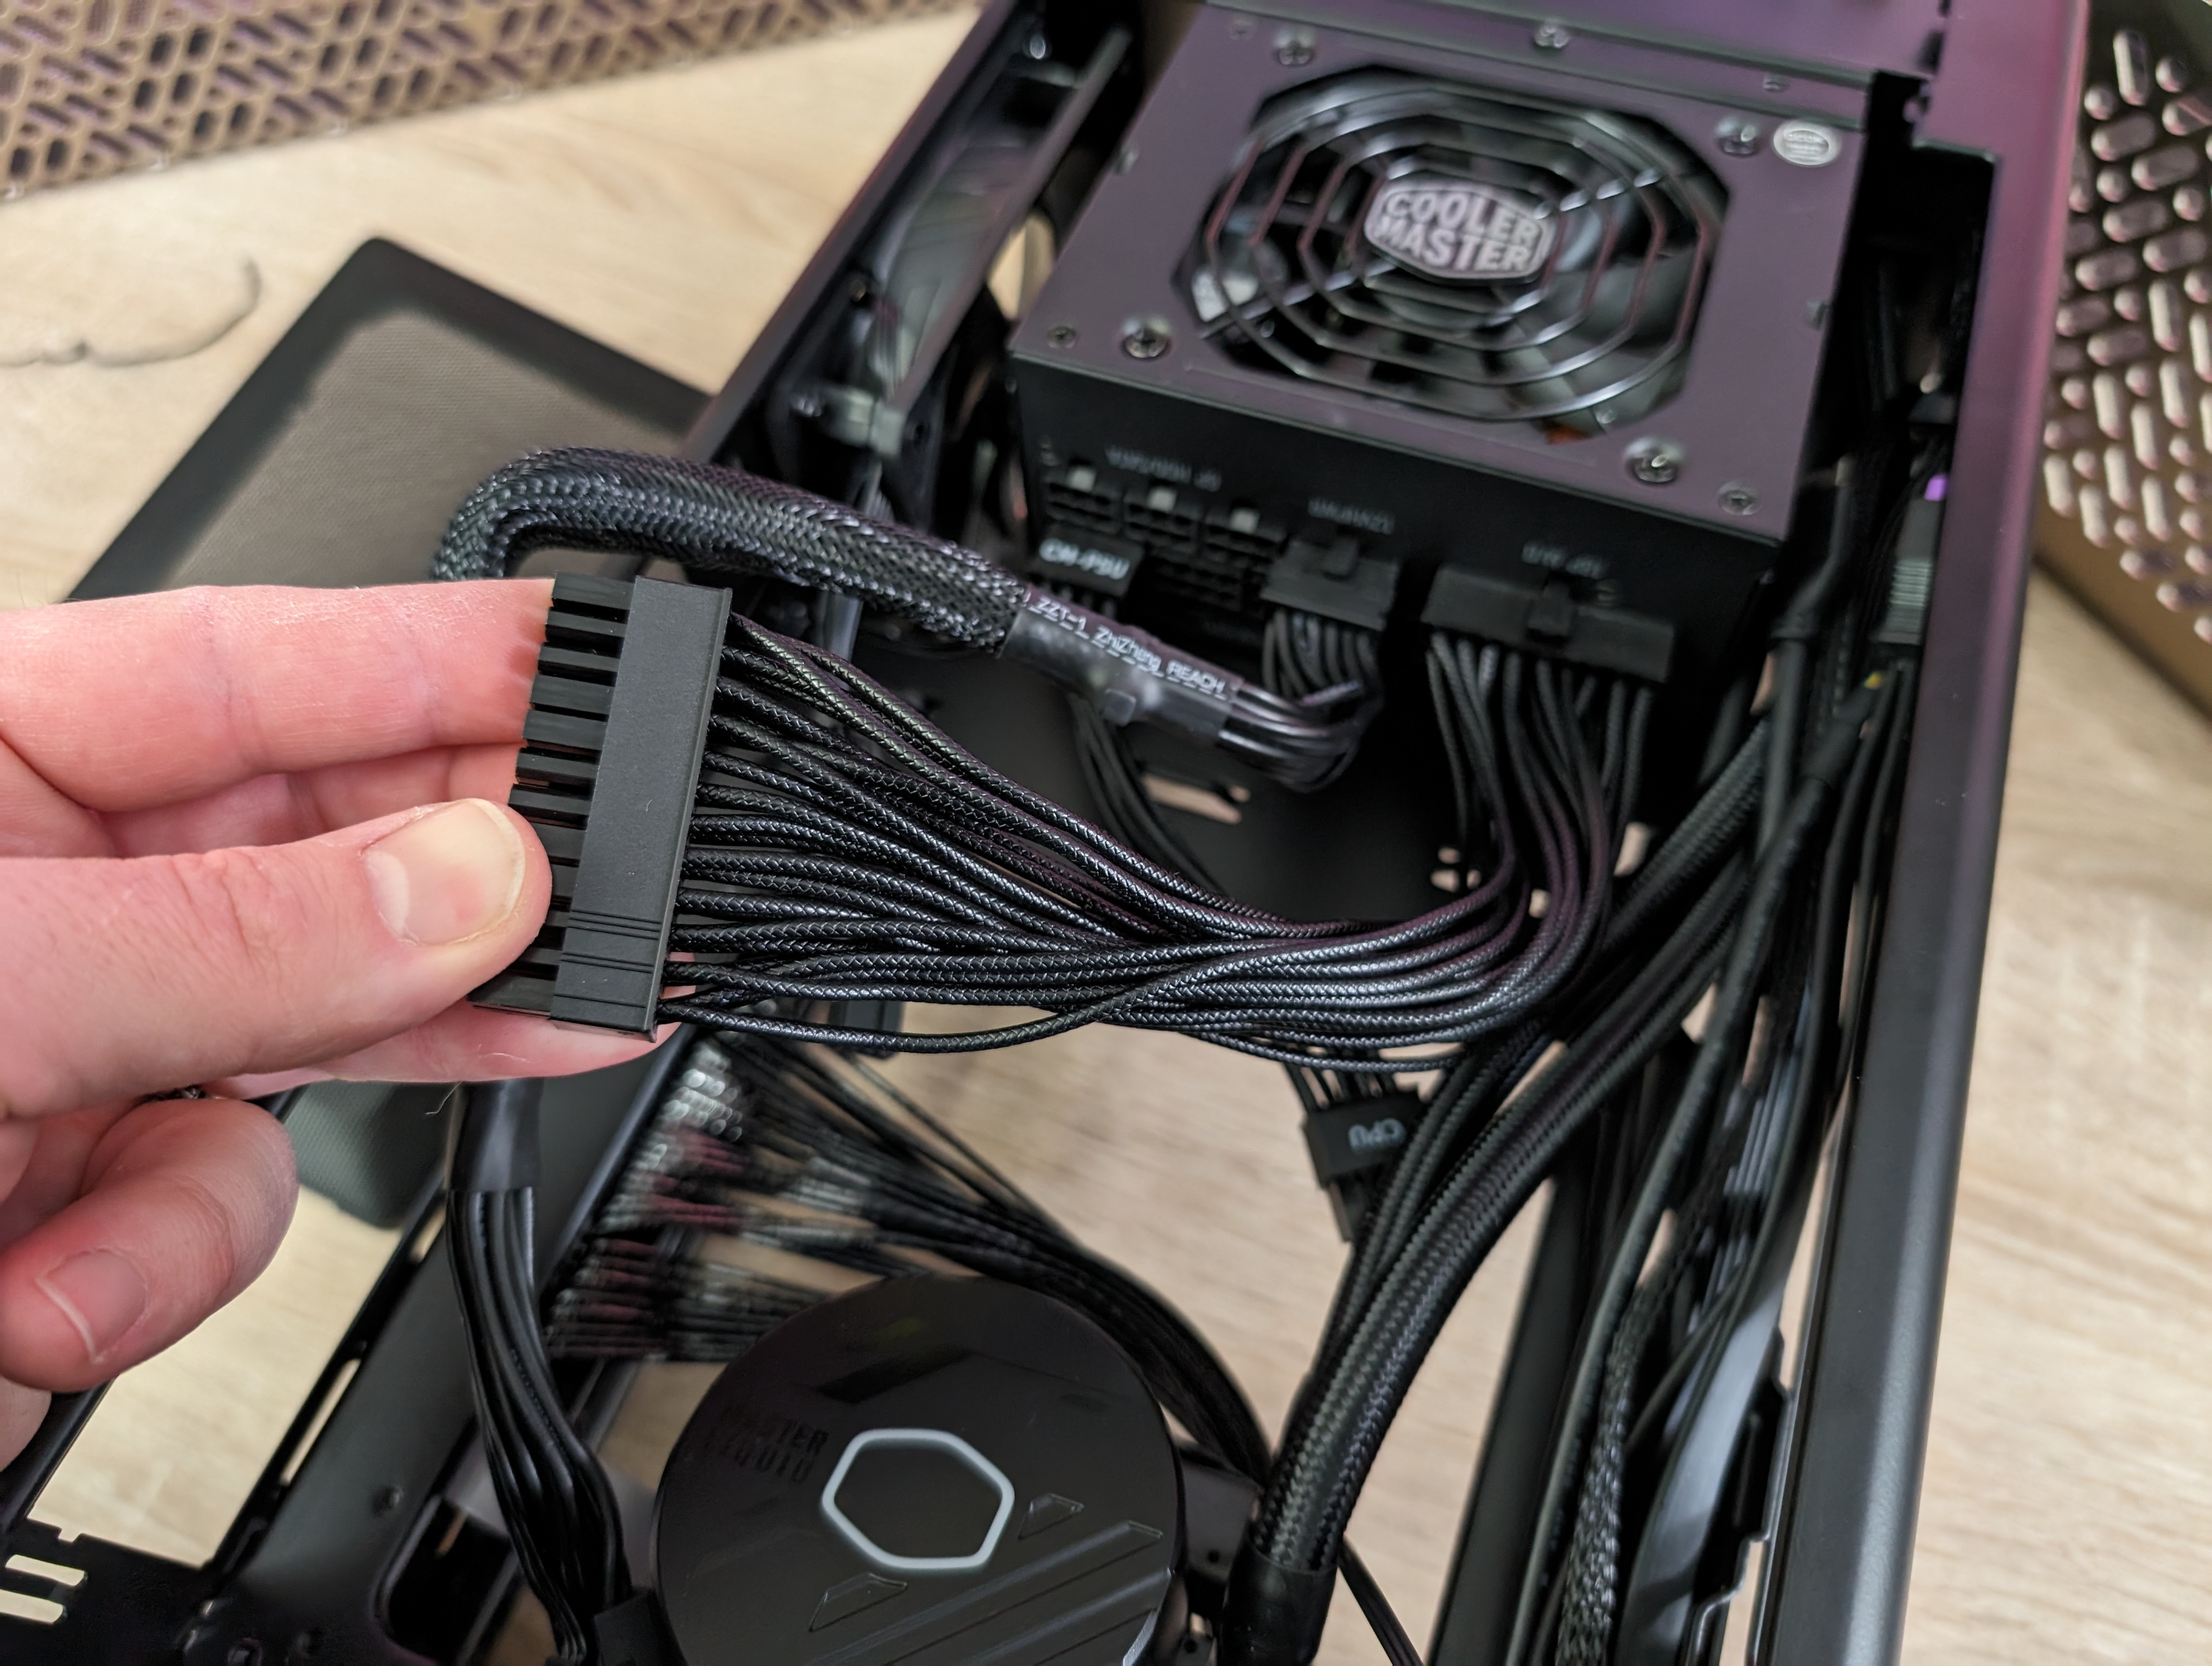
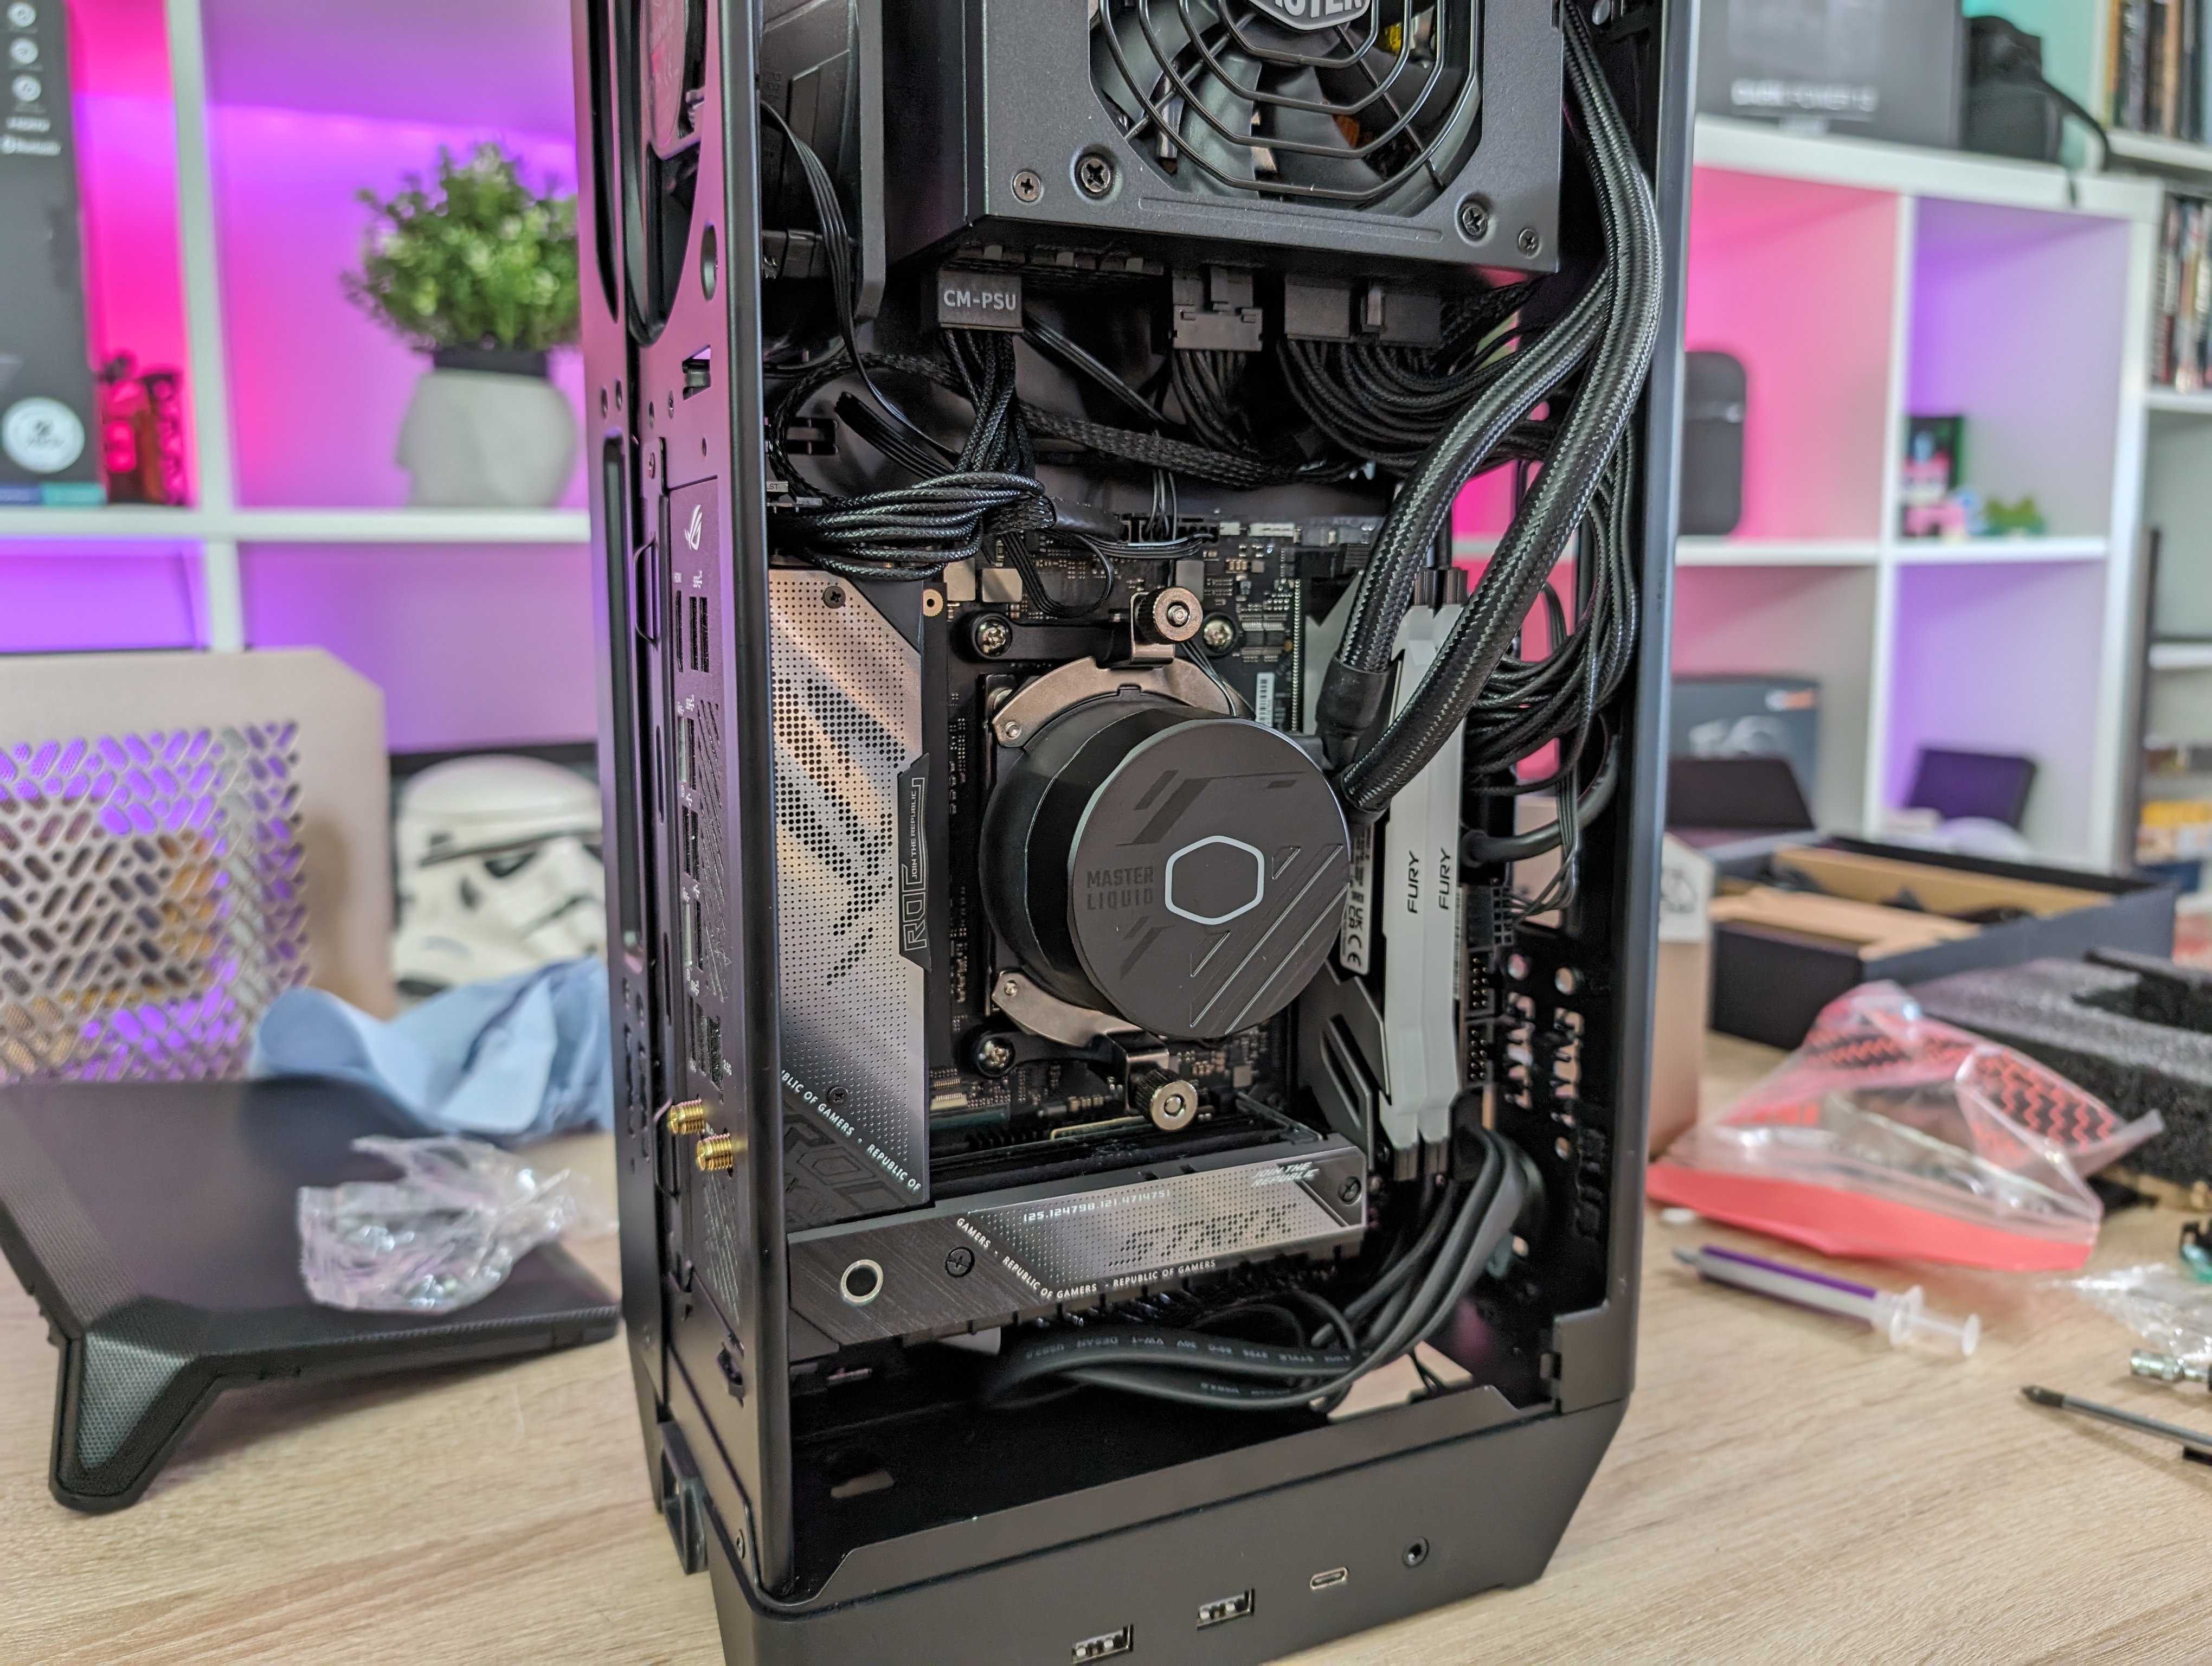
When you receive the case, the motherboard side is packed well with foam to hold the cooler in place. Both the AIO cooler and the included 850W modular power supply are installed in the case when you receive it.
The very small form factor means of course that there is quite limited space to do well with. Precisely for this reason, it can be a good solution with pre-installed parts, such as power supply and AIO.
Both parts here are specially adapted to the small form factor, with shorter hoses for the AIO cooler and adapted cables for the power supply.
To ease the task of installation and cables, Cooler Master has made a panel in the case that is easy to remove. It gives more space to work with the installation and when things are in place, it can be easily put back in. Here, too, it can all be done without the need for tools and the panel is great for keeping track of cables etc. when it is in place.
The fan on the 120 mm radiator is supplemented by a single 120 mm SickleFlow PWM fan that draws air out of the case.
There is room for a single 2.5” SSD, which can be mounted at the bottom of the cabinet on the motherboard side. There is naturally no room for any 3.5" hard drives anywhere in the compact case.
Your graphics card is mounted with the connectors positioned towards the bottom of the case. The feet of the NCORE 100 MAX provide space for you to lead your HDMI or DisplayPort connector out of there. However, this can cause problems if you have a large or very stiff cable.
Installation of hardware
I have of course tested the cabinet to get an idea of what it is like to build in and, not least, how much hardware you can actually squeeze into it.
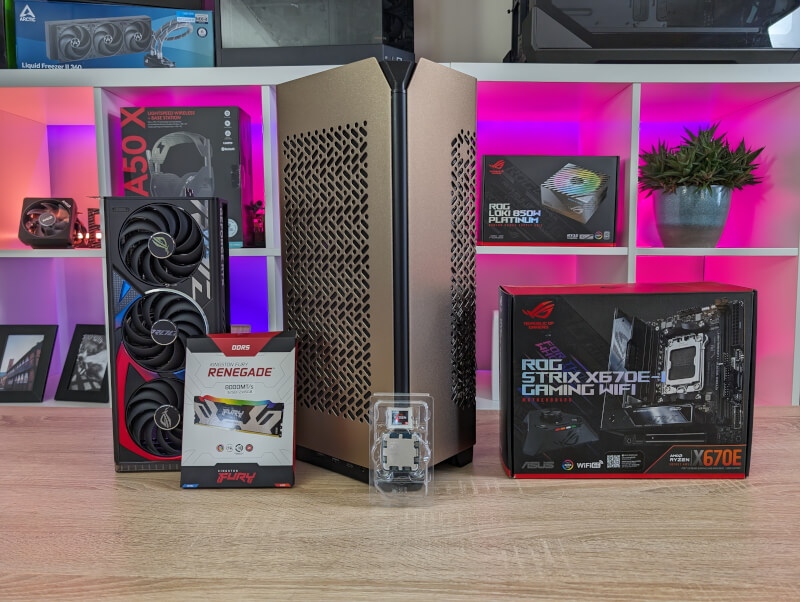
I did a test with an AMD based system consisting of the following hardware:
The hardware was chosen because I wanted to test how high-end hardware performs in the small form factor.
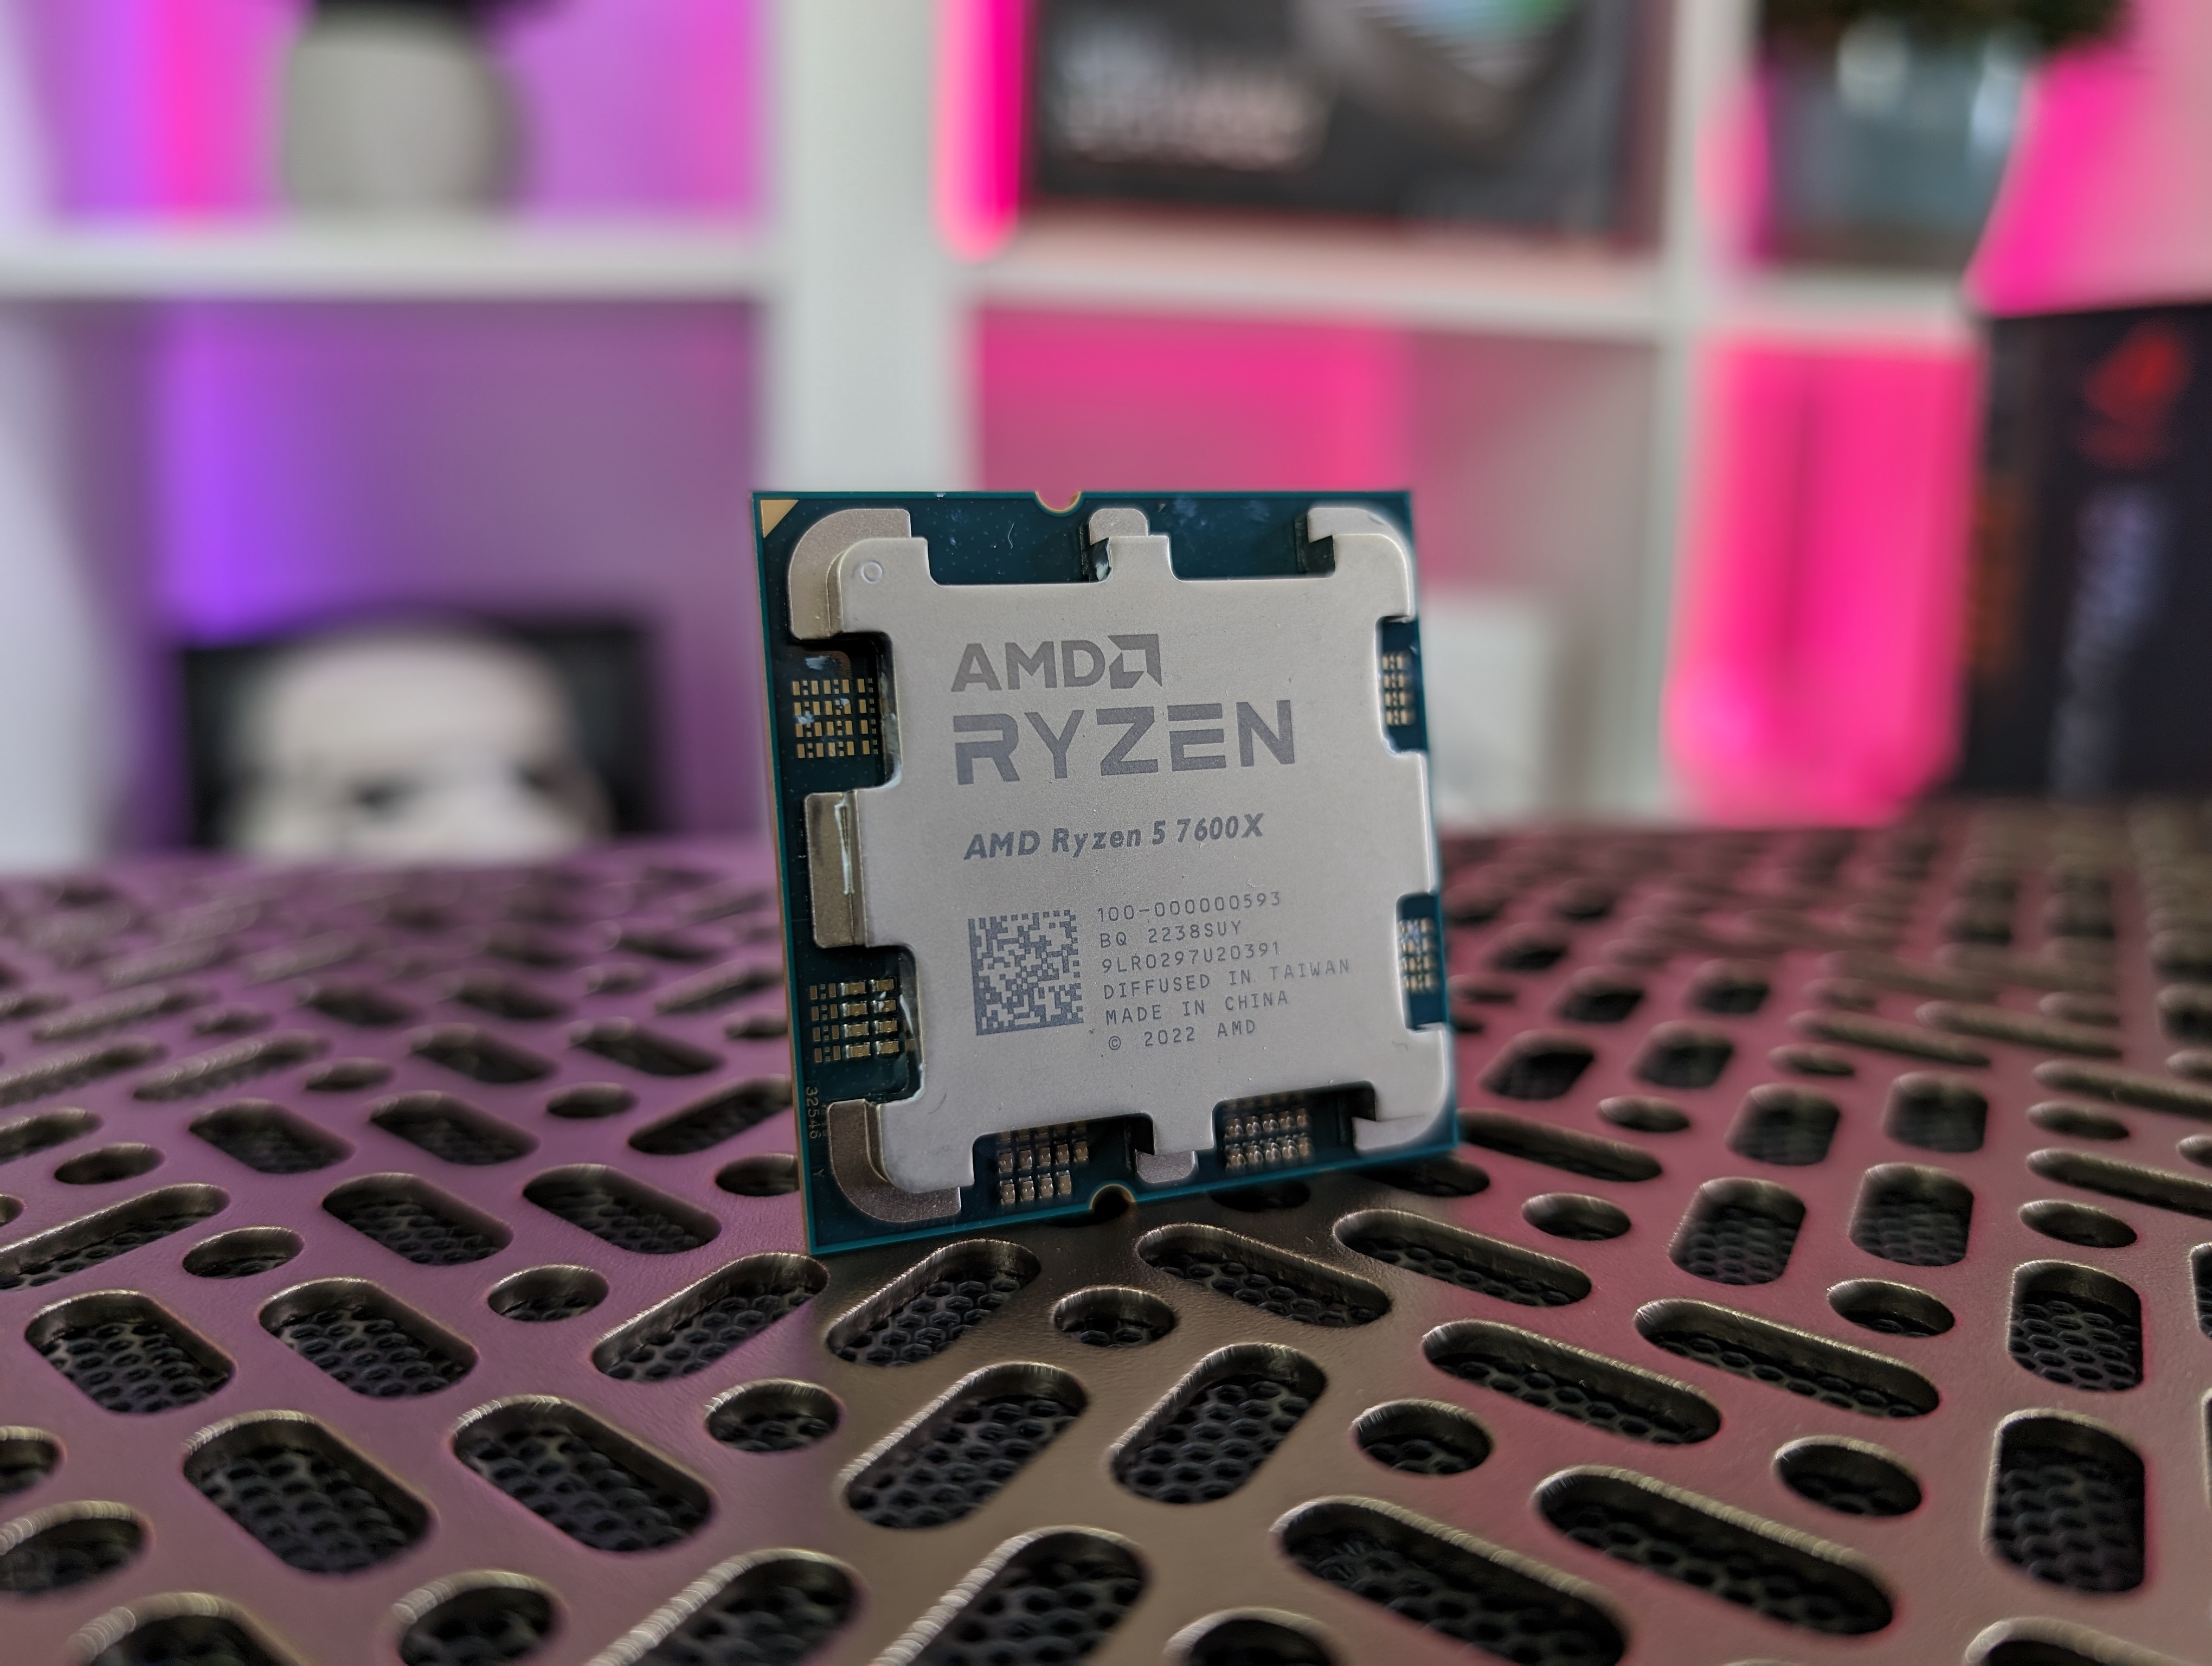
CPU: The new AM5 CPUs from AMD are by default designed to utilize their thermal potential, which means they can get quite hot under load, in order to boost as much as possible. This can cause challenges in a system where you are limited to a 120mm AIO solution.
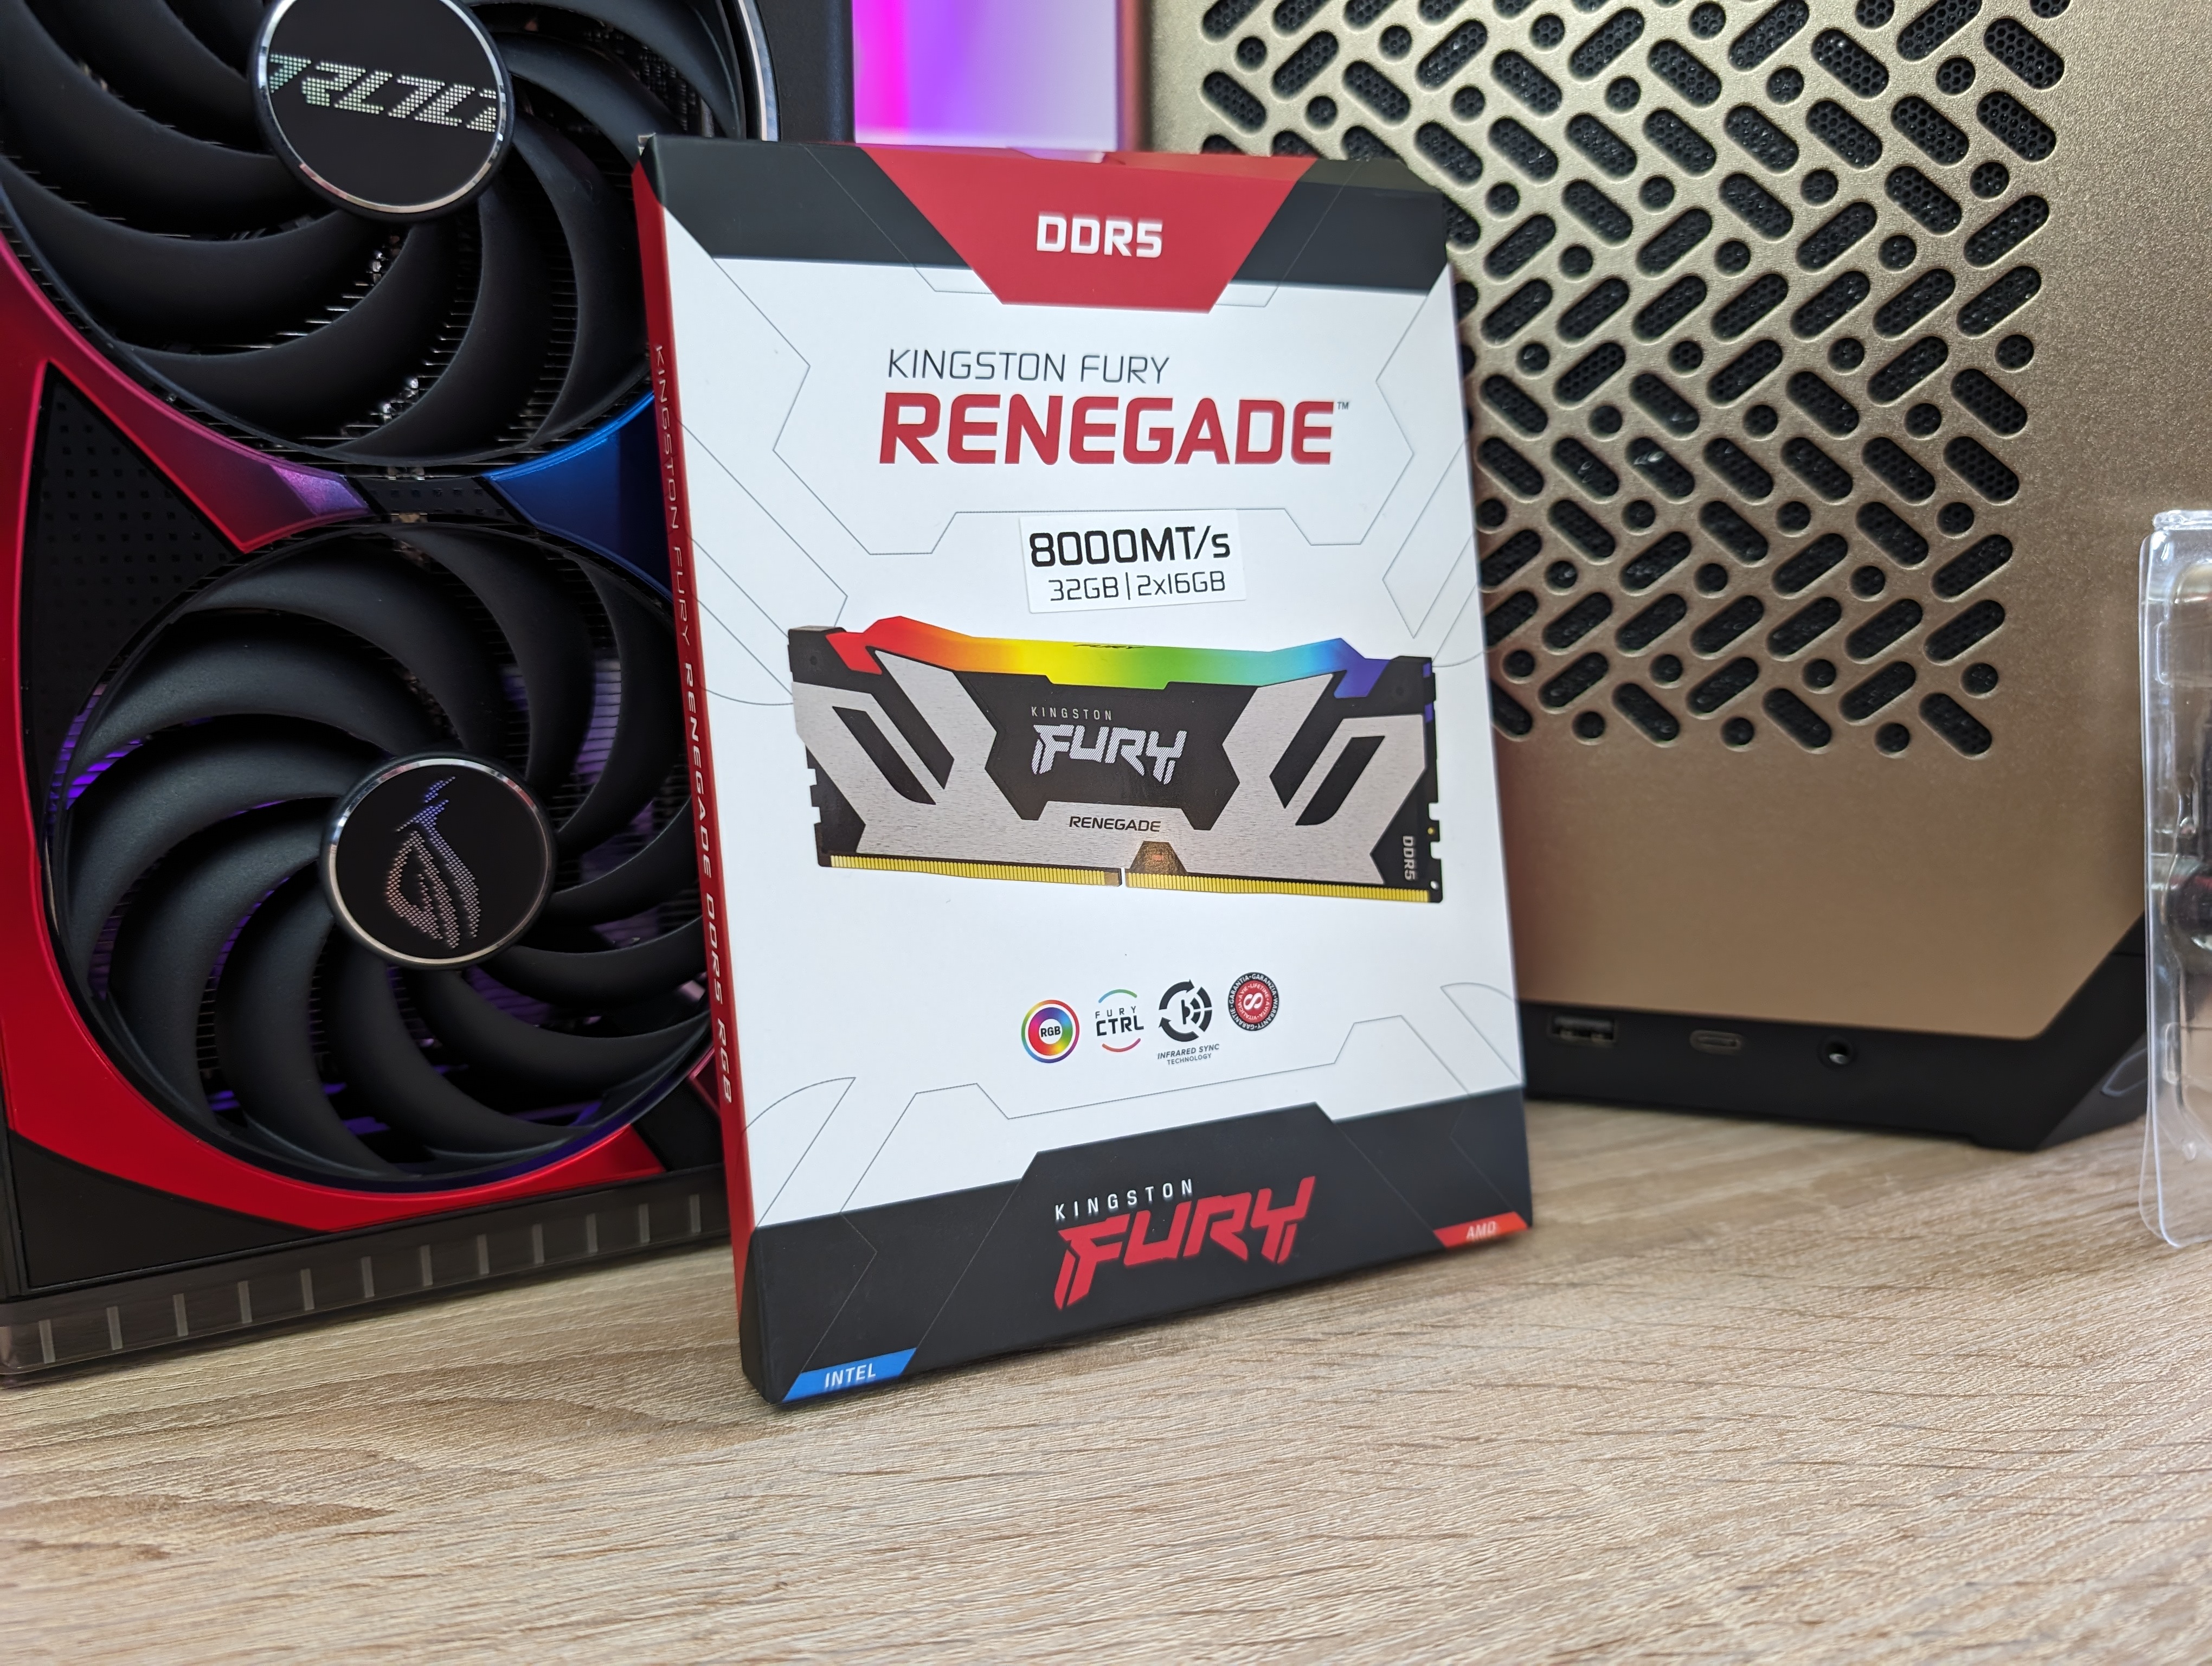
RAM: Choice of RAM is still an important detail with AMD systems, as the speed of your RAM can help lift the performance of the entire system. The Kingston FURY Renegade set here comes with 32 GB divided between two sticks, which is perfect in a mITX system where you are limited to only two RAM slots. At the same time, it is an 8000 MT/s kit, which should provide good conditions for optimal performance with the AMD Ryzen AM5 platform.
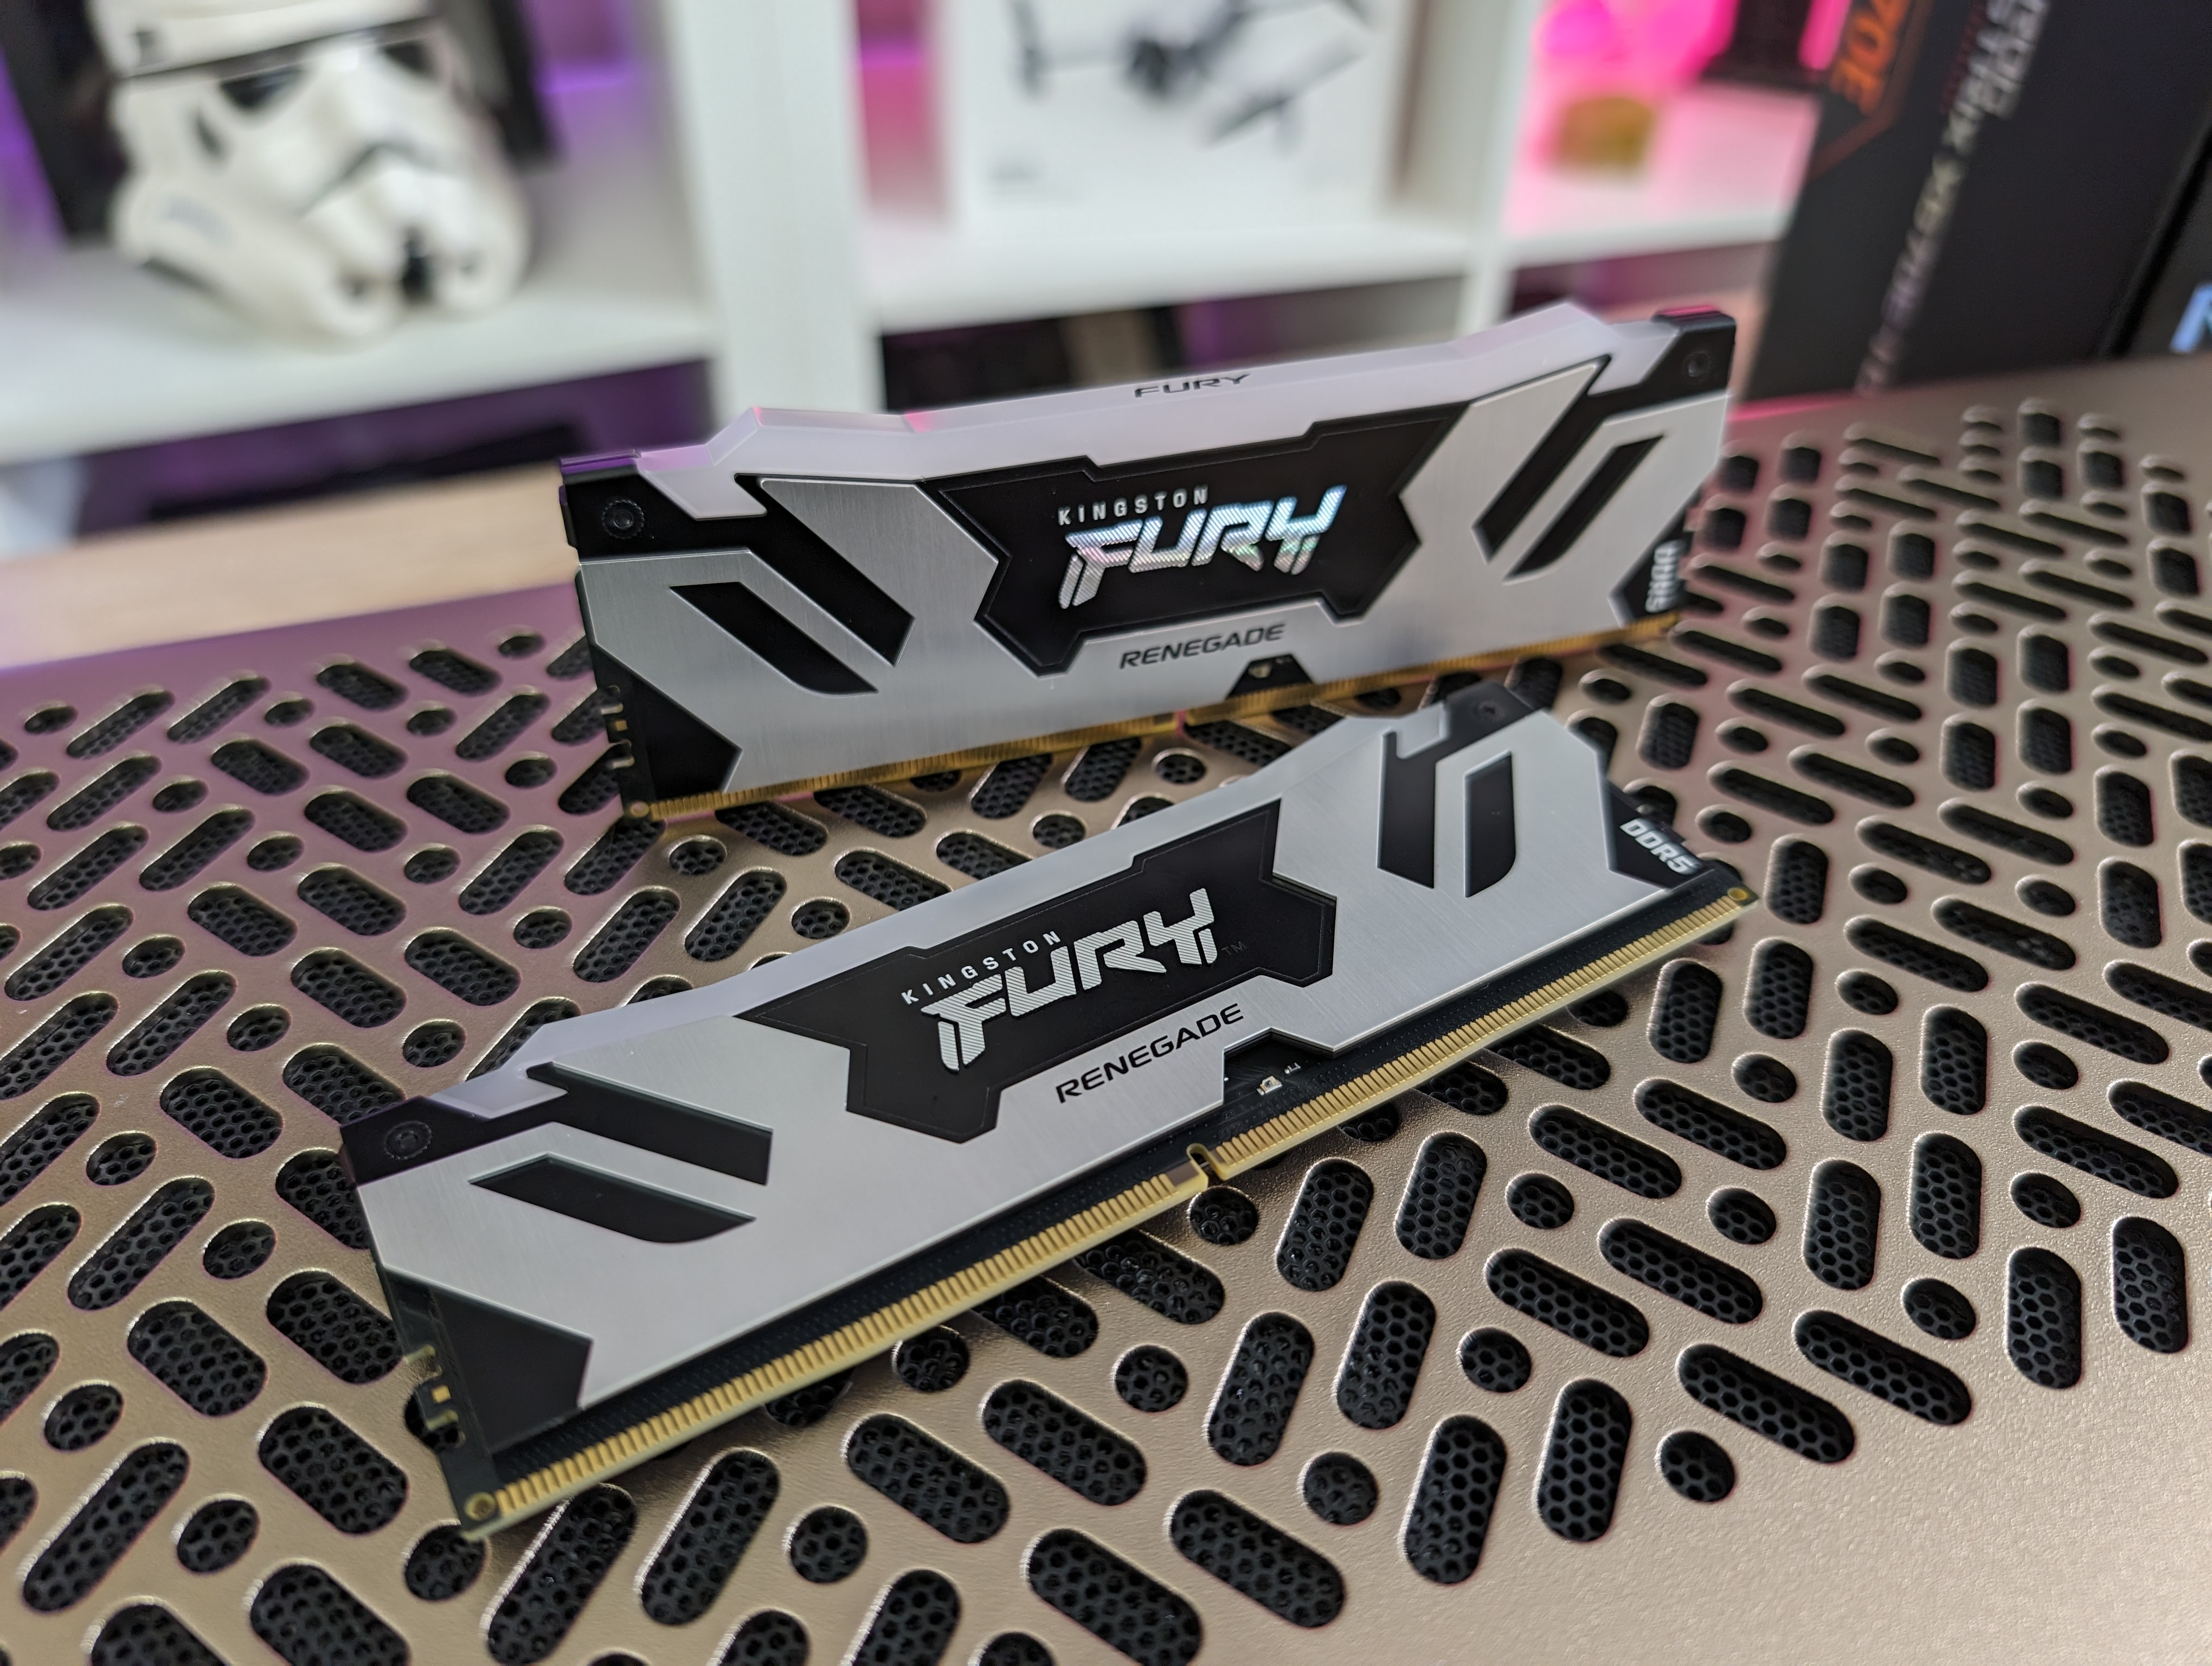
As a nice bonus, it is equipped with RGB lighting, which works together with ASUS' Aura software, so it should be a simple matter to adapt the RGB lighting.
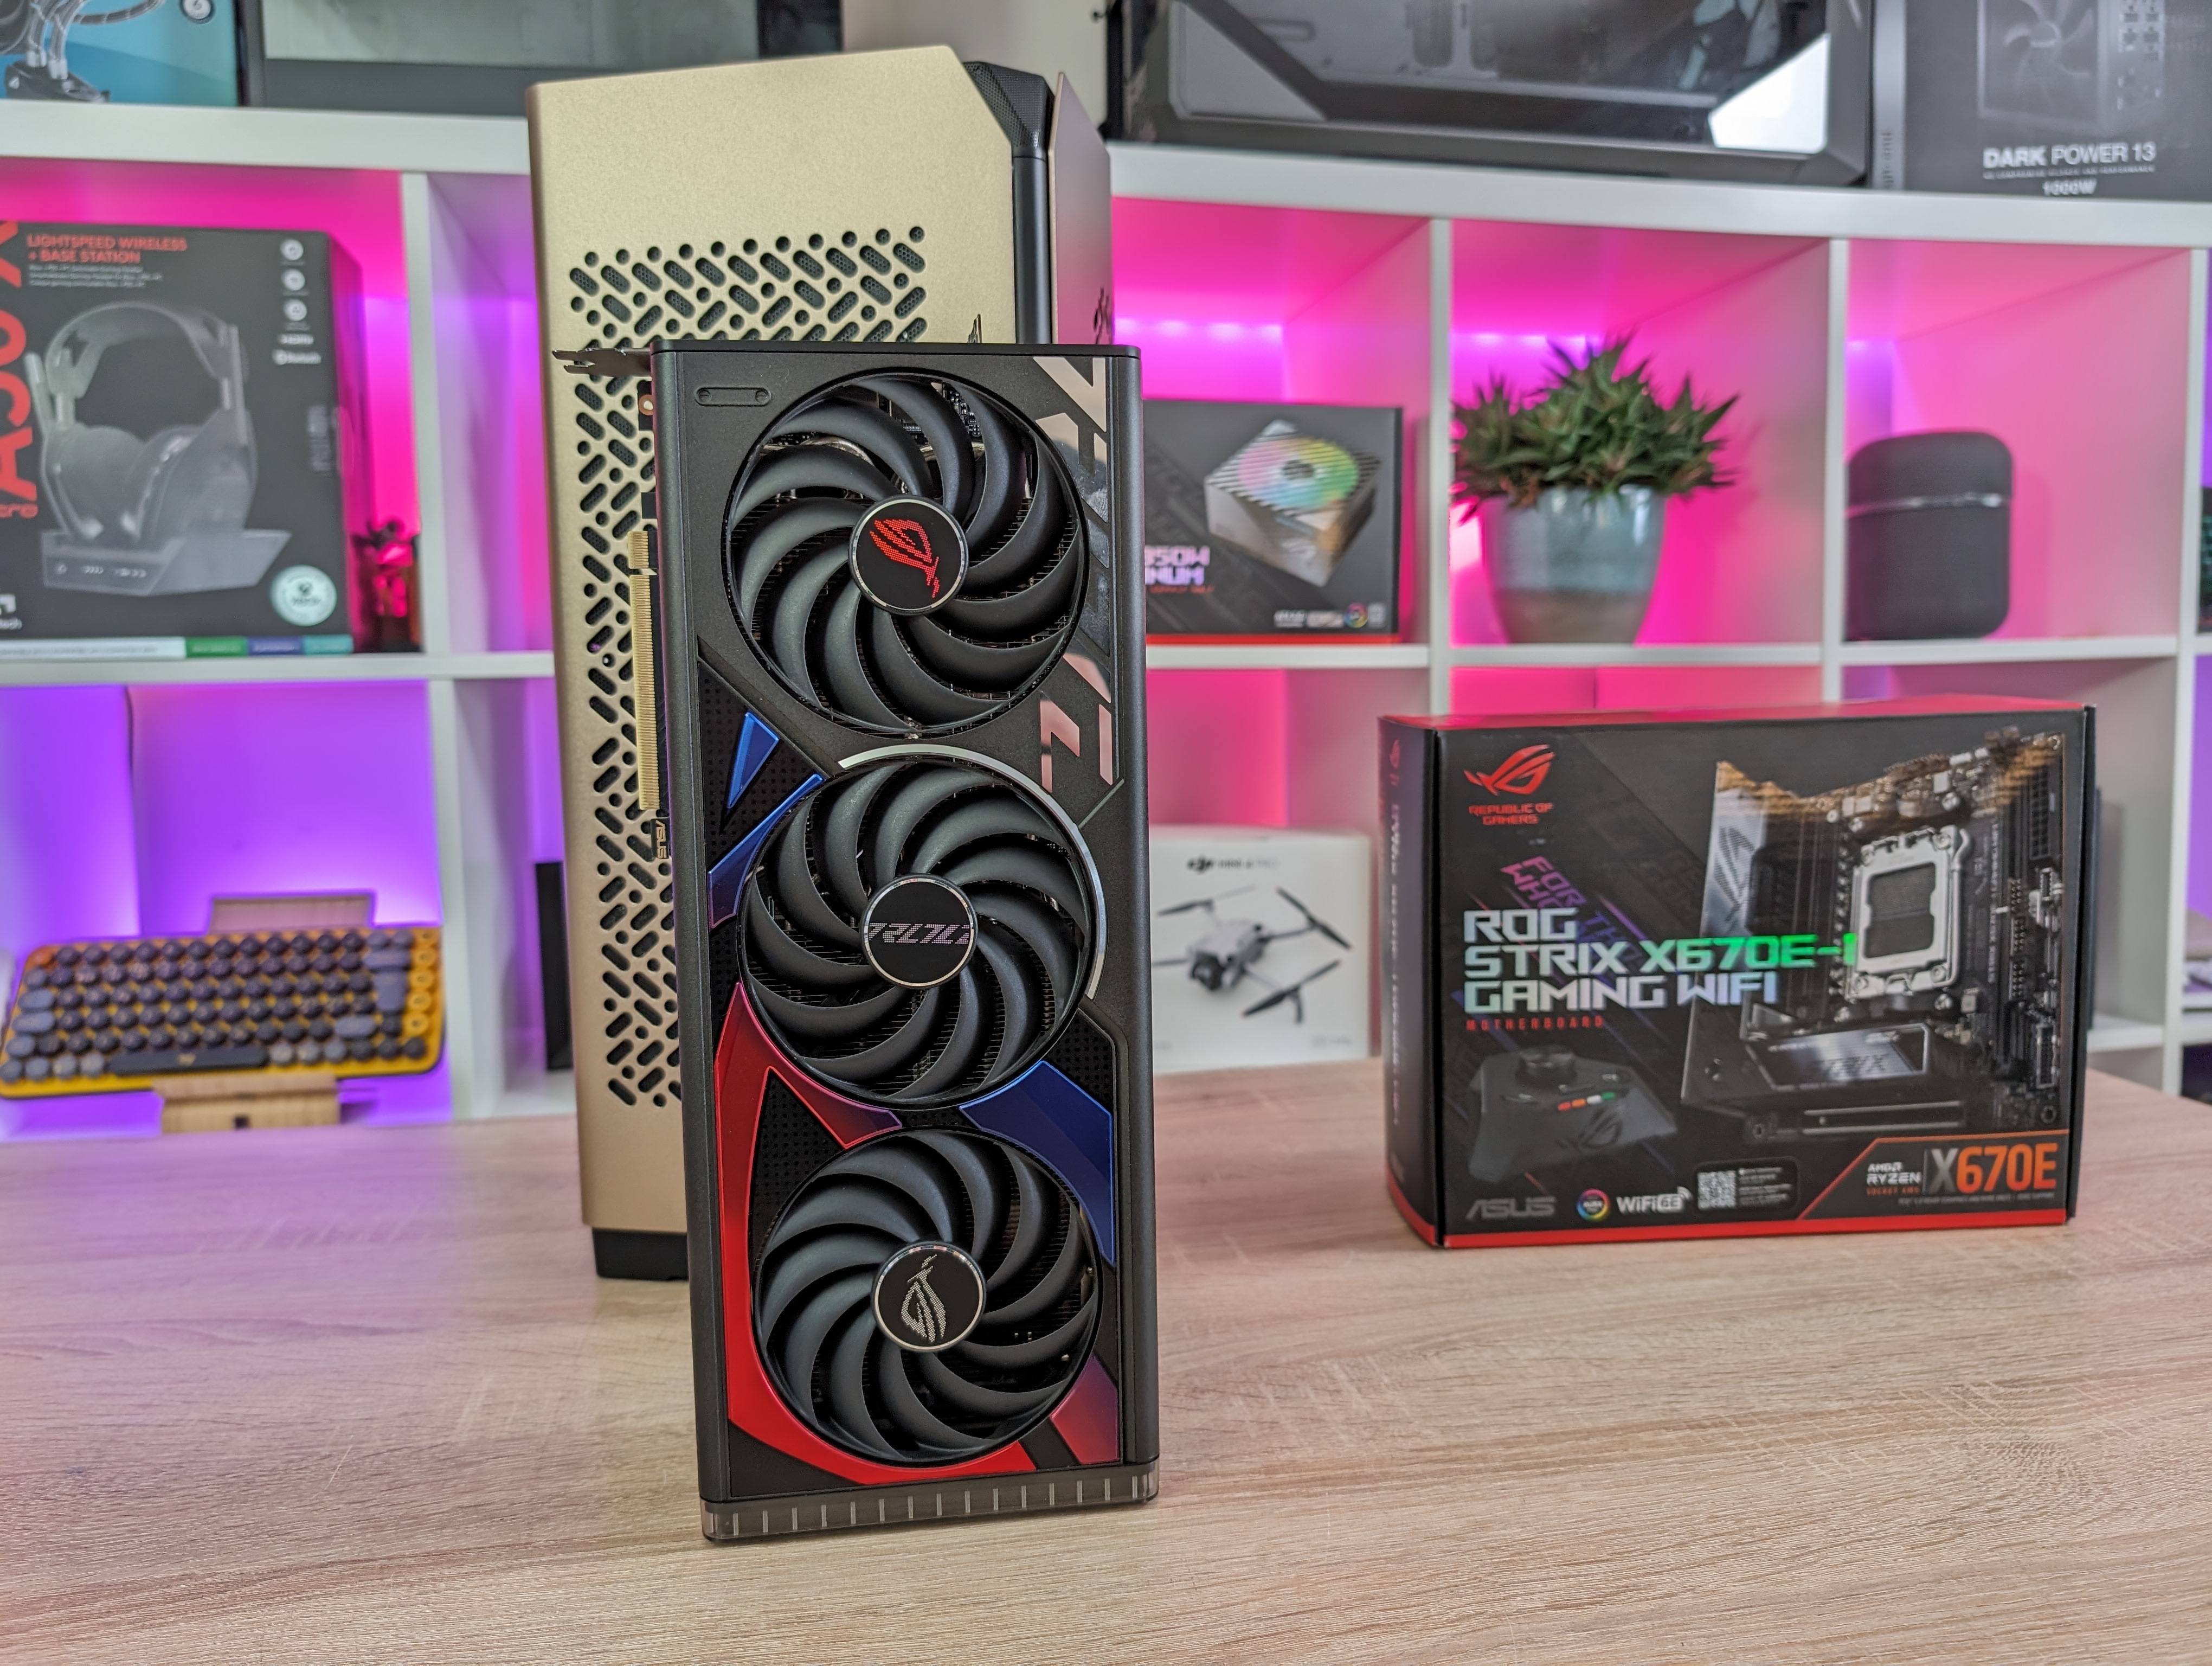
Graphics card: In this case, the graphics card was chosen simply because it was the largest card that I had on the shelf at the moment. So it was mostly like a test of how big cards can be squeezed into the NCORE 100 MAX.
It certainly doesn't hurt that it also plays well with the ASUS ROG motherboard, which is also part of the system.
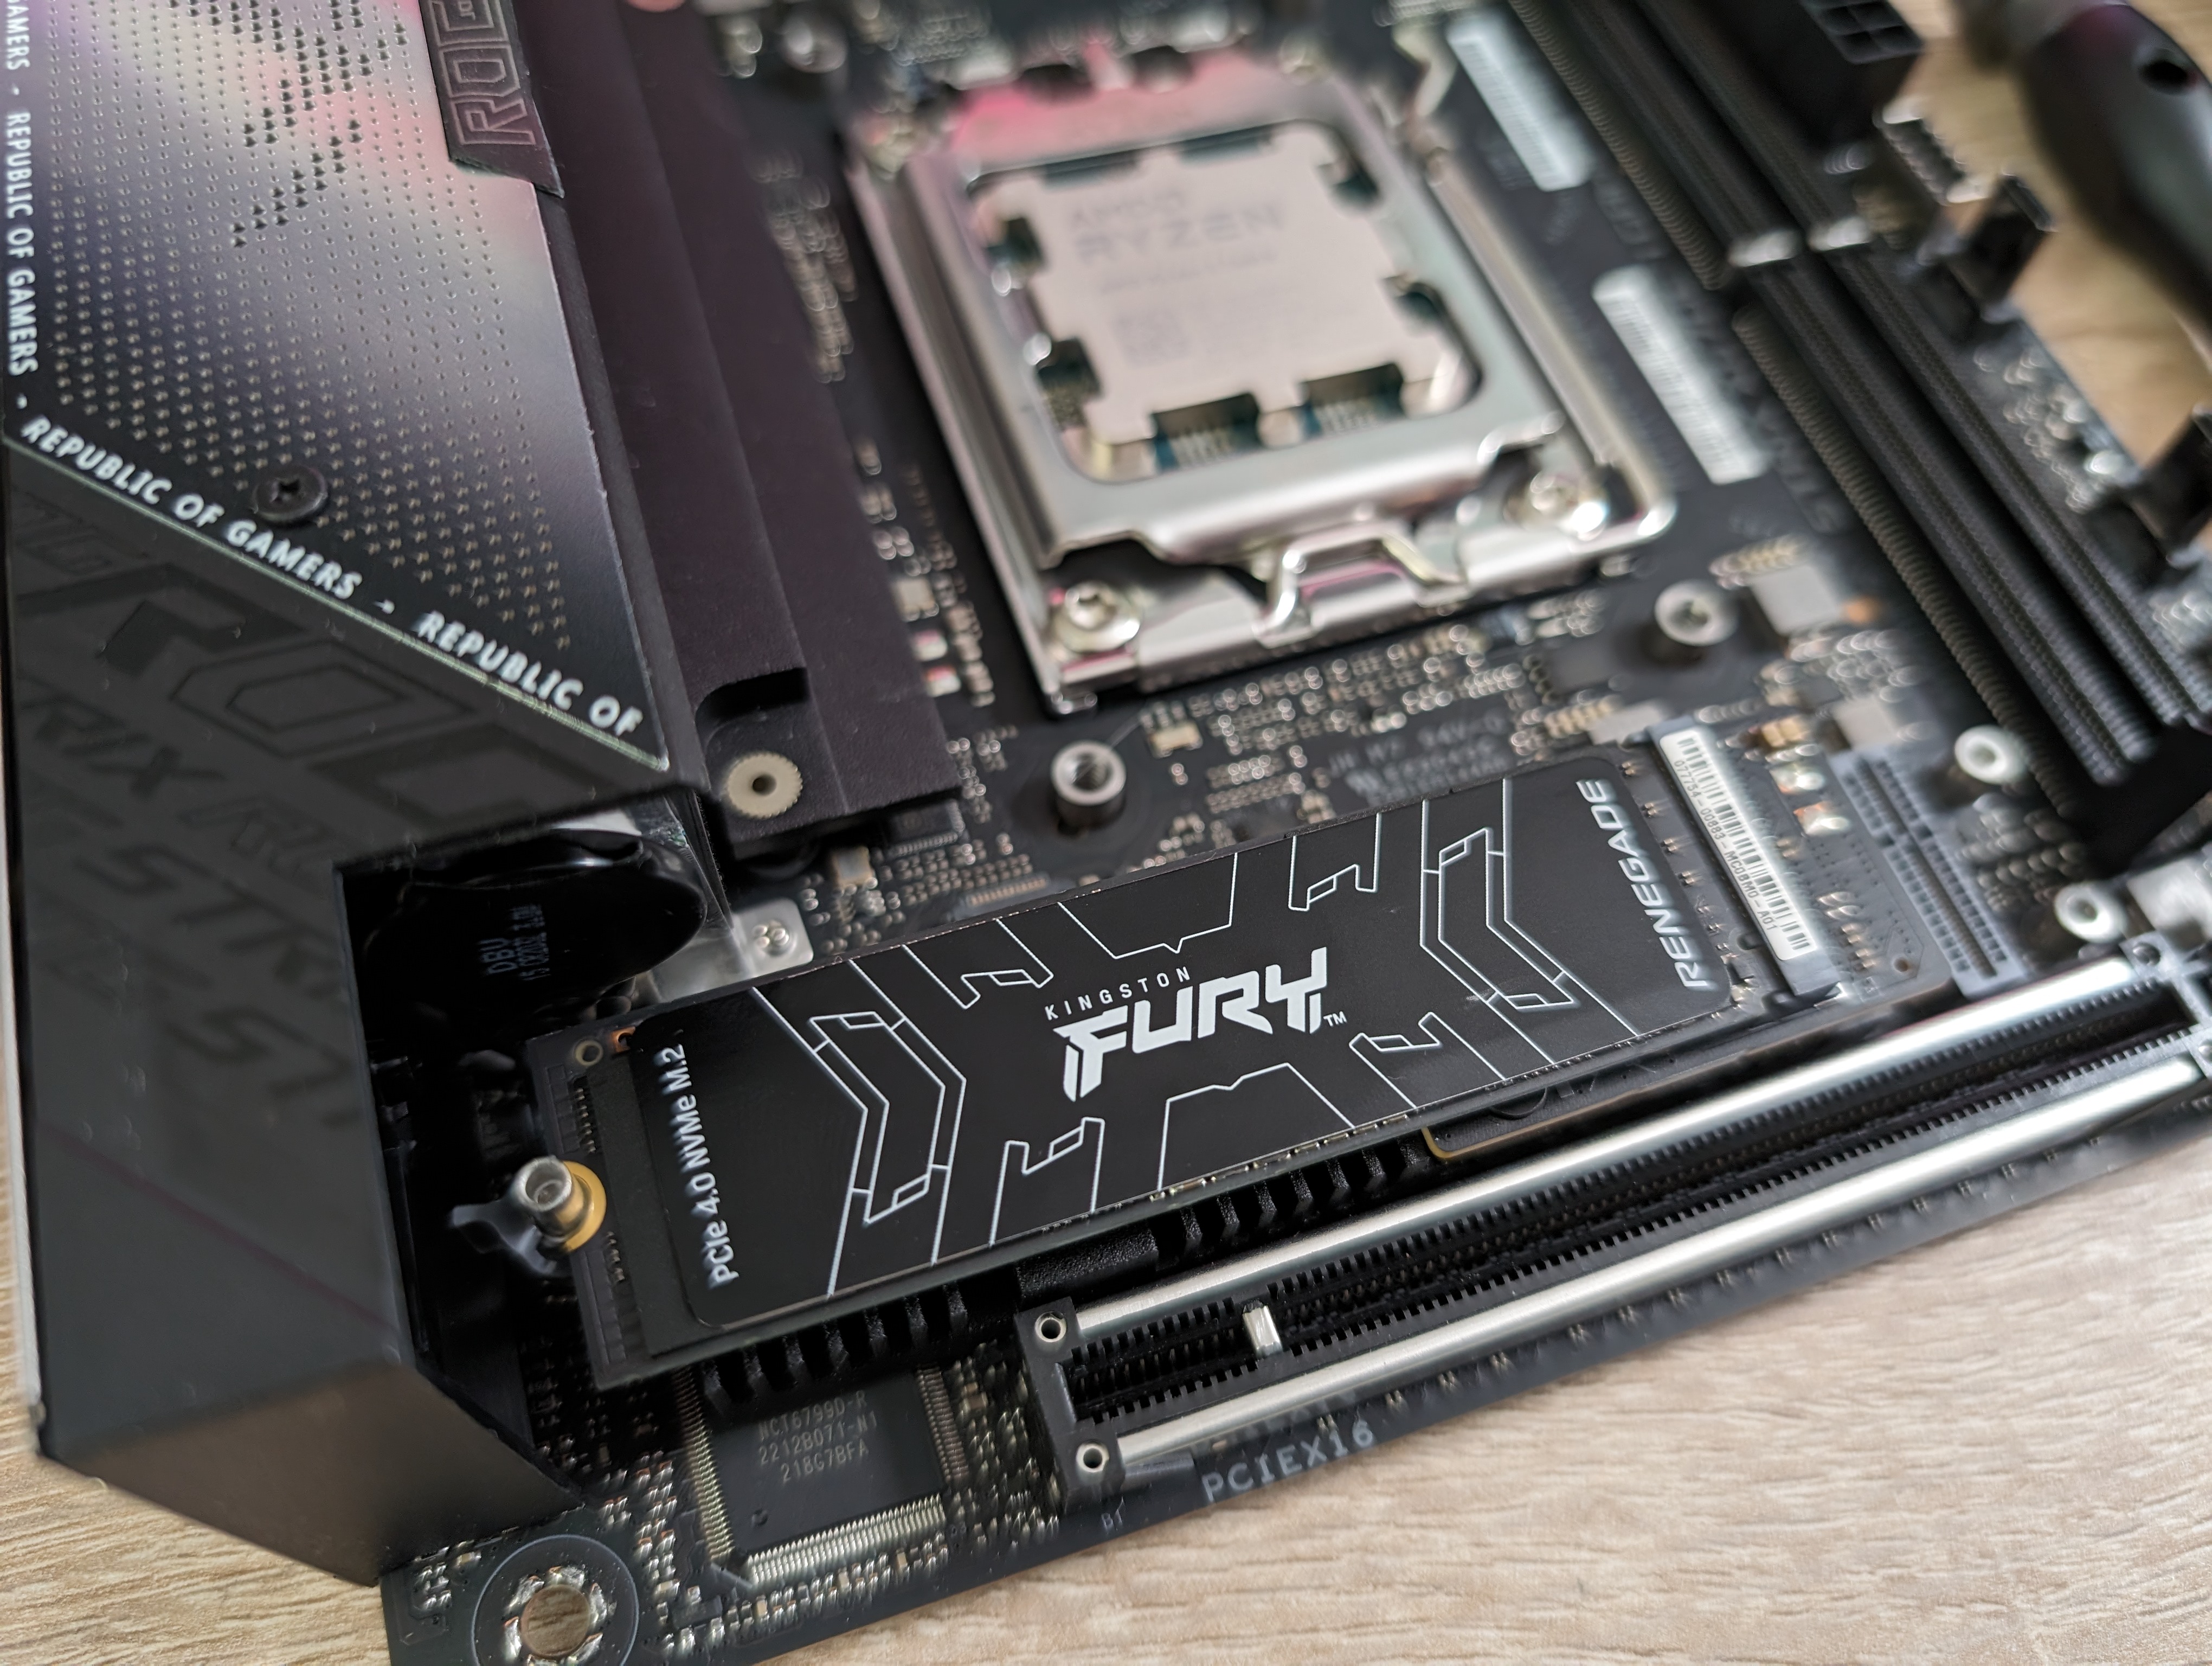
The work of getting the motherboard in place was super straight forward. I had the CPU, M.2 SSD and RAM mounted before moving it all to the case.
Because the cables for the motherboard are adapted in length, it was a quick matter to get them in place, and there was not a lot of extra cable to hide away afterwards. From here, in my case, it was just a matter of fitting the AMD parts for mounting onto the cooling head and mounting it.
The graphics card was a task that took a little longer. NCORE 100 MAX supports graphics cards with a length of up to 357mm and a thickness of 79mm. In the standard configuration, however, the cabinet is only set up for cards with a maximum length of 337 mm and a thickness of 62 mm.
In my case, it was the ASUS ROG RTX 4070Ti card that I used for the test, i.e. too far for that setting.
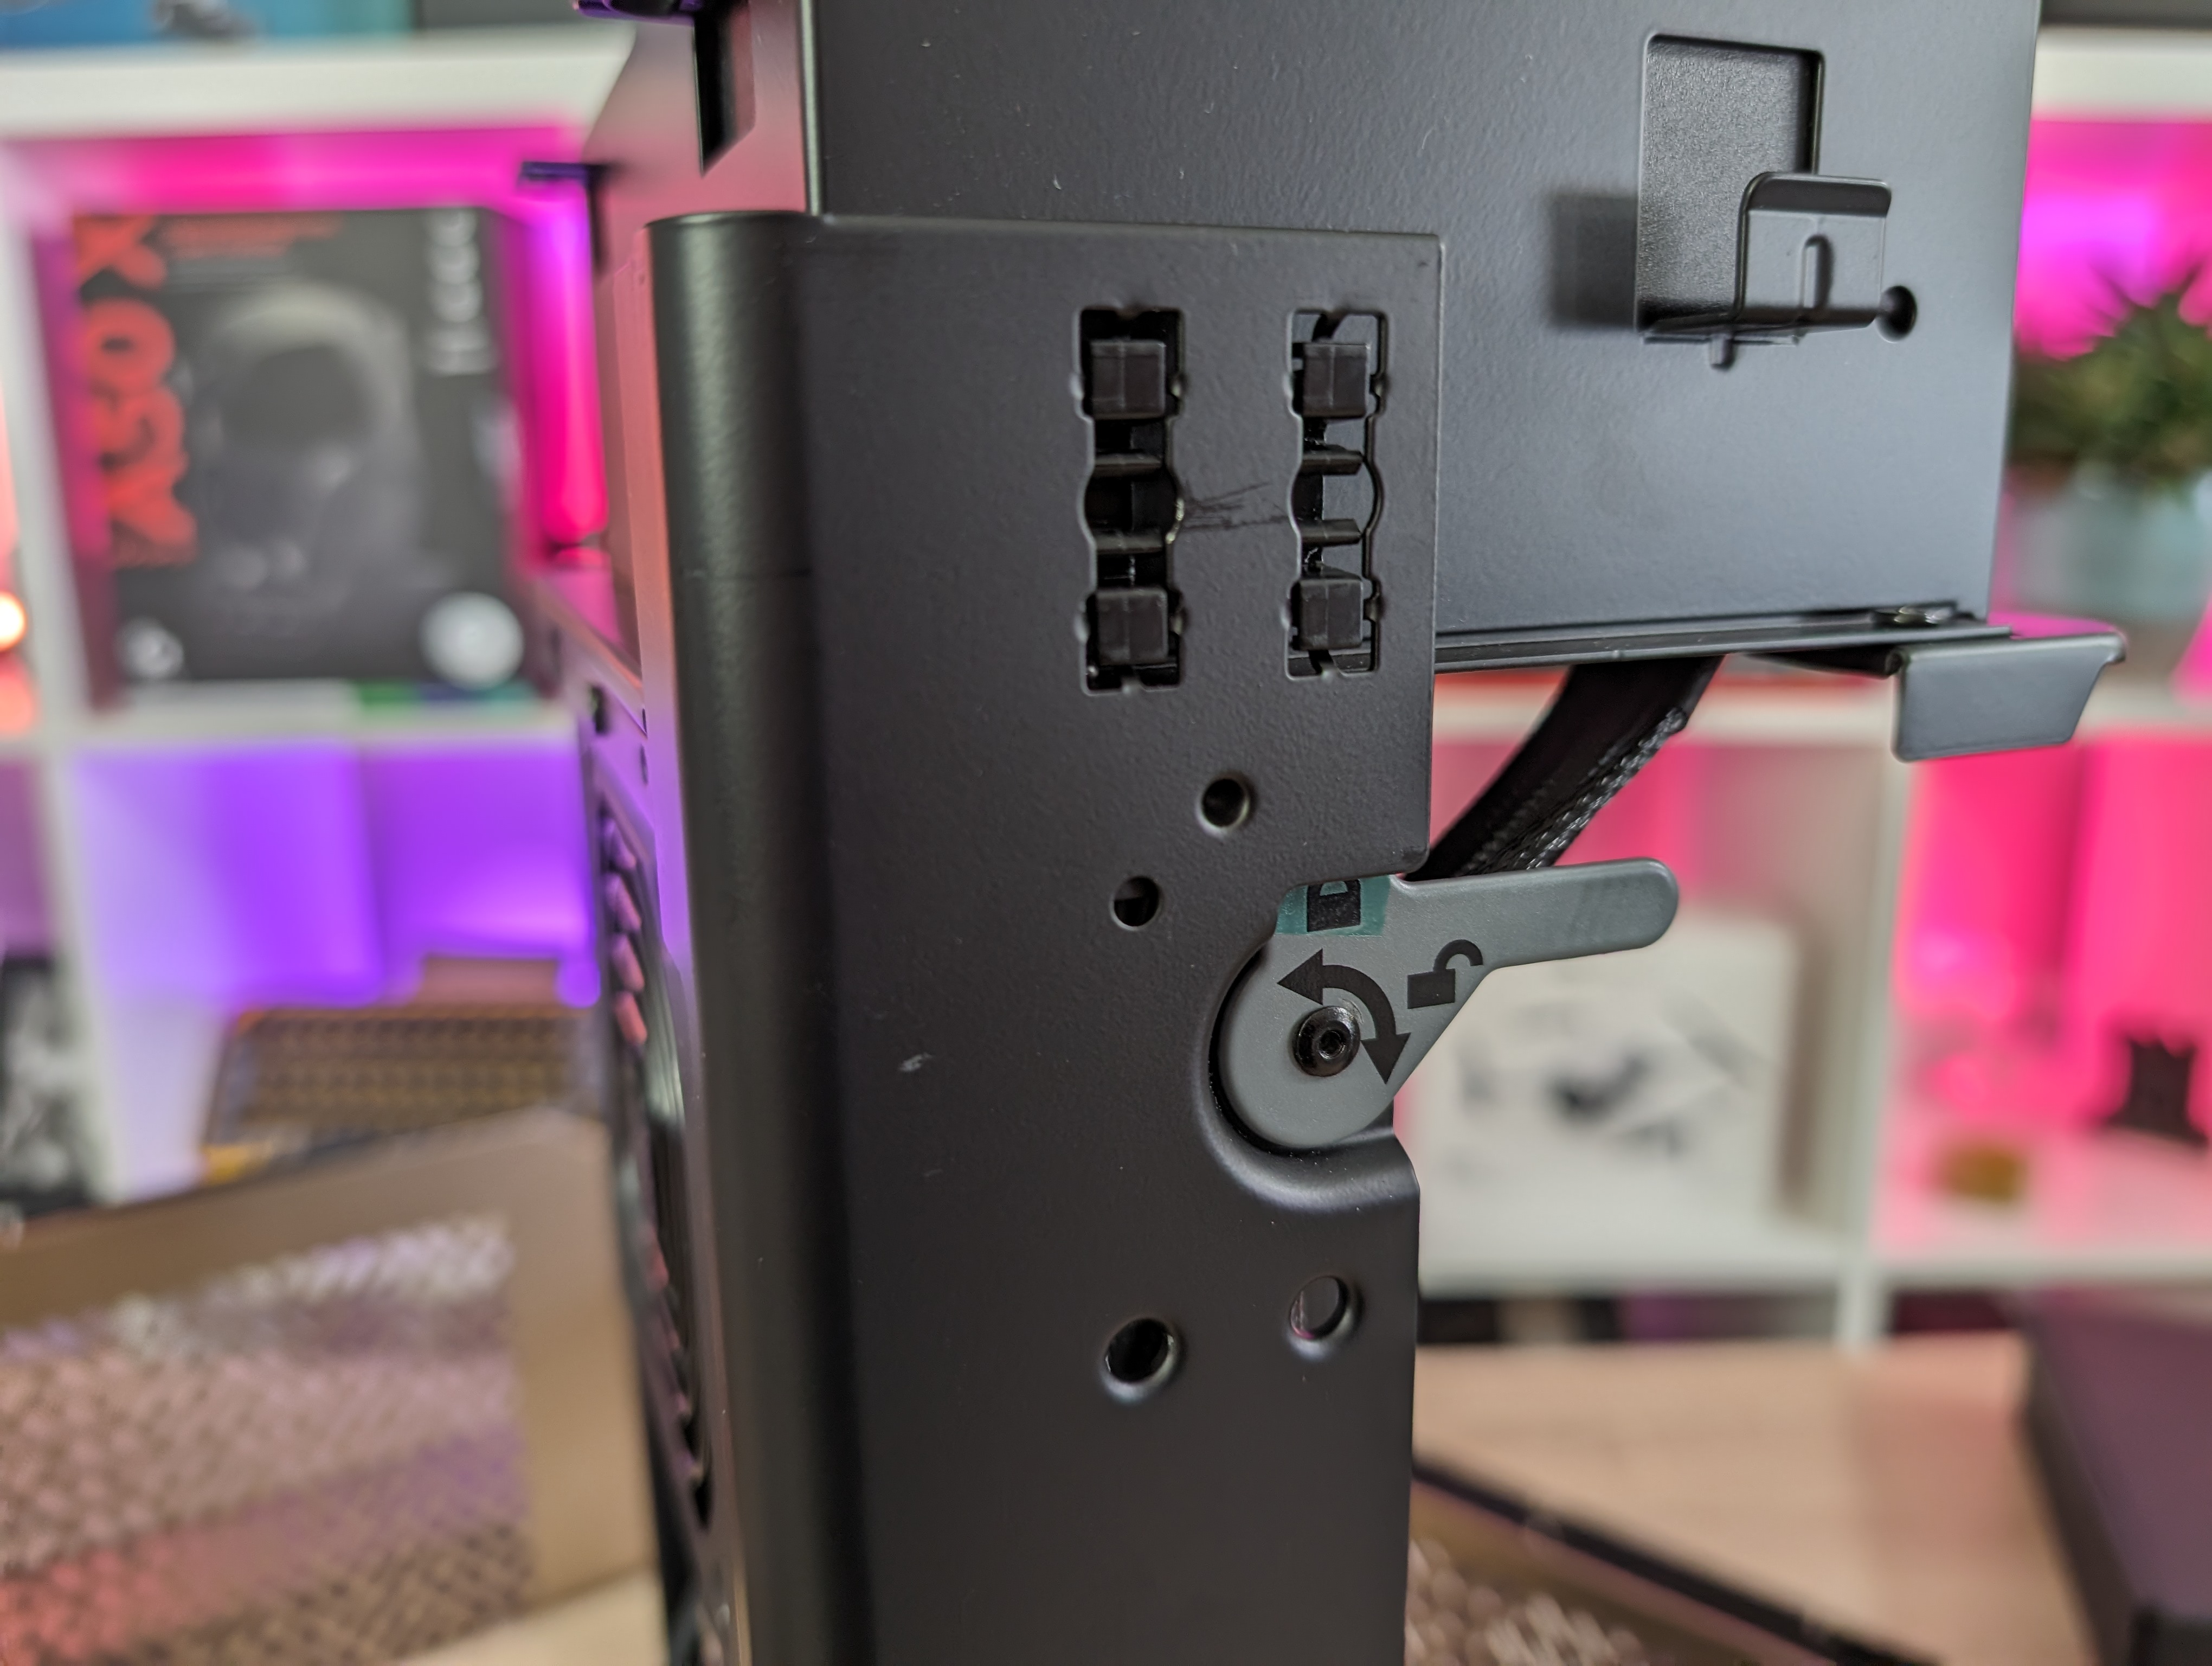
To get more space in length, you must adjust the mounting of the PCIe Riser cable and the mounting bracket for the graphics card. It can be moved further down towards the bottom of the cabinet to give 20mm more in length.
It took me about five minutes to adjust things and then getting the graphics card in was no problem.
If you have graphics cards that are thicker than 62 mm, you can also adjust the case so that you have room for up to 79 mm.
Here you have to move the cabinet's feet to another position and adjust the mounting of one side panel so that there is a little more space. This also means that you have to change the mesh top panel to avoid a gap between it and the side panel in the new position.
Cooler Master has made sure that you have an extra top panel in the box, along with everything else you need for the adjustments. The whole process is also described in the manual, so you can find help there if you need a good guide.
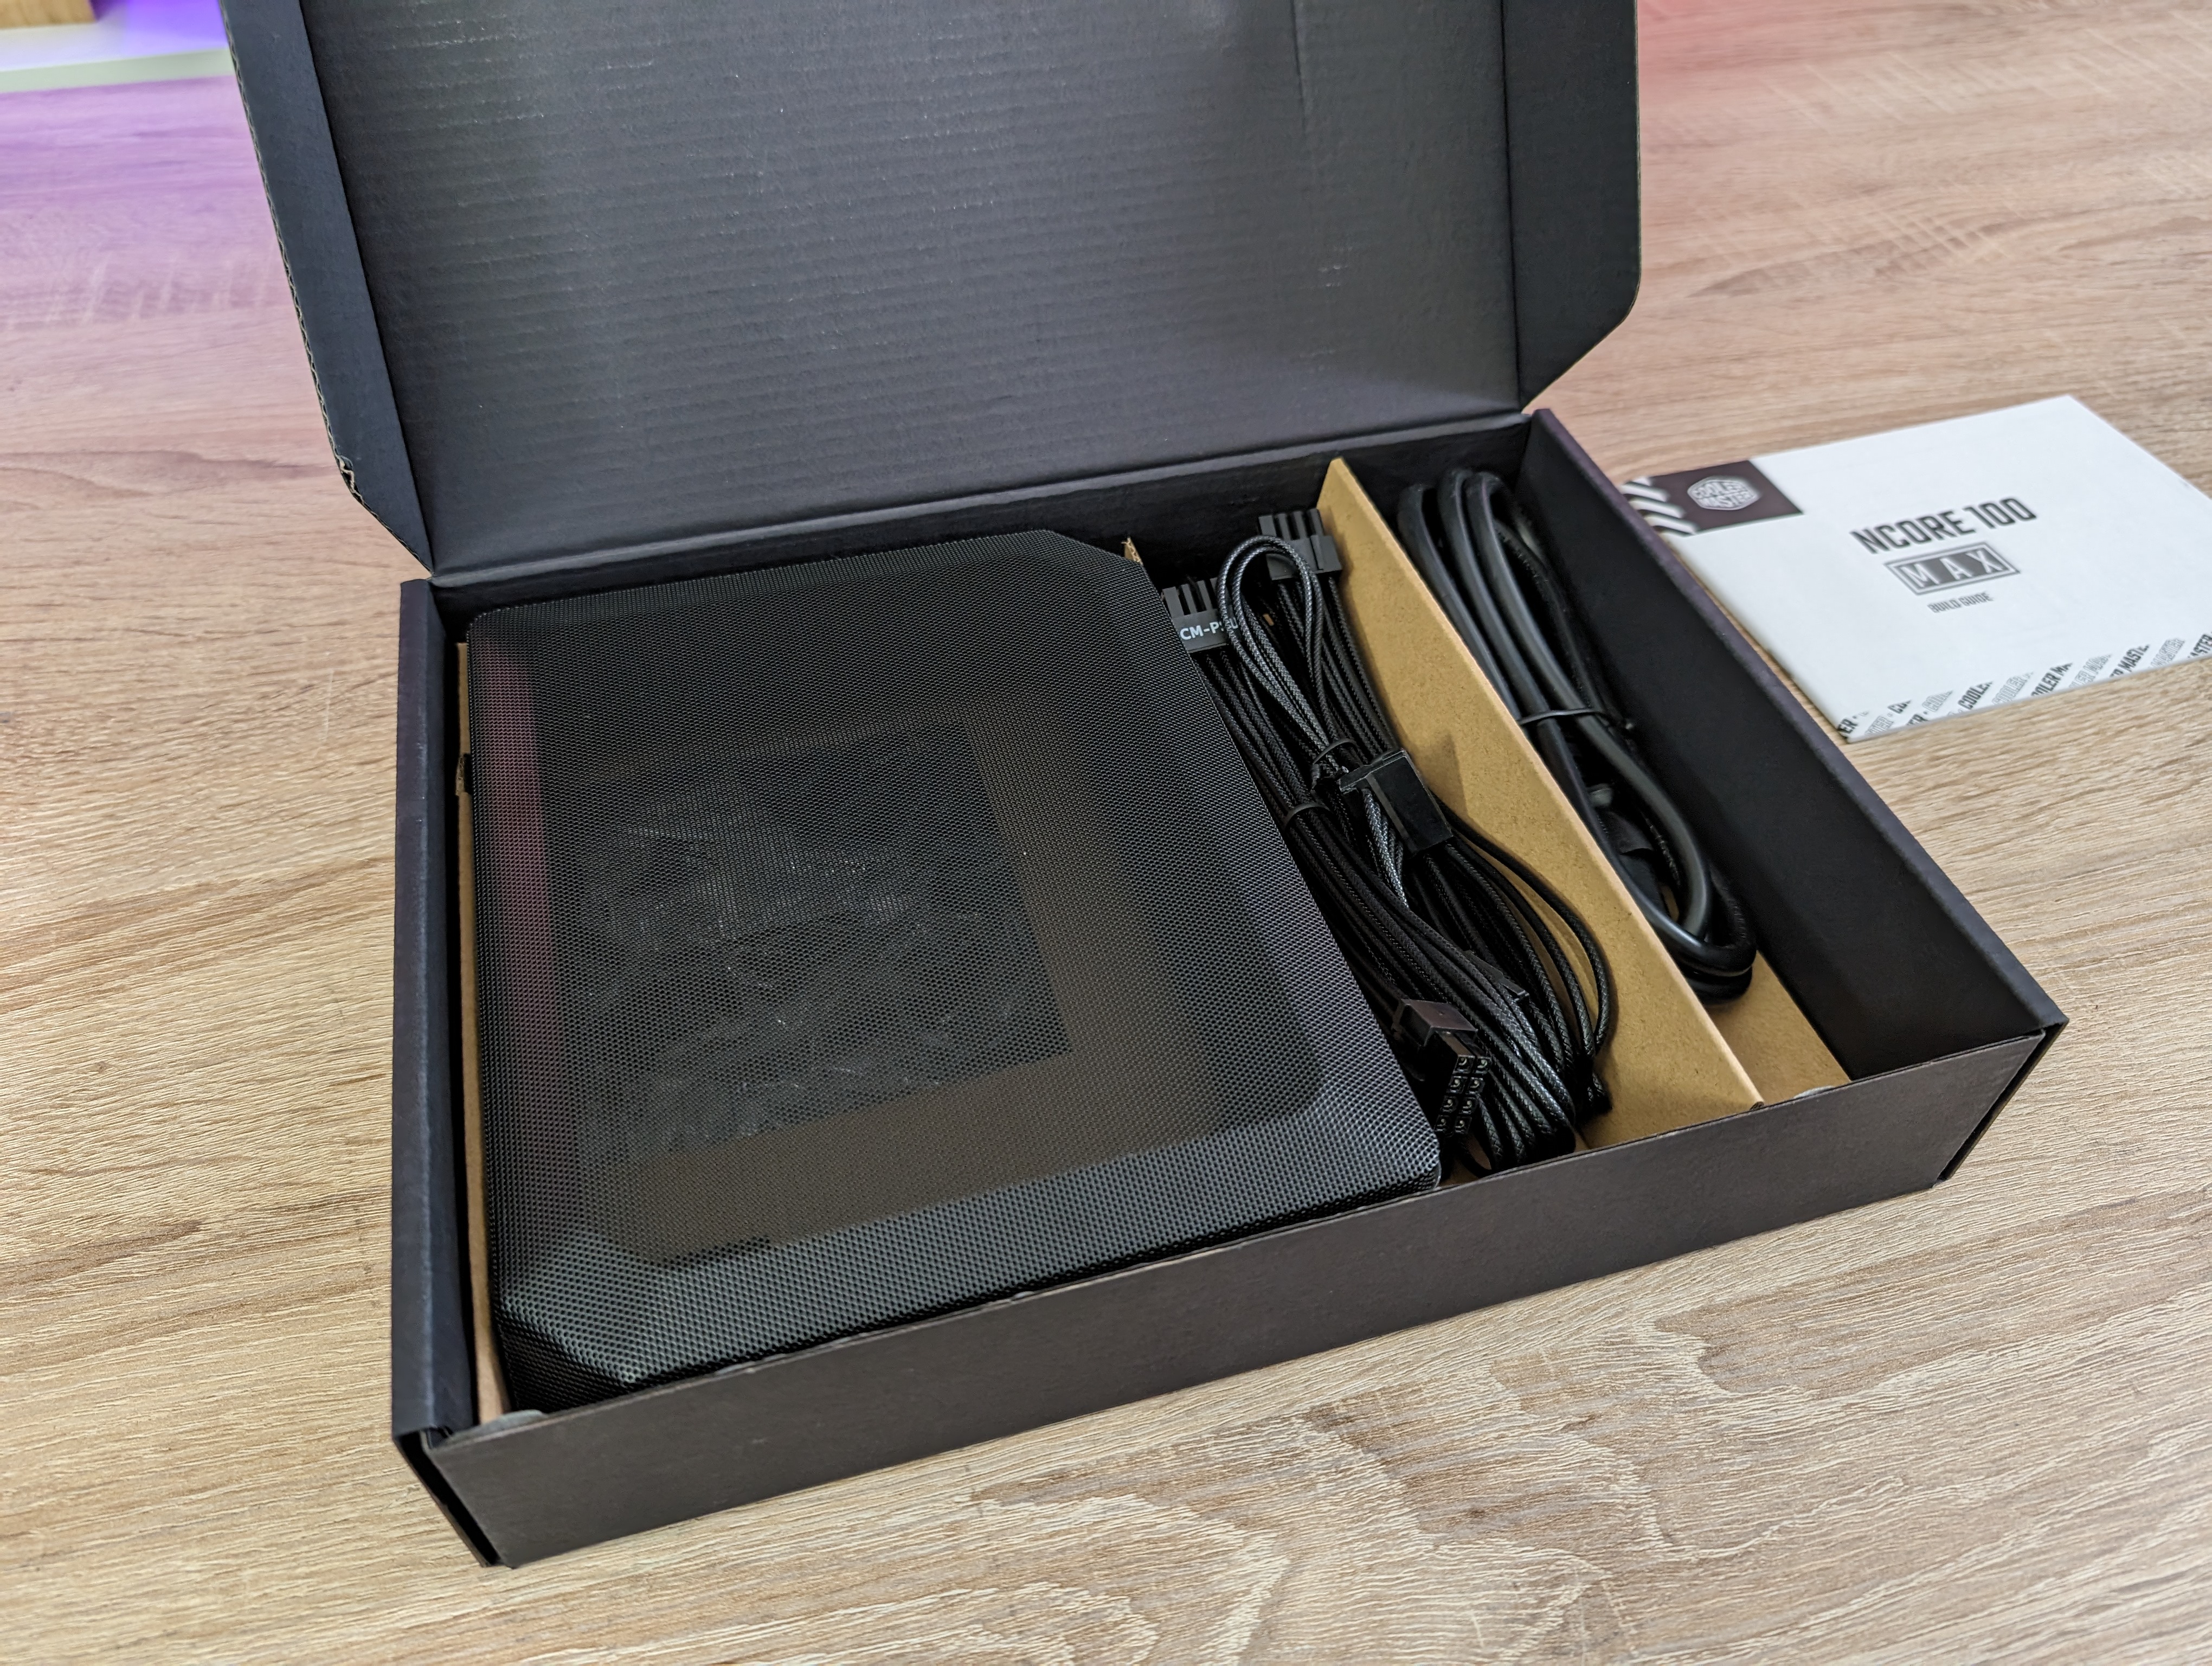
The included power supply is made to the new ATX 3.0 standard, so a 12VHPWR cable is included, which was perfect for our RTX 4070Ti graphics card.
If you have a graphics card with a PCIe connector, cables for this are also included for the modular power supply.
In total, it took me about an hour to assemble the system in the NCORE 100 MAX and there were no major challenges. Despite the small form factor, the cabinet can be taken apart so much that it is quite easy to get to when you have to assemble and connect things.
Testing
We don't usually do benchmarks on cases, but in this case I made an exception. I did this to see how the overall solution would cope with the task of cooling the hardware I had chosen for the system.
I was particularly curious about the CPU cooling, as this is limited to a 120 mm AIO. The radiator is 38mm thick, which is slightly more than a normal 120mm AIO. Normally a 120mm AIO is not something I would use for heavy duty hardware as it is by now too small to handle modern hardware.
To test it, I installed Cyberpunk 2077 on the system to see how the system handled the task.
Unfortunately, my fears were confirmed and the CPU peaked after half an hour of gaming at just over 100 degrees. It was not entirely unexpected as the AMD Ryzen 7600X is designed to max out its thermal limit, in pursuit of the maximum clock speed. Here, a 120 mm AIO is not enough to keep the temperatures in check.
Despite the high temperature, it was not something that affected my gaming experience. Funnily enough, the system didn't detect any Thermal Throttling either, despite the CPU being immediately above the CPU's limit of 95 degrees.
It is therefore a limitation that you must be aware of if you have plans for hardware in this class in a cabinet such as the NCORE 100 MAX. In such a situation, for an AMD CPU, it might be appropriate to use the option of the ECO Mode setting on the CPU.
Here, for example, our CPU would be limited from a TDP of 107W to a more manageable 65W TDP. It is not a setting that will end up costing a lot of performance in relation to gaming, as the bottleneck in our case with Ultra Wide gaming is on the graphics card. However, it will make a big difference to how hard the system has to fight to stay cool.
Price
At the time of writing, I cannot find the Cooler Master NCORE 100 MAX case for sale in Danish online stores.
Abroad, we land with a price of just under 500$. On the surface it may seem expensive, but here you have to remember that an AIO and an 850W power supply are included in the purchase.
Conclusion
Cooler Master NCORE 100 MAX is a beautiful and well-made case with a lot of good features. Despite the small size, it is easy to work with, and there is room for even very large graphics cards.
Precisely the graphics card size is usually one of the areas where you are quickly challenged with other mITX enclosures. However, that is not the case here, and it is delicious to see.
As my little test showed, however, you should consider your choices around the CPU, as the included 120mm AIO may struggle to handle modern CPUs if allowed to run at full power in their default settings.
I don't think it's a fault with the cabinet as such, but just a limitation you should be aware of. Here it is not very different from many other ITX cases, where limited options for CPU cooling are almost always a challenge that is closely linked to the compact form factor.
The NCORE 100 MAX is not exactly cheap, but the price includes both an adapted power supply and AIO cooling.
We end up with a final grade of 9 and a Great Product Award for a beautiful, well-executed and different take on a mITX case, with great potential to be a graphic powerhouse.
Pros:
Cons: